Difficulty: INTERMEDIATE-ADVANCED
Time: 4-6 HOURS
Distance: 6 MILES
Elevation Gain: 1600 FEET
Foot Traffic: LOW
Challenges: Muddy, Steep Inclines, Overgrown
Sights: Honolulu, Diamond Head, Pali Highway, K-Bay
What to Bring: Shoes with good grip, Decent Amount of Water, Snack, Sunscreen
A long and diverse hike, the Kalawahine Trail begins in Mount Tantalus, where you will hike along a maintained trail and through a beautiful bamboo forest to reach the ridgeline. From there you can ascend the steep and likely muddy ridge all the way to the Ko’olau Summit Trail, taking in a unique perspective of Honolulu. Once you reach the KST, you have the option to traverse “the saddle” all the way to Konahuinui 1 (K1), the highest peak in the Ko’olau Mountain Range. A tough hike, but worth it for those views.
Konahuanui 1 and 2, more often called K1 and K2, are the highest peaks in the Ko'olau mountain range. The Ko'olau Mountain Range is the longer of the two Oahu mountain ranges spanning from the North Shore all the way to the southern tip. It has been on my list for some time to summit these peaks. There are several paths that allow you to reach them, but I found the Kalawahine Trail to be the most direct based on my research. While I wouldn't end up making it to K1 on this journey, the hike up to K2 was plenty satisfying and well worth the energy.
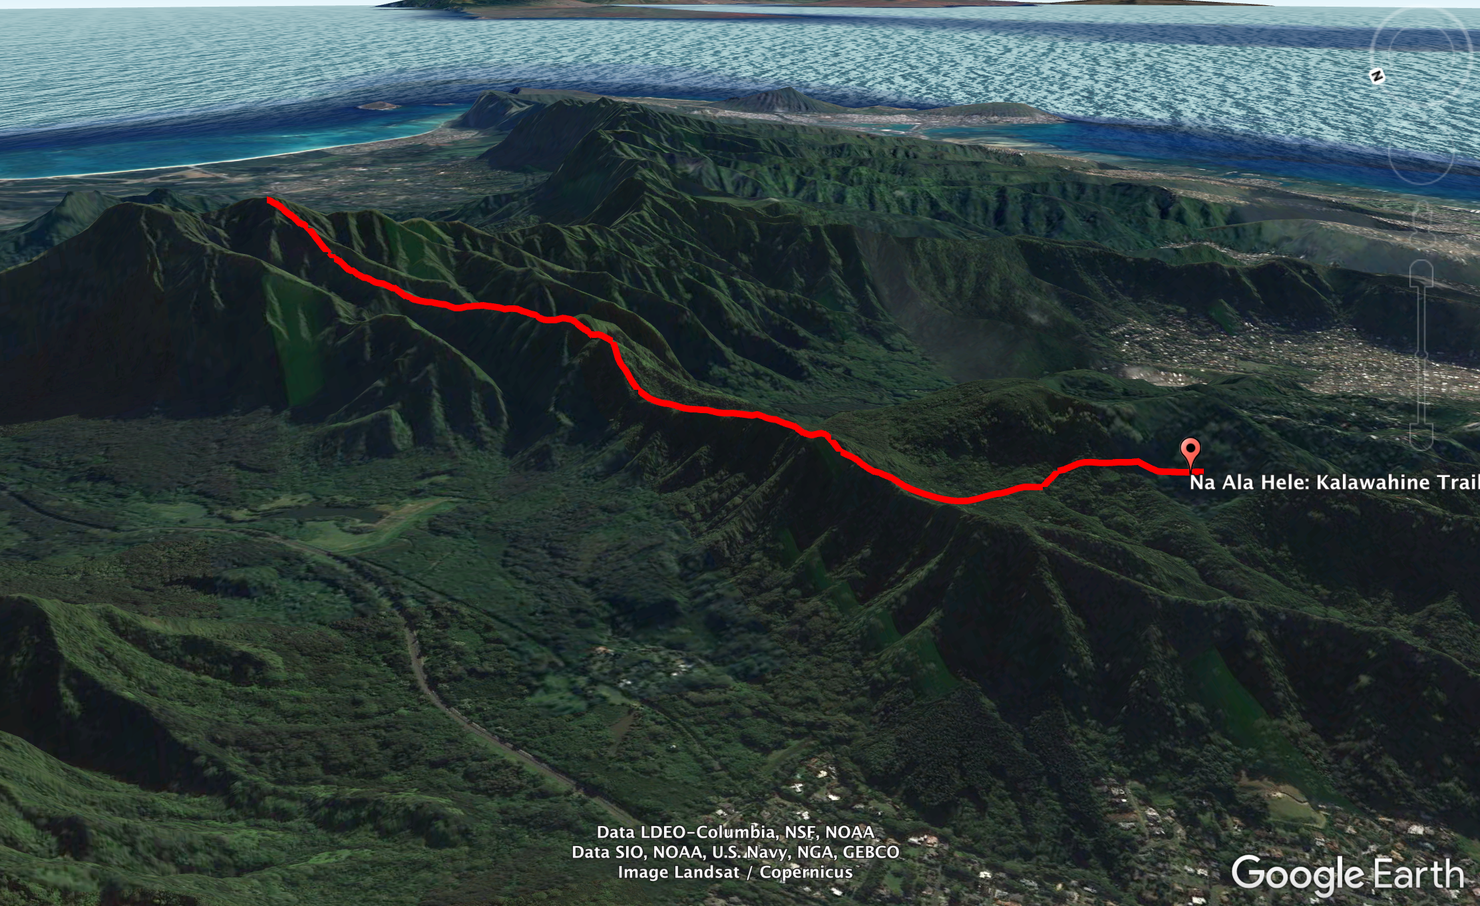
Here's a shot of the hike. As you can see, this hike is basically a trek from one side of the island to the other.
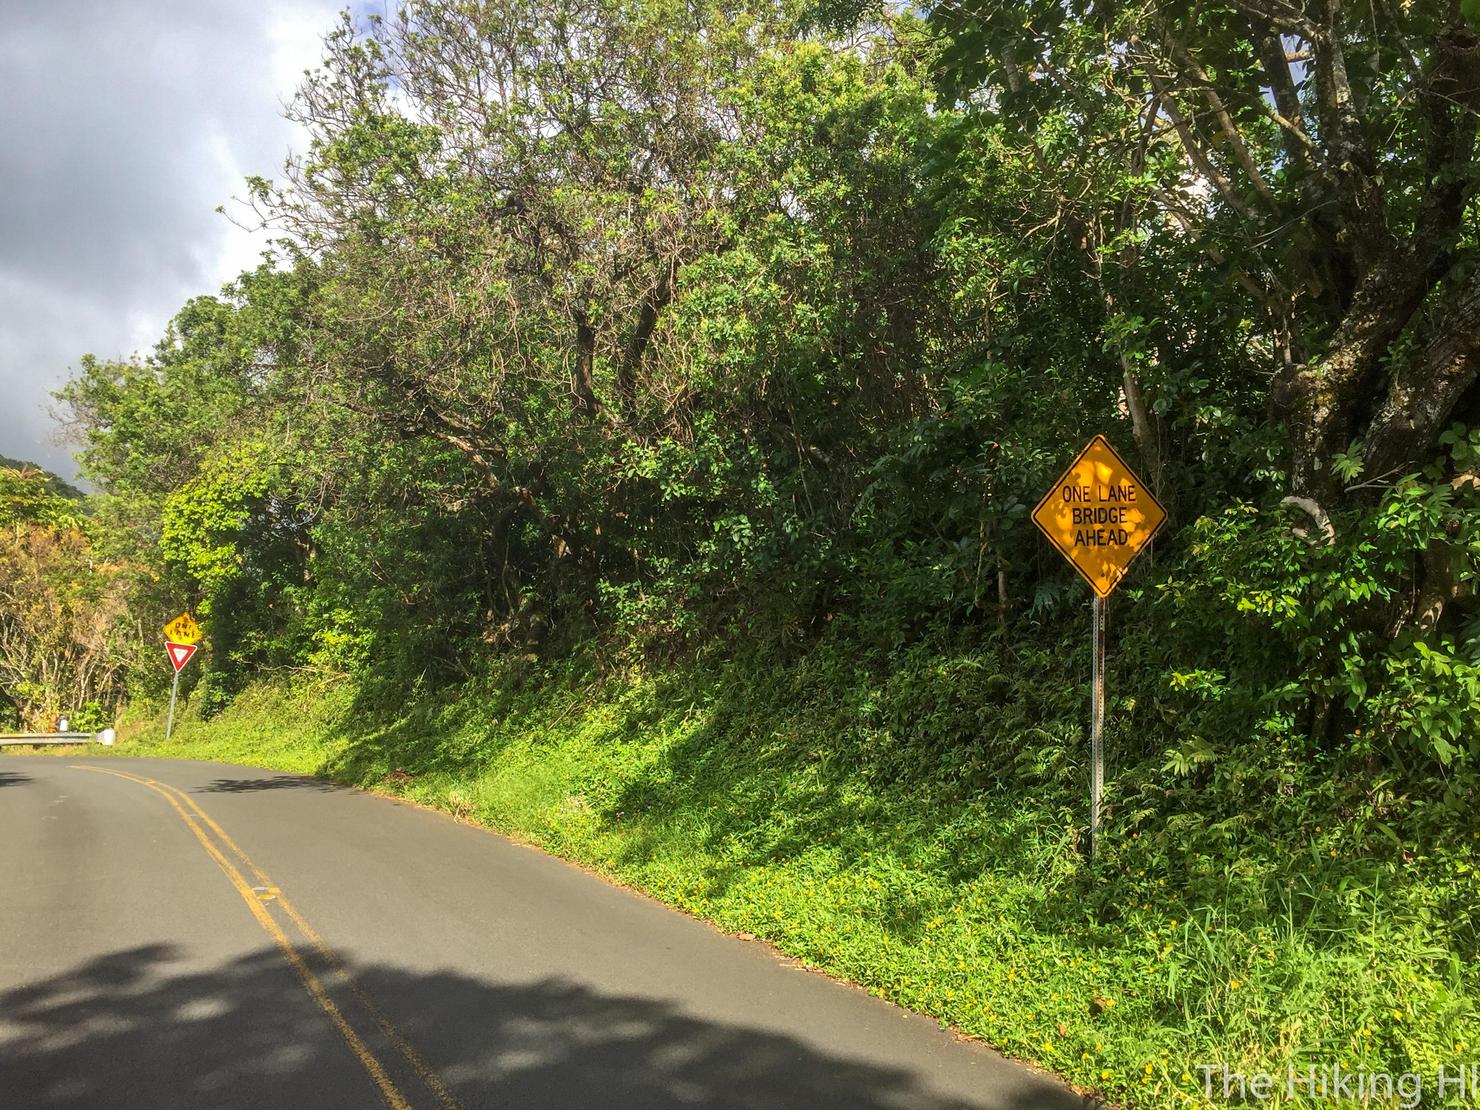
The Kalawahine Trail starts up in the Mount Tantalus. Finding the trailhead is a bit tricky if you don't know what you're looking for since it's just off the side of the long and windy Tantalus Drive. It's actually on the left side of the road just beyond this one lane bridge. There are periodic turnouts where you can park along the road. There is a turnout just before this bridge (180 from this photo) and is where I parked.
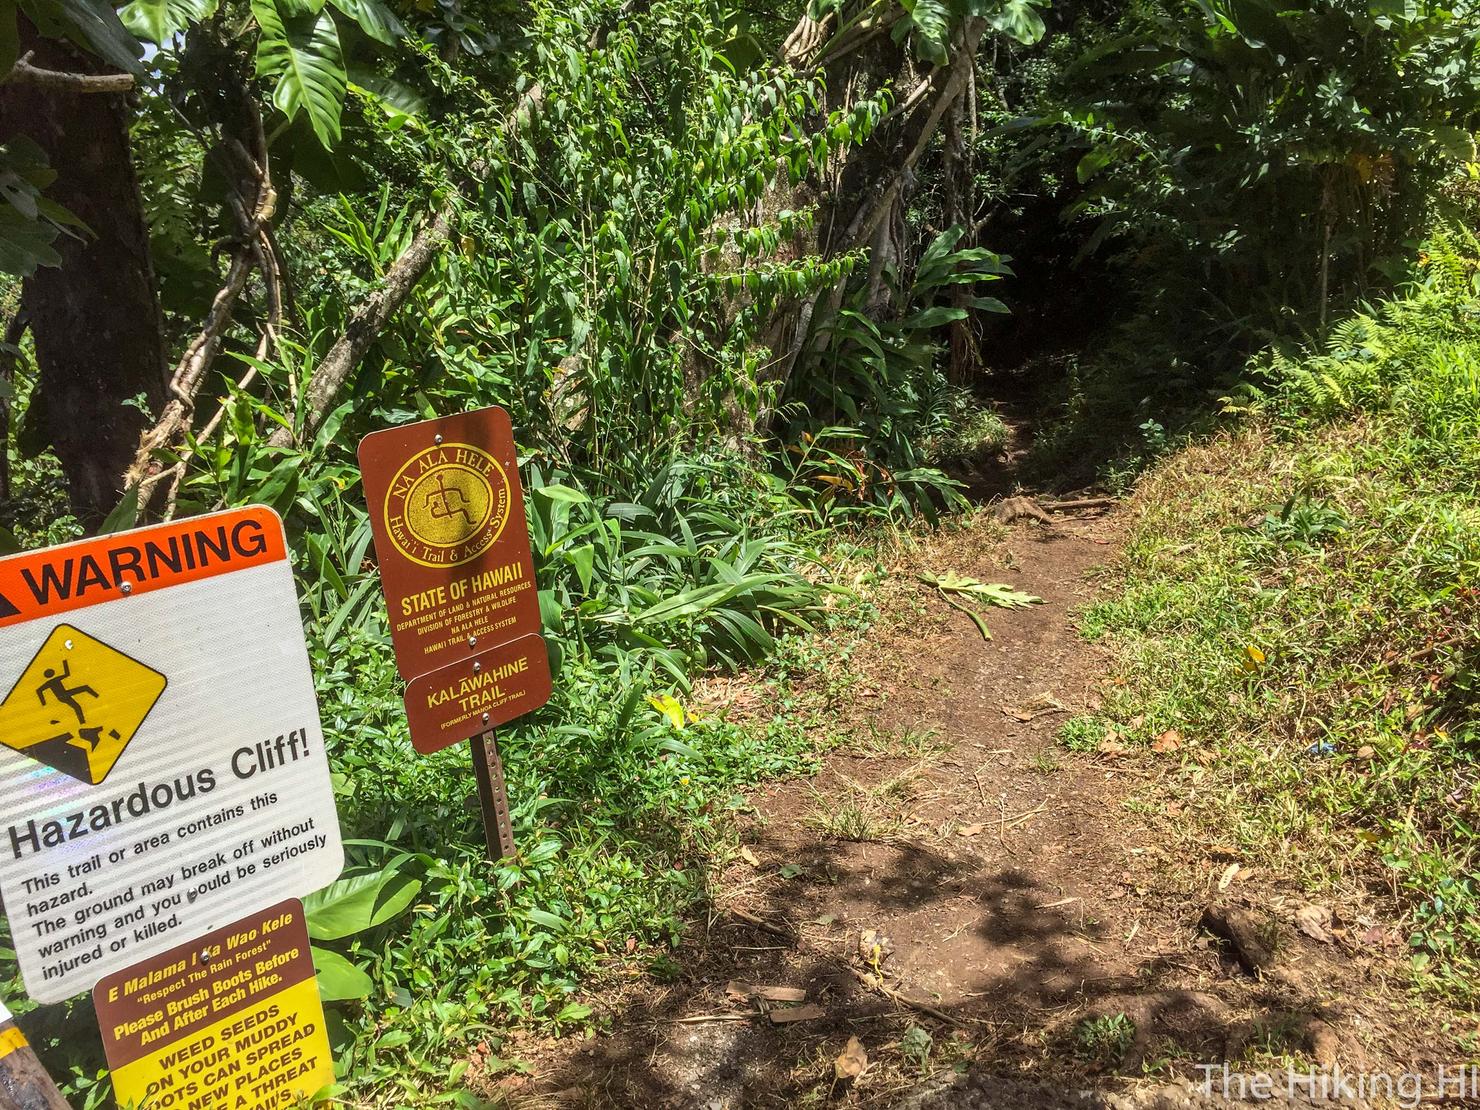
This is what the trailhead entrance looks like just off the side of the road. Let's begin!
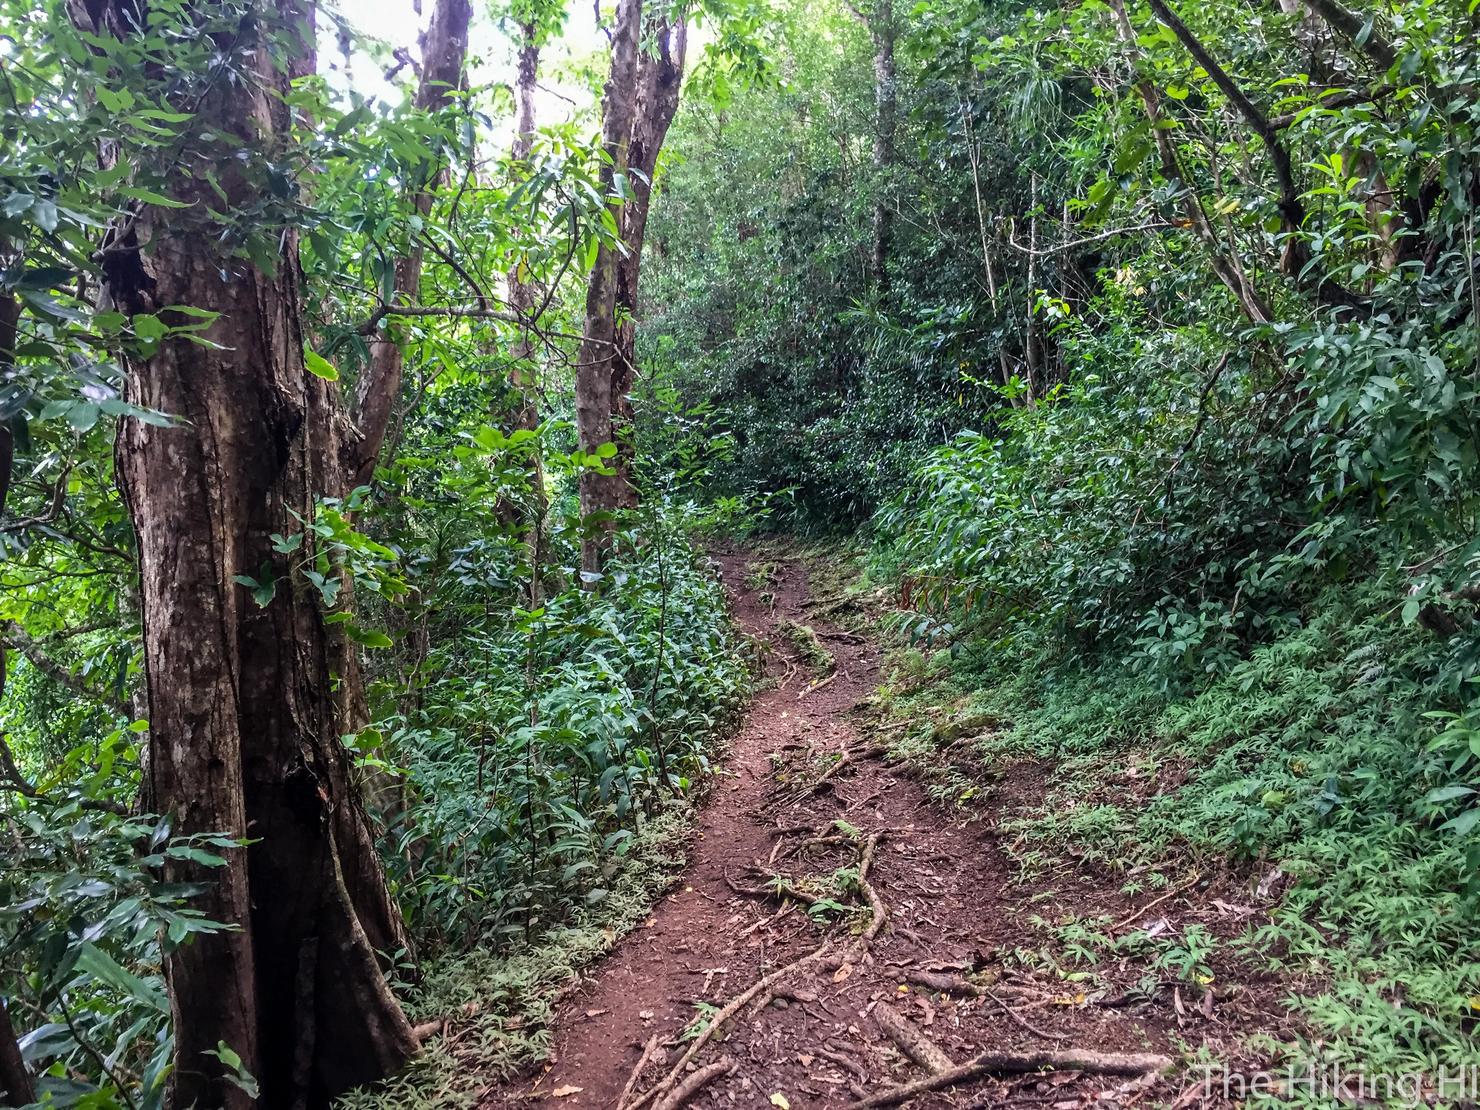
The first portion of this hike is a nice leisurely walk through the woods.
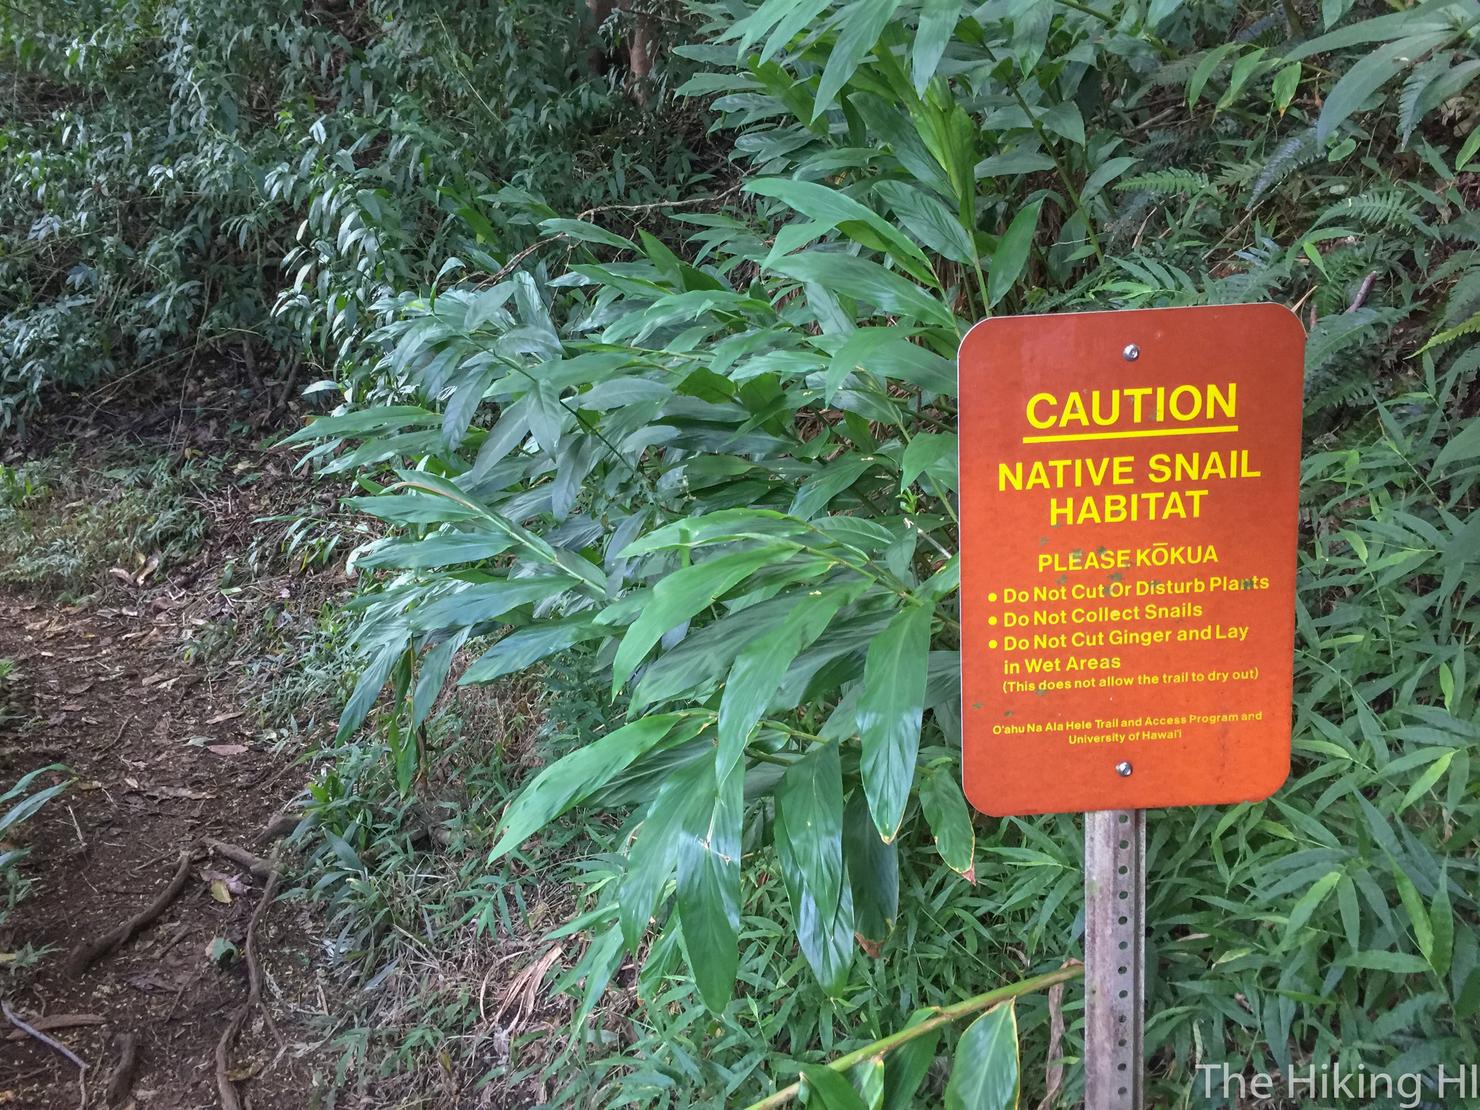
FYI...
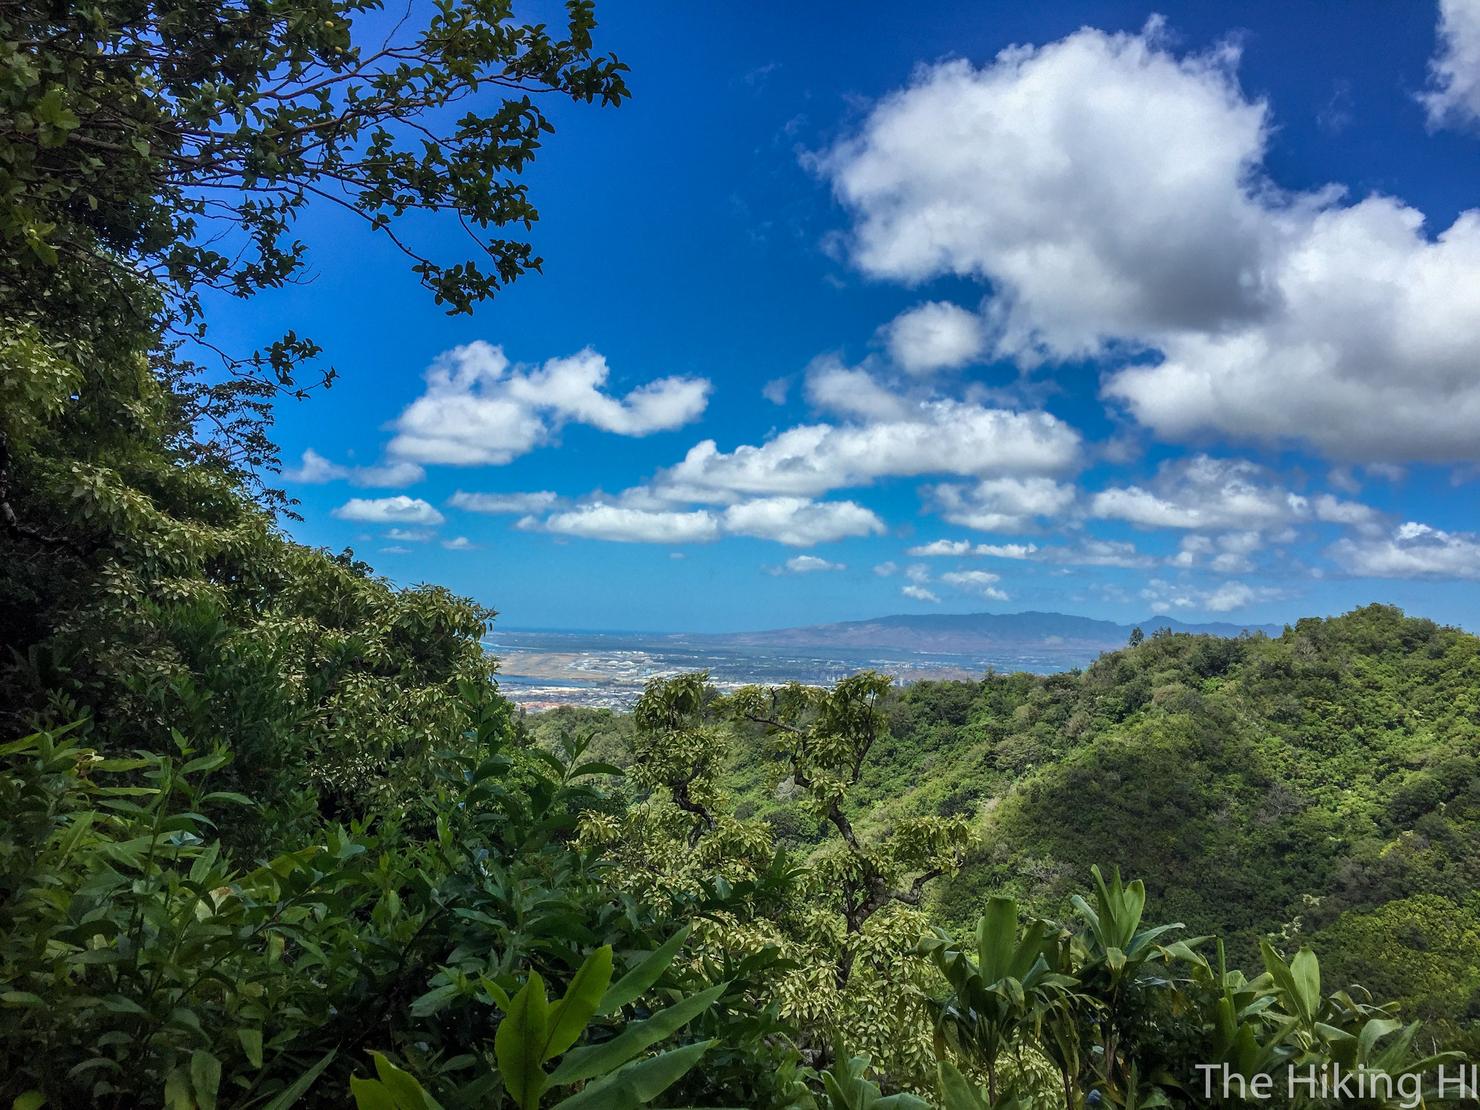
You get some pretty great views right off the bat. Be sure to soak these in, they will disappear for awhile.
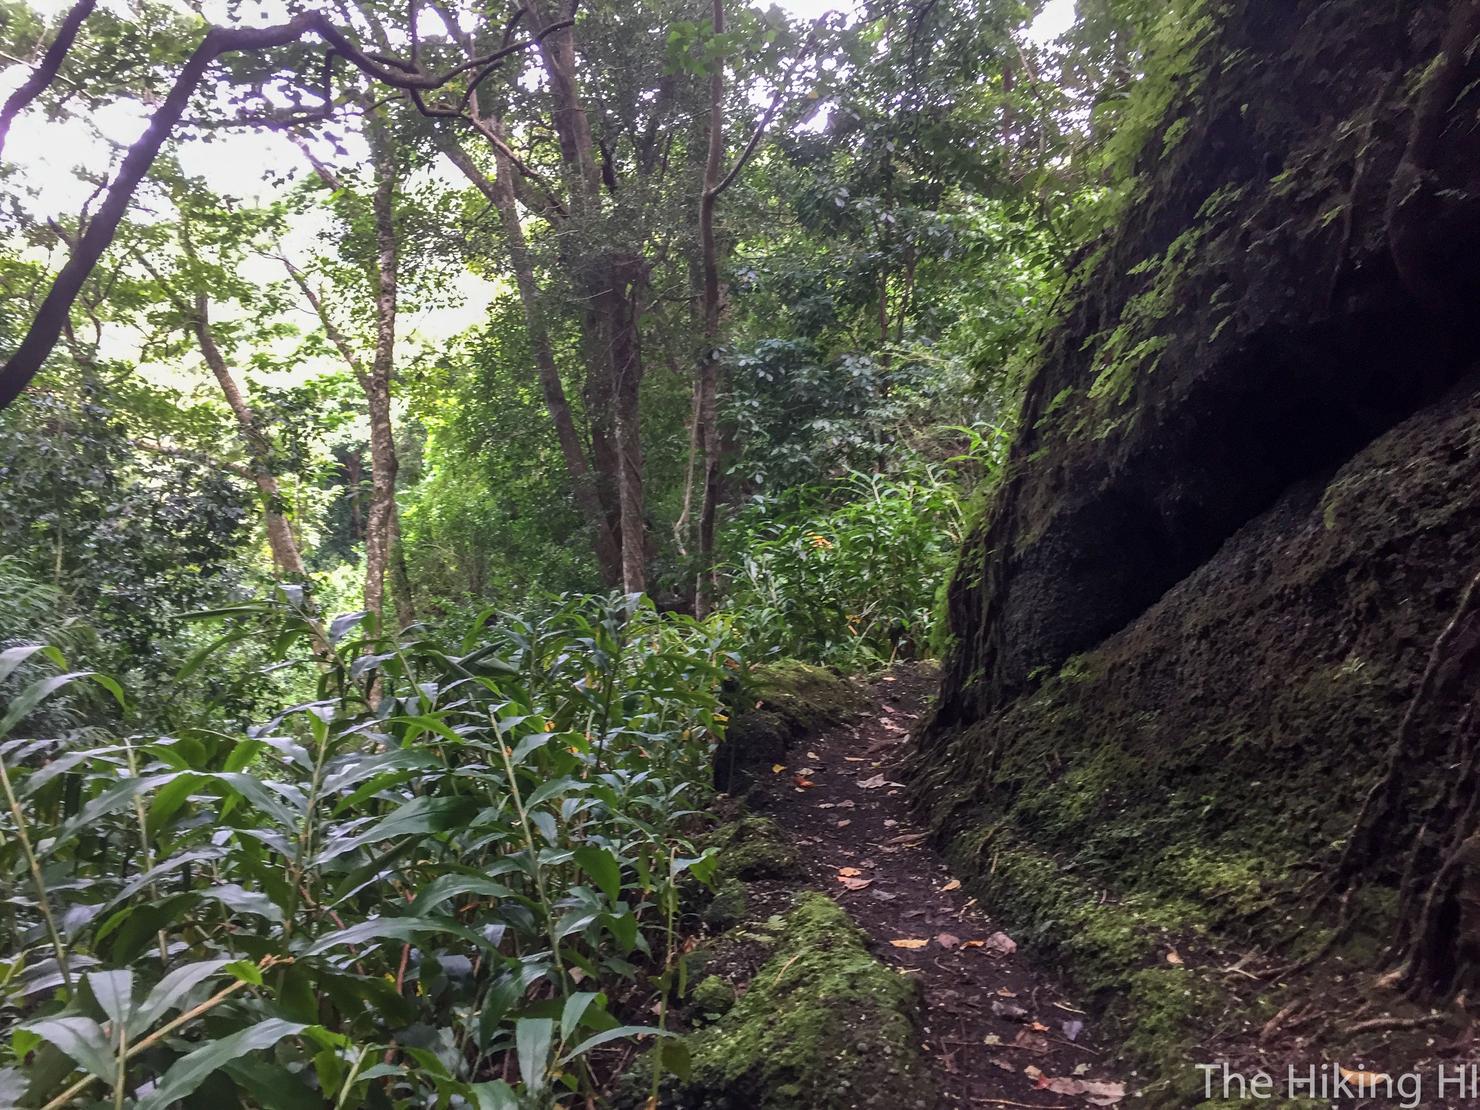
Because now it's back into the trees. Despite the lack of views, I really liked this part of the hike. It was nice and cool in the shade and you are surrounded by a variety of lush green foliage. It is very different from many other Oahu hikes.
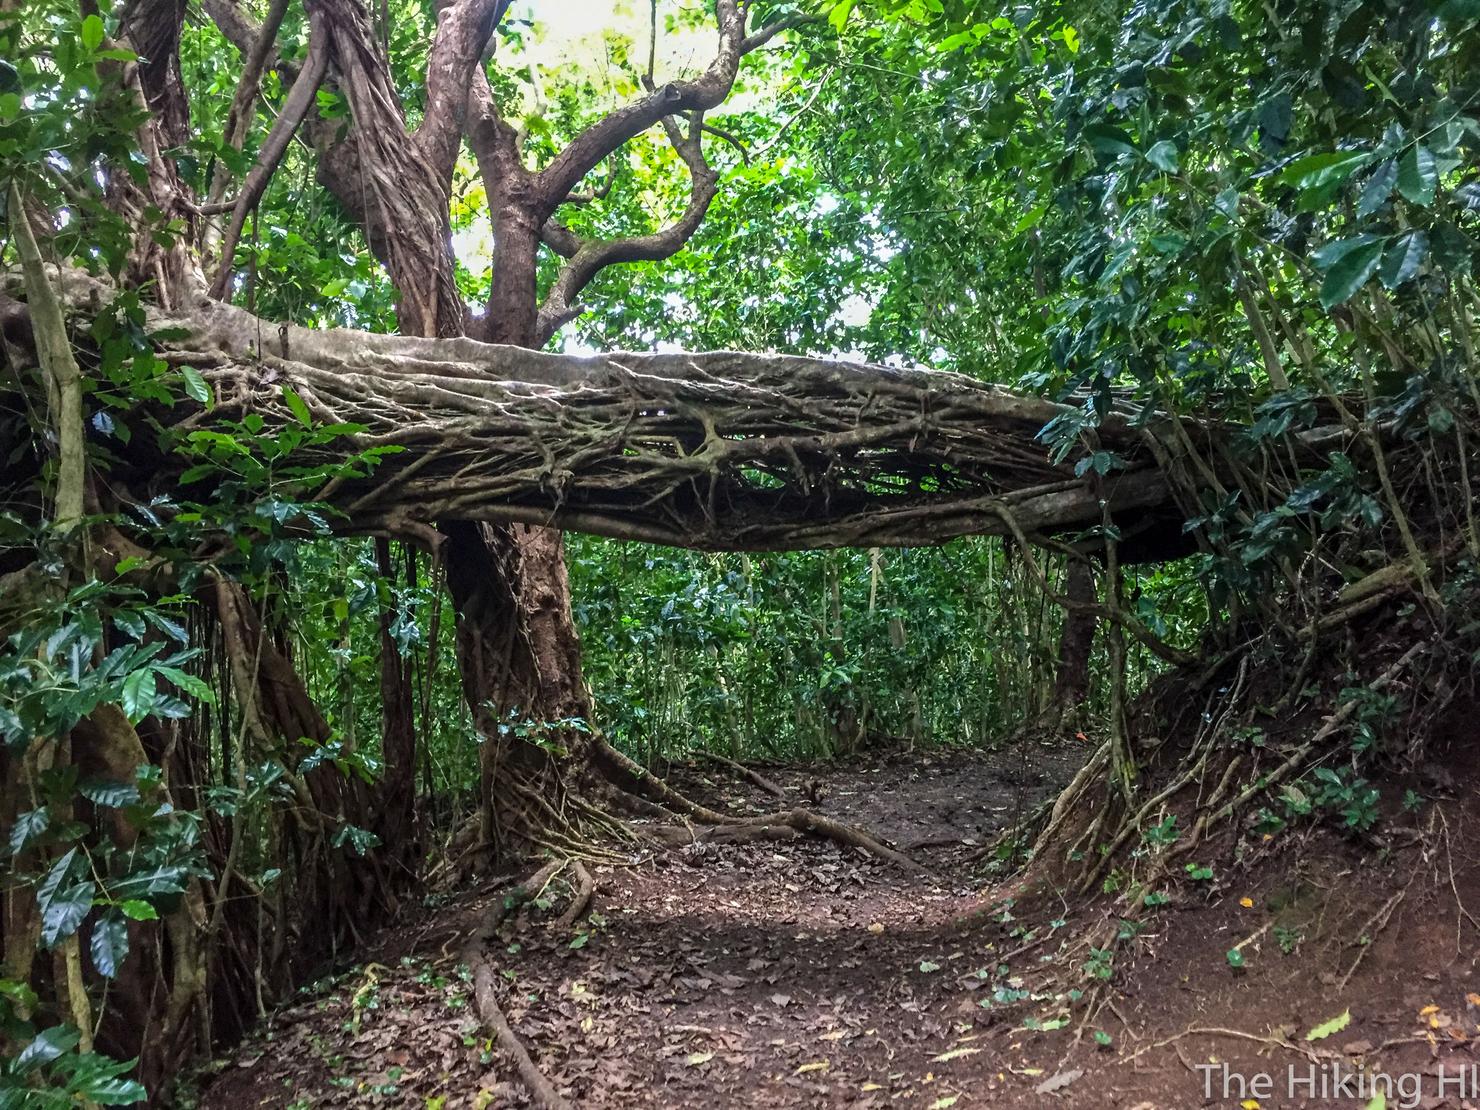
And it is not without it's own unique landmarks that give it some character.
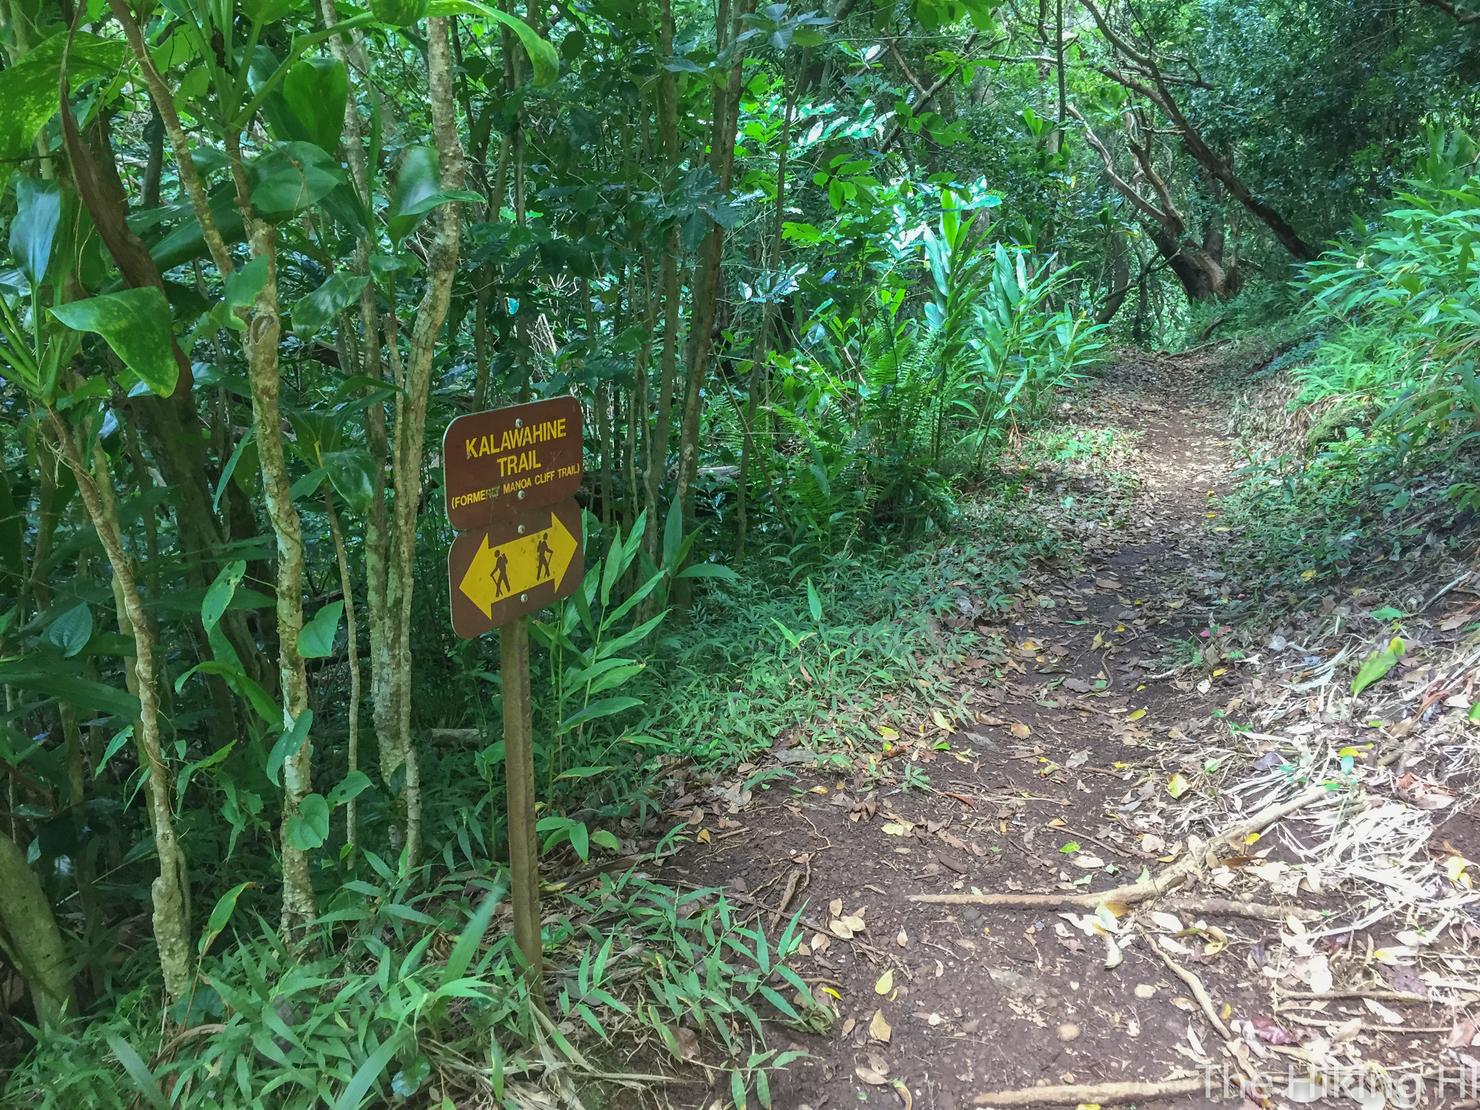
There are actually official hiking signs along this trail since it is part of the Honolulu Mauka Trail System, easily the best maintained set of trails on the island. Despite the signs, you could actually get lost on your way to K2.
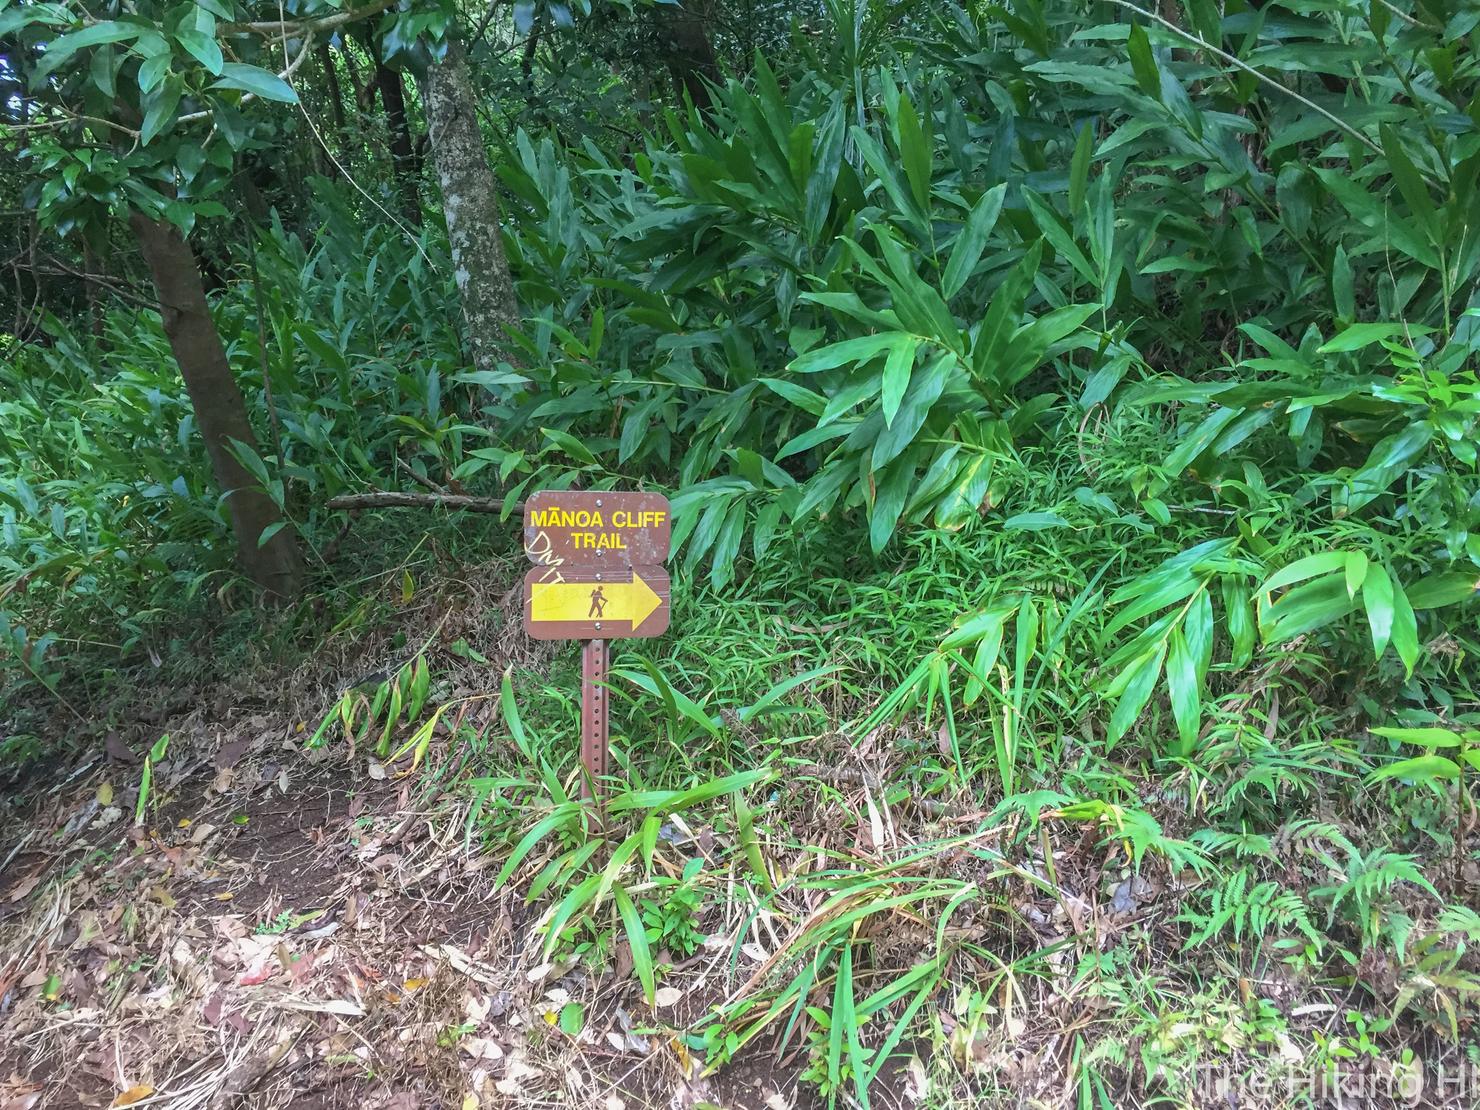
Because you may be tempted to turn at the many forks you see along the way, such as this one to the Manoa Cliff Trail. I'm sure this trail is pretty, but we're here to summit K2.
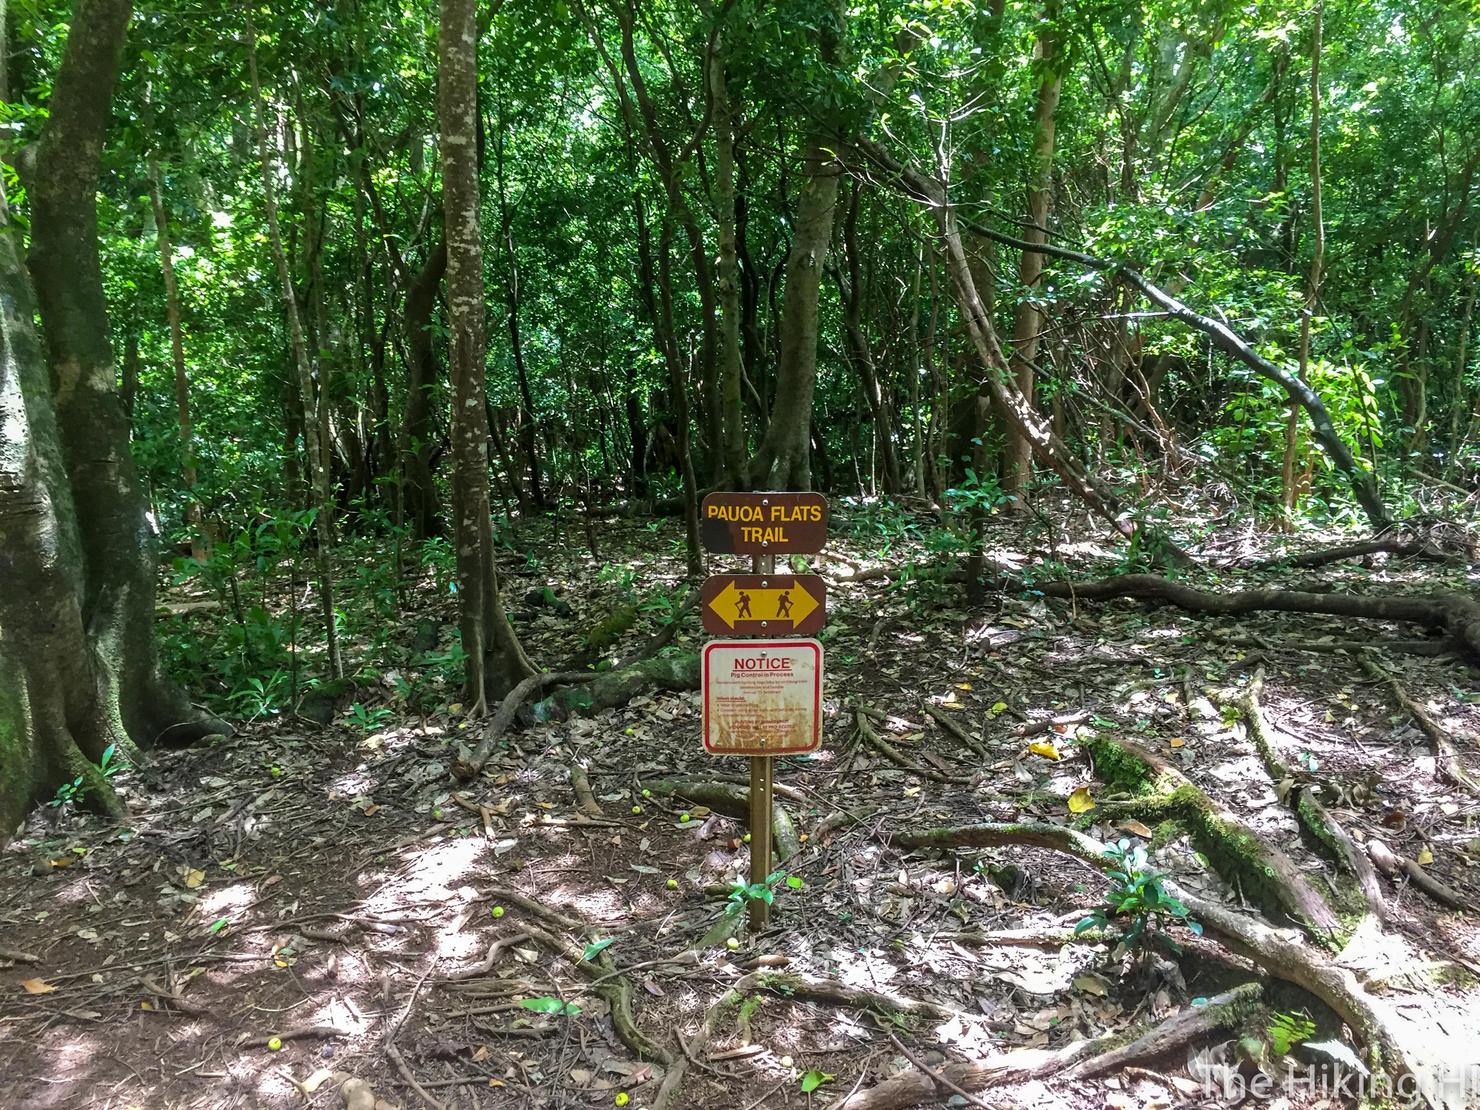
Eventually the trail T's at this sign. This is where I was unsure where to go since originally I assumed I'd be following the Kalawahine Trail signs to the ridge. Not the case. My gut told me to go left. Luckily, my gut was correct. From here, until you reach the ridge, continue to follow the signs for the Pauoa Flats Trail.
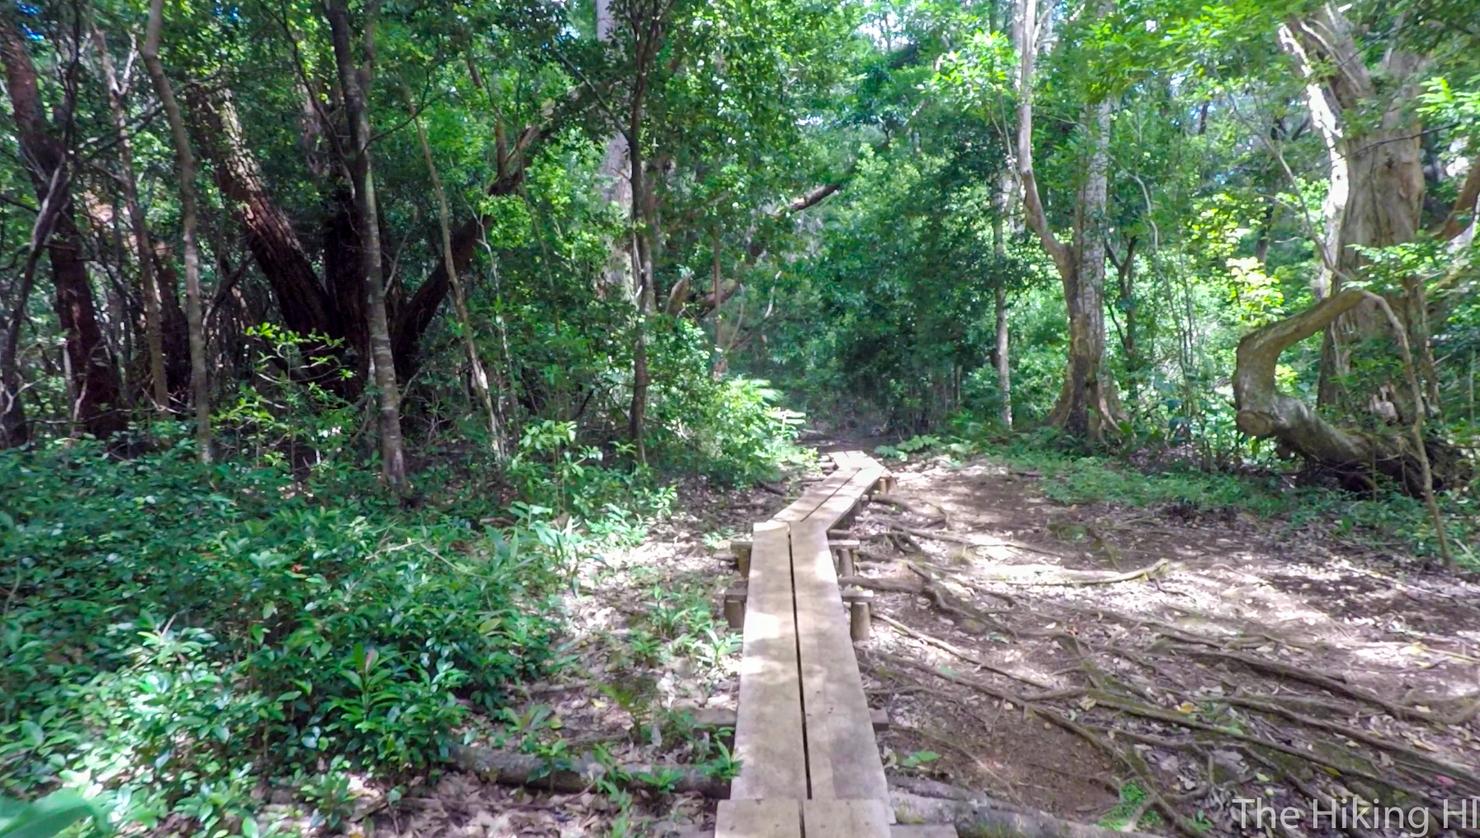
Some nice little planks to walk on to keep your shoes clean.

Mud! It would have been nice if the planks continued here, but that would make this hike too easy. It had been dry recently, so I'm sure the mud situation could get much worse. I was able to circumvent most of it and keep my shoes (relatively) clean.
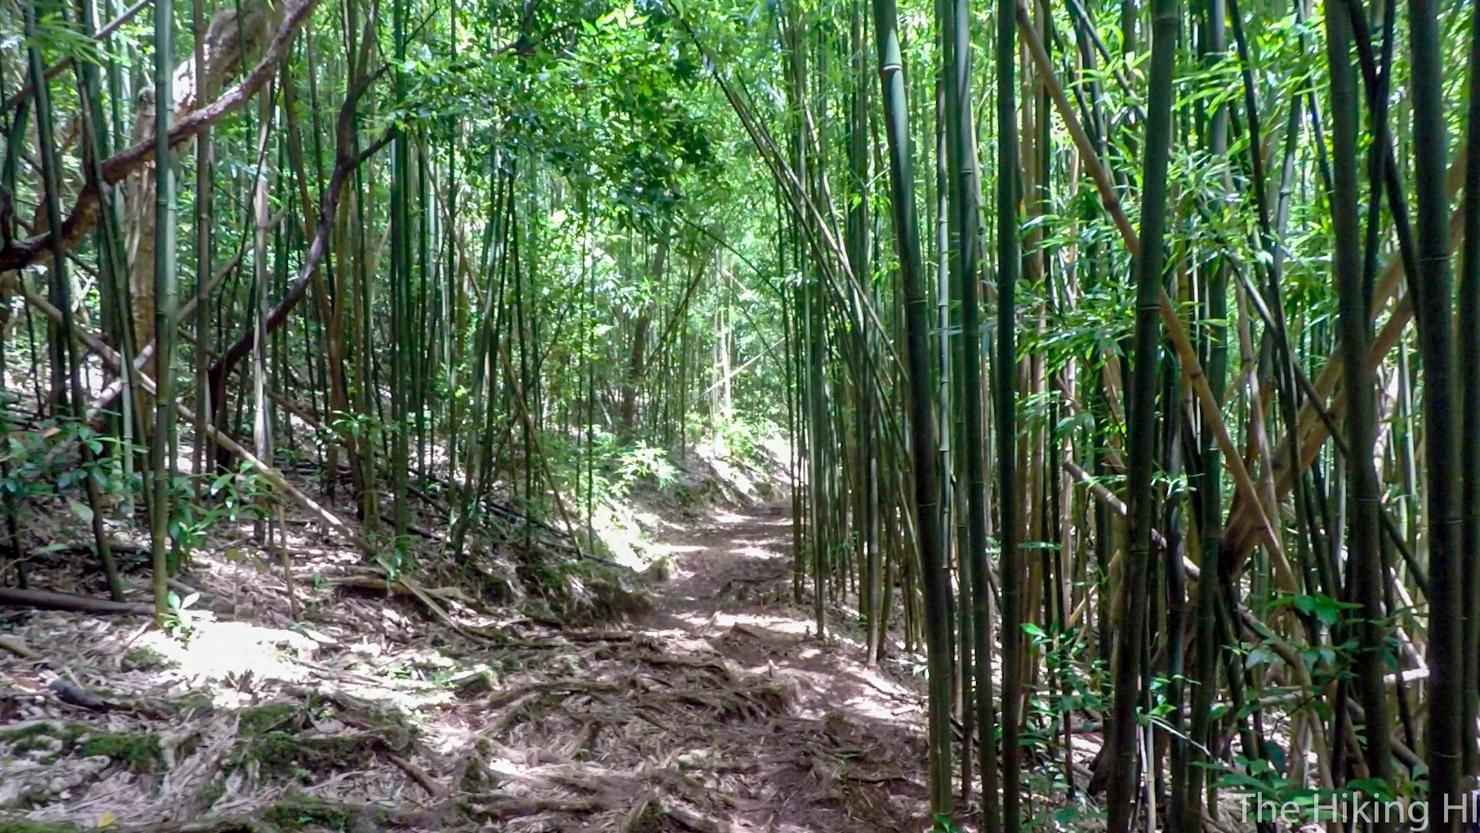
You will now get to walk through this bamboo forest. There are actually quite a few of these strewn about hikes on Oahu. They never seem to get any less beautiful.
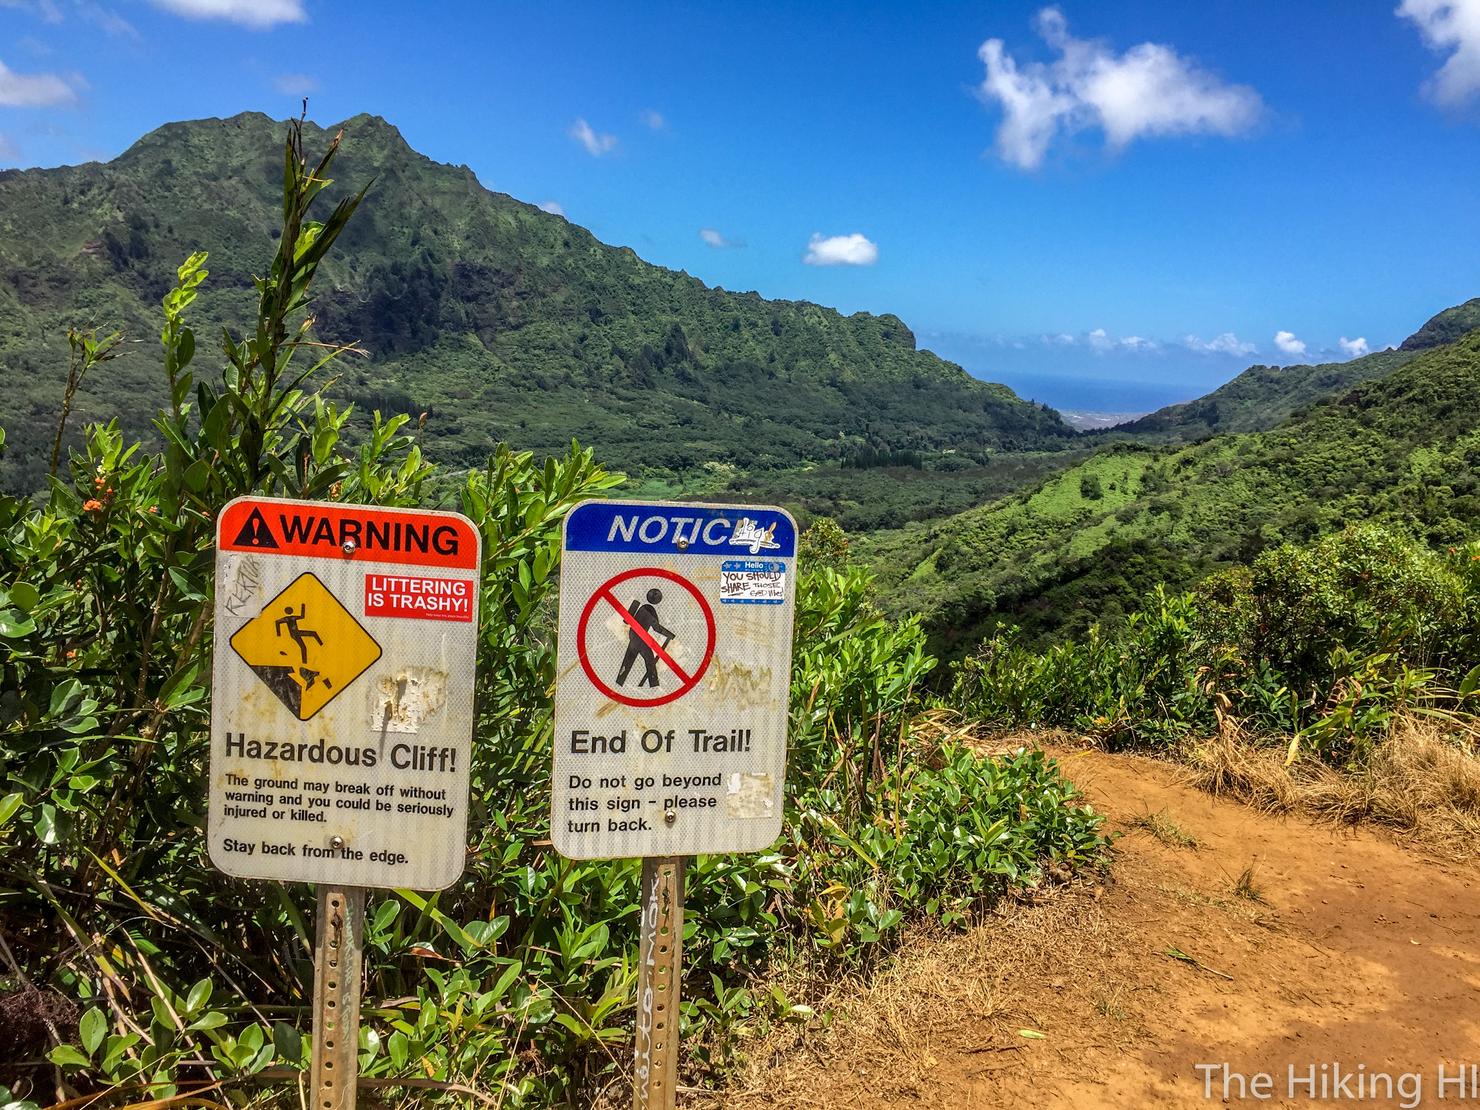
Eventually you will reach the ridge where you will be greeted with amazing views of the Pali Highway.
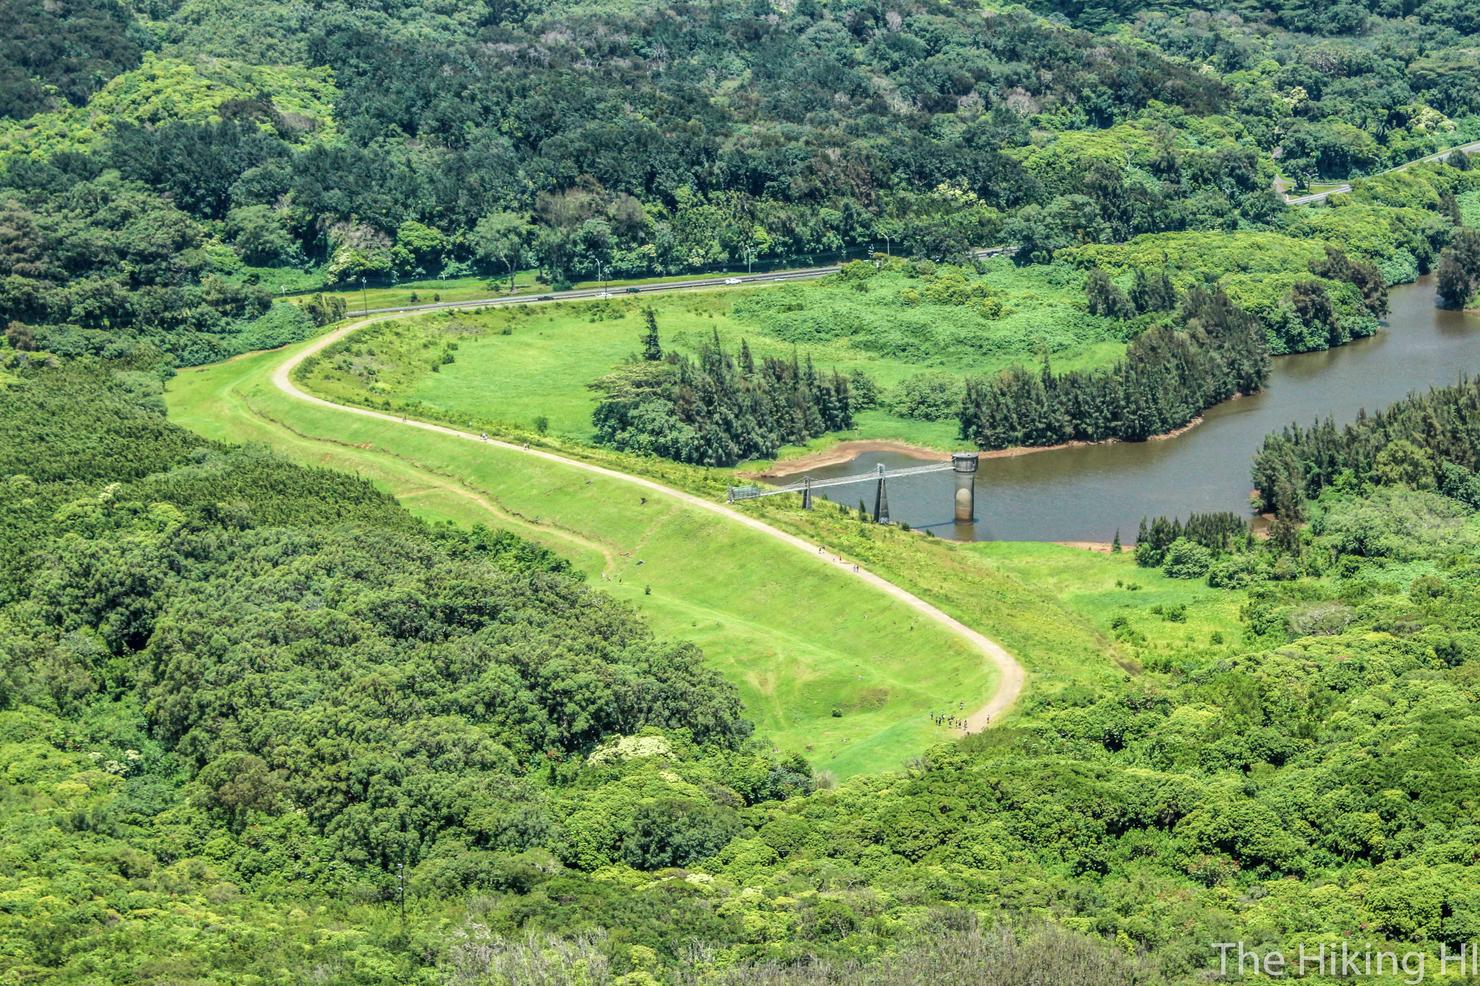
Down there is the Nu'uanu Reservoir. That long road is the trail to Lulumahu Falls, a popular waterfall hike off the Pali.
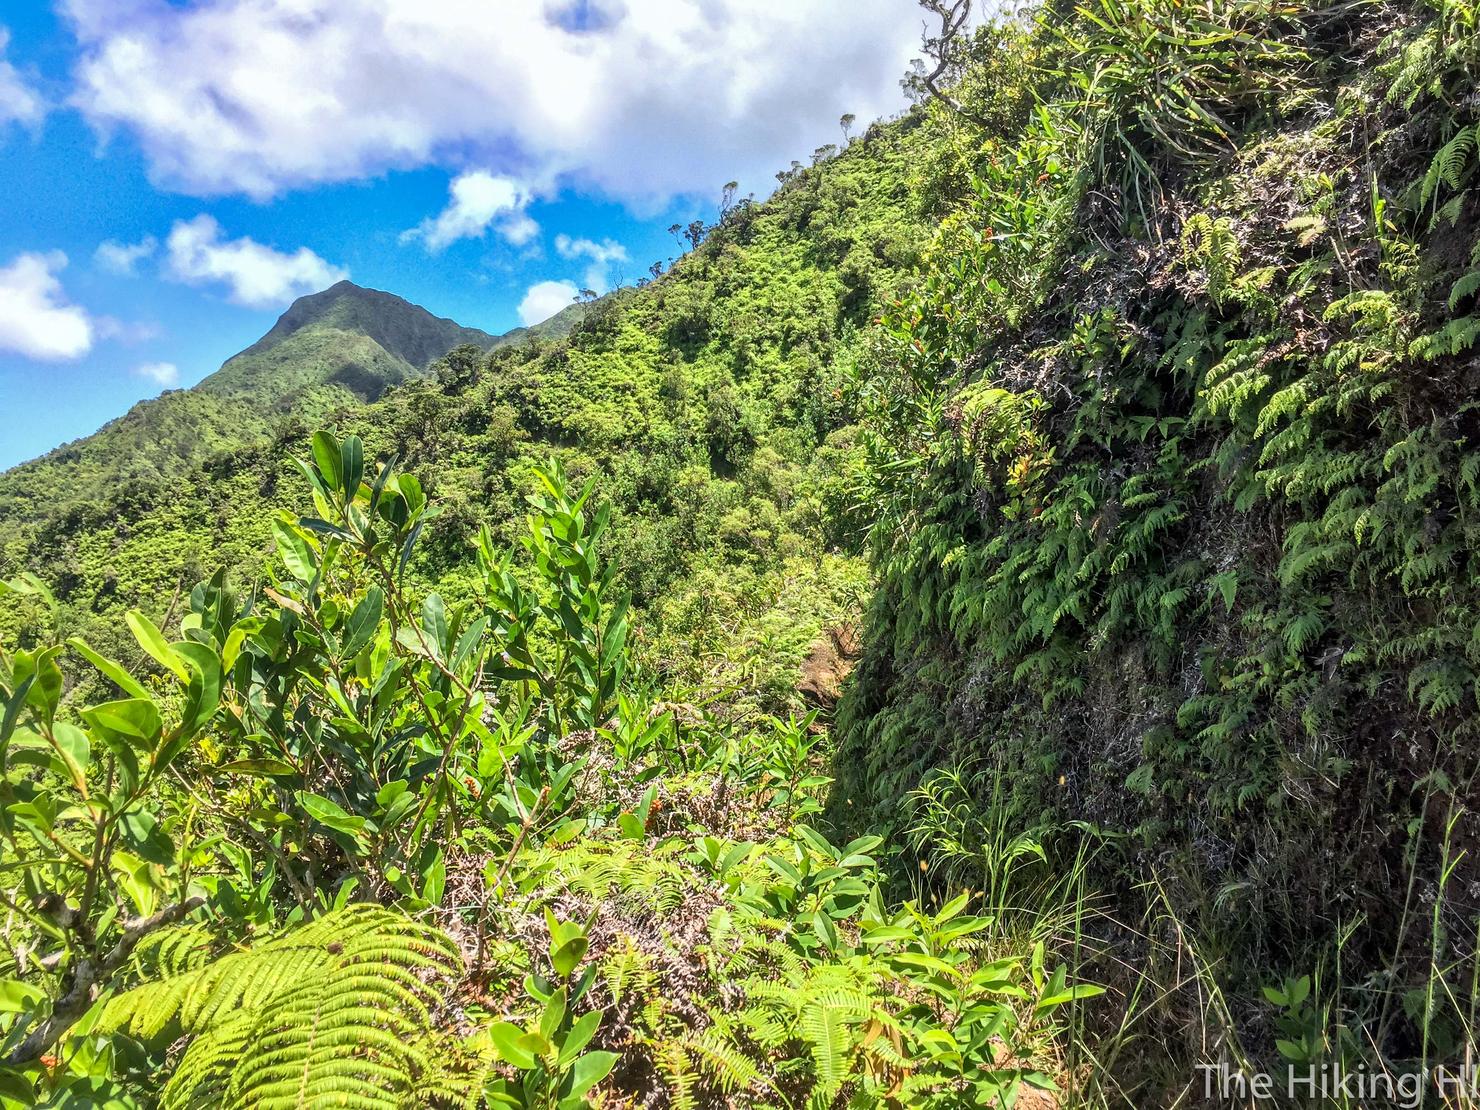
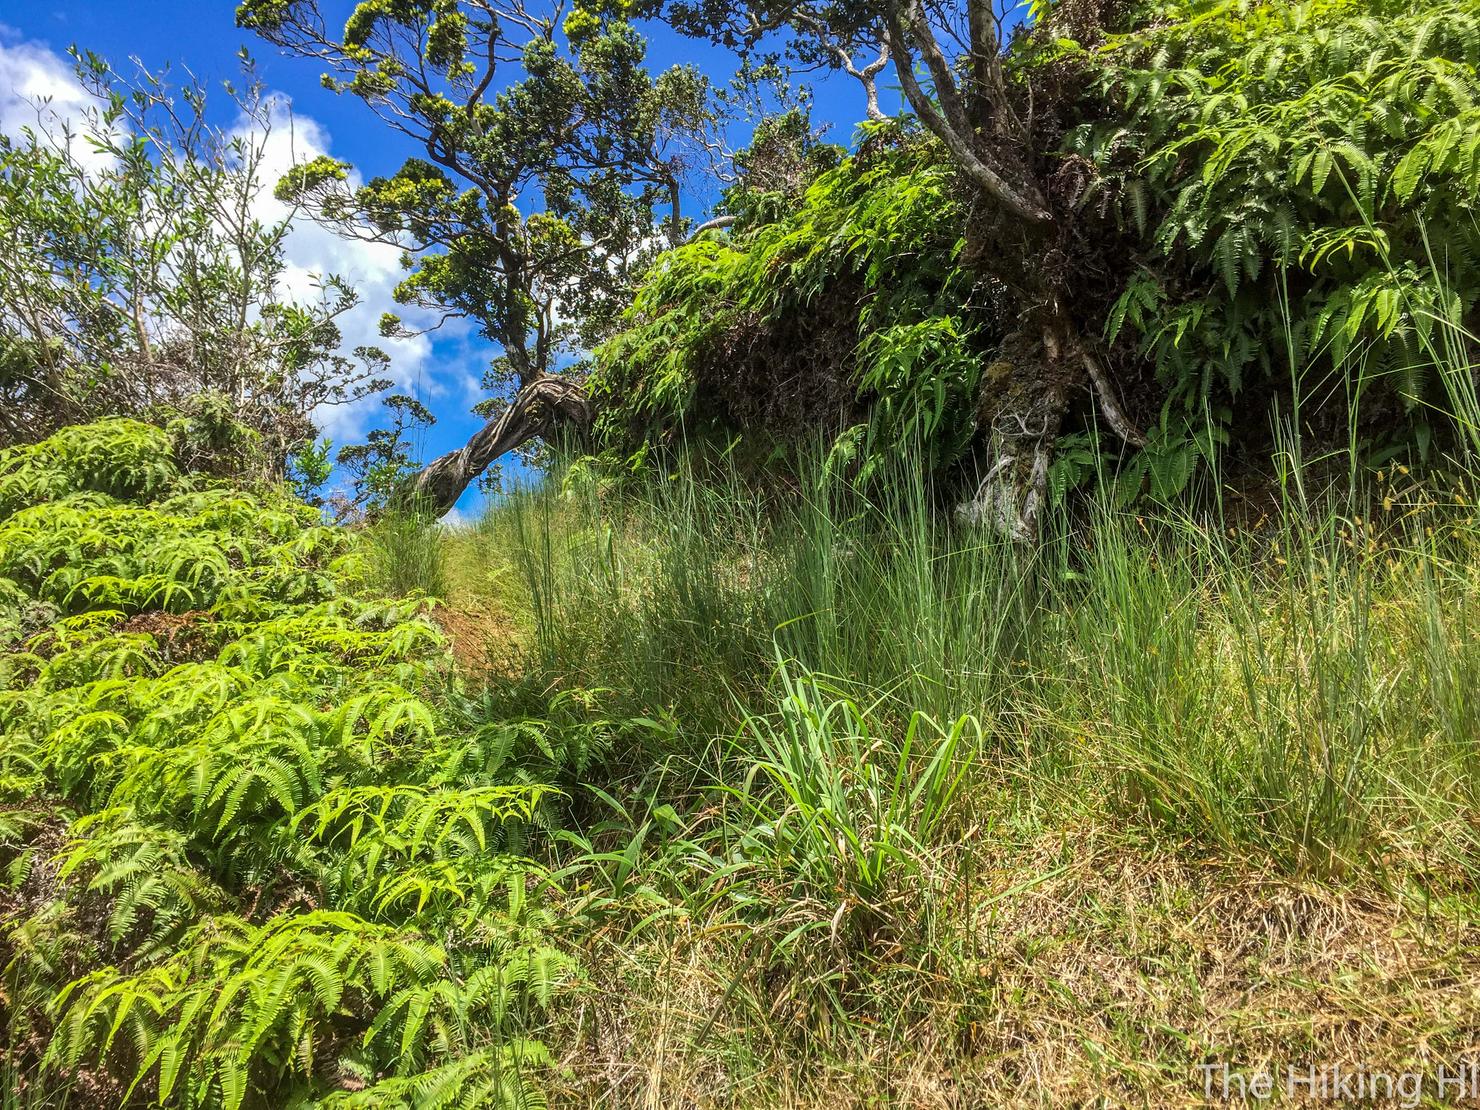
When facing the highway, head right through the trees to continue towards K2. Much of the initial trail looks like this, a narrow path with a grass wall on the right and dropoffs to the left. The path snakes back and forth around these ridges.
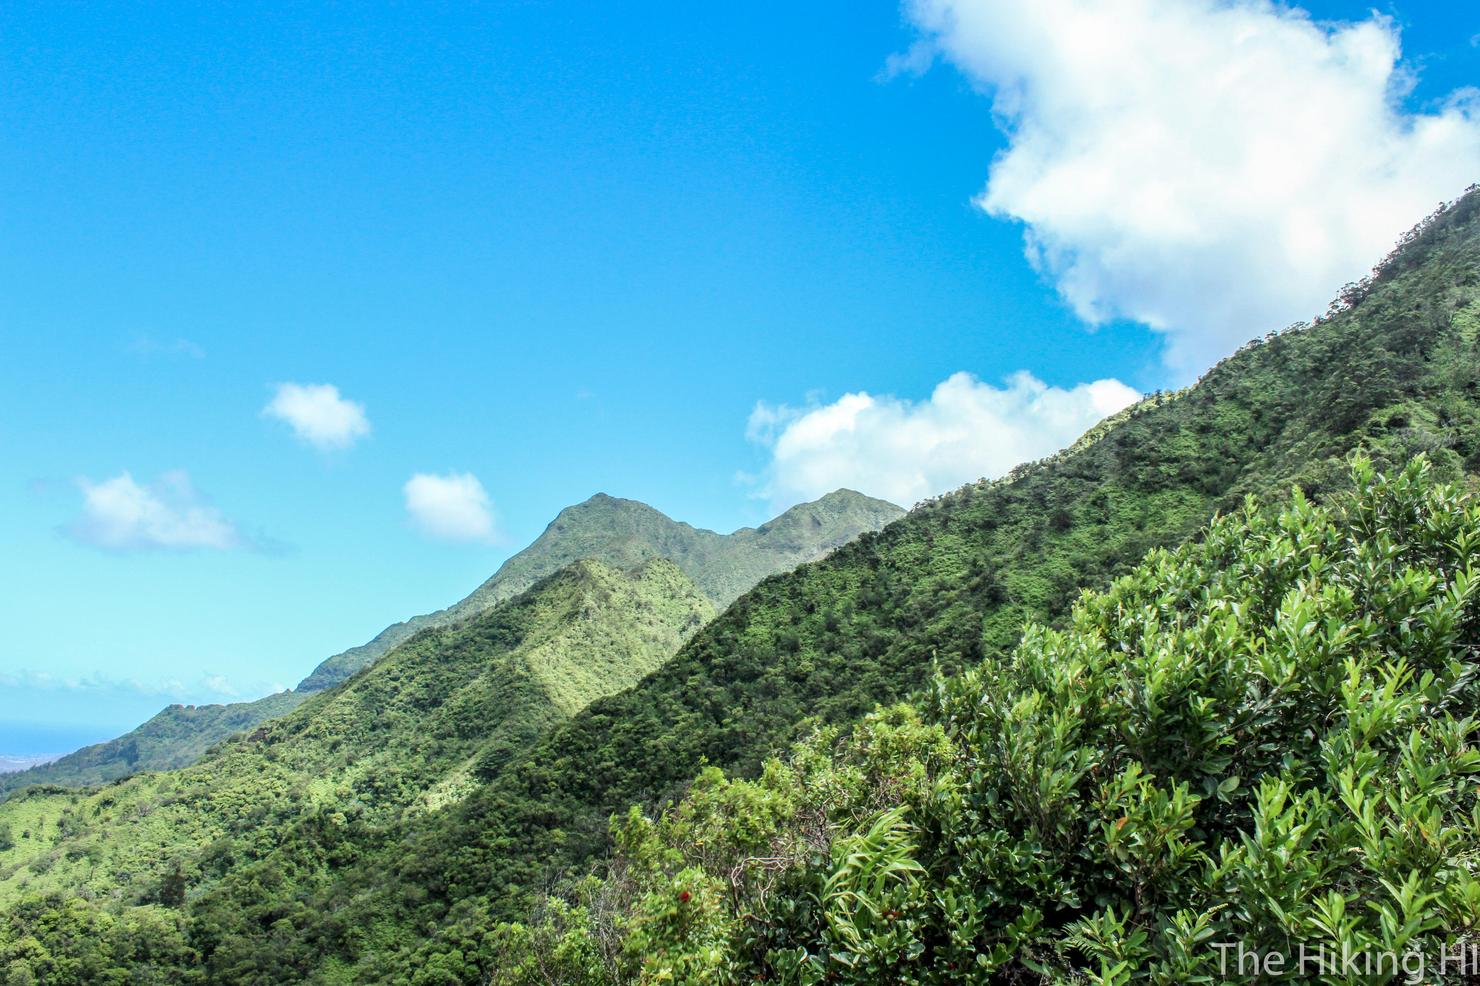
Because that is where the path has to get us. That peak on the right is our destination, K2. The left peak is K1 and the dip in the middle is the "saddle" that connects them. It looks pretty clear up there right now, let's hope it stays that way...
The trail is pretty straightforward, just follow the beaten down path. There was only one fork I noticed, and that was here. You want to follow this path left and uphill in order to stay on the snaking ridge line.
Because the ridge is where the views are (and it will get us to K2). I was amazed how far west you could see from here. That flat peak in the distance on the right, is Mount Ka'ala, the highest peak on Oahu.
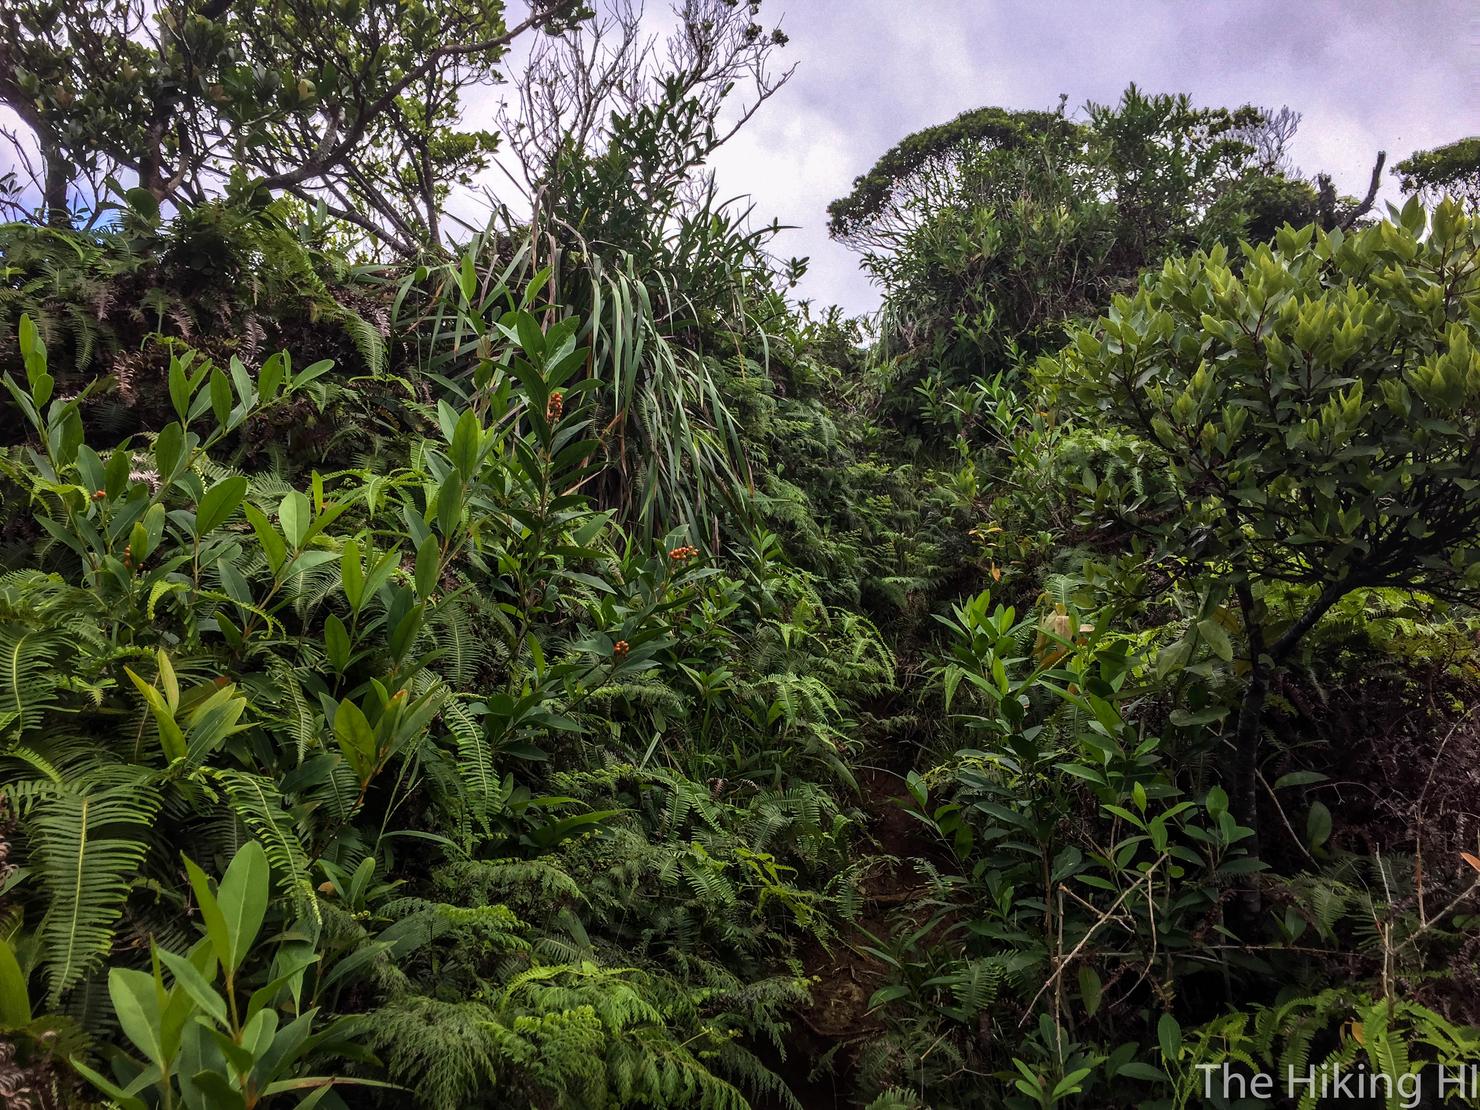
Eventually the trail changes to a more standard ridge, with dropoffs on both sides. This ridge isn't very narrow, and has plenty of brush on both sides.
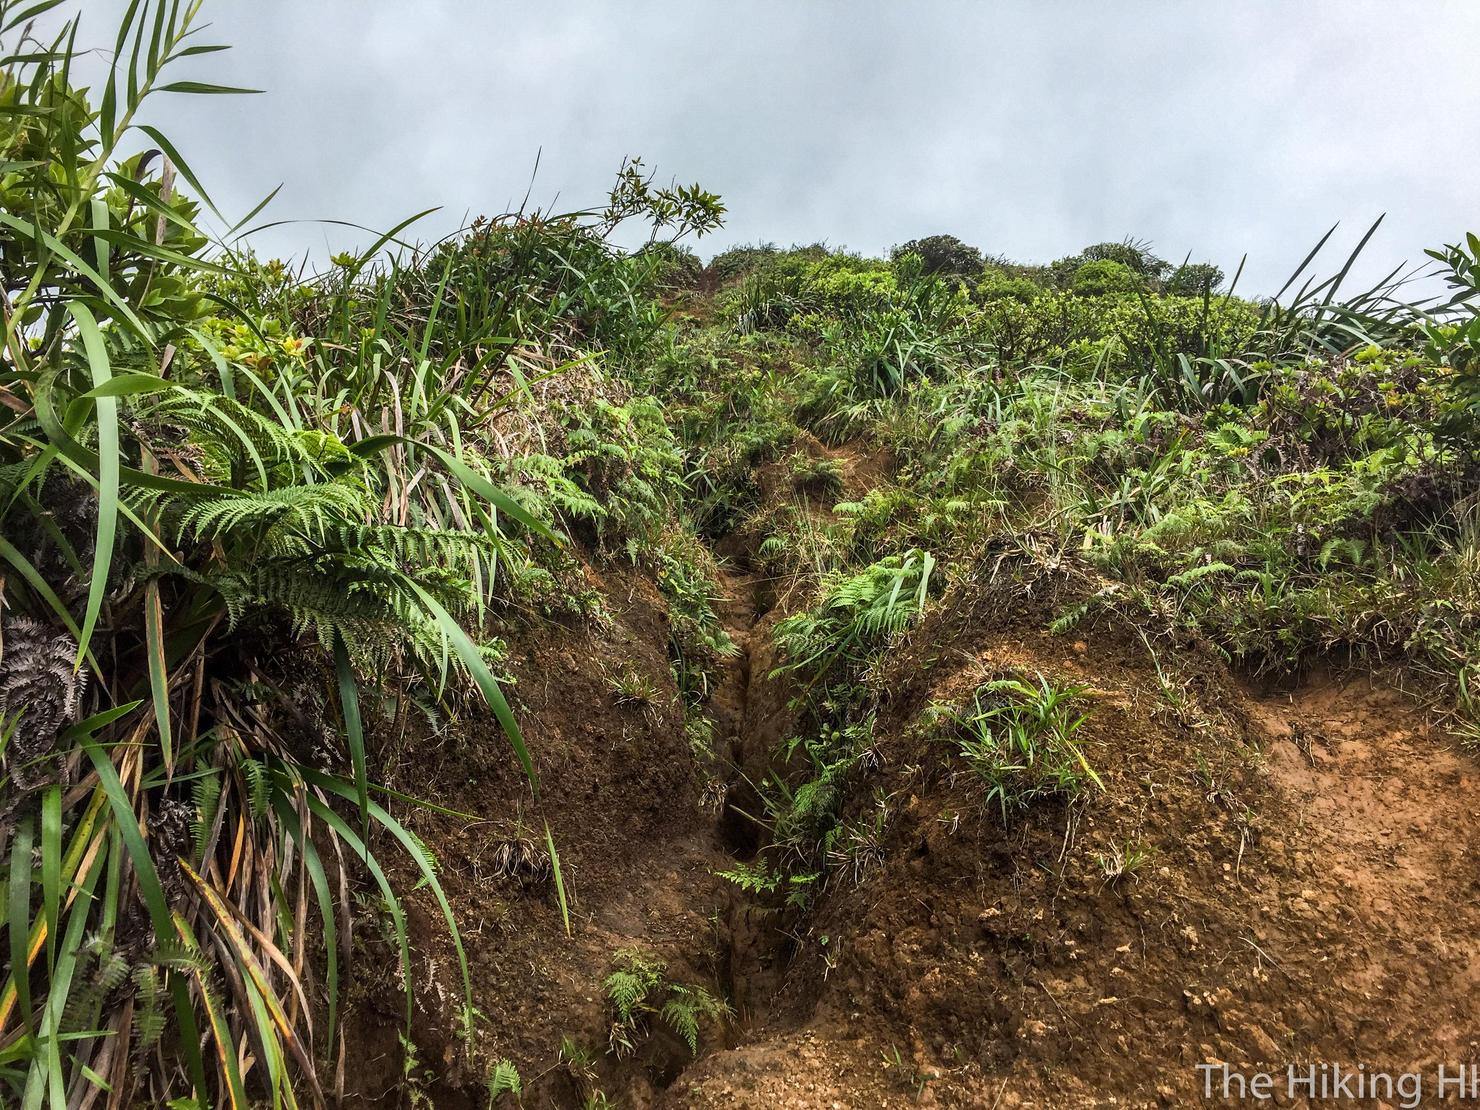
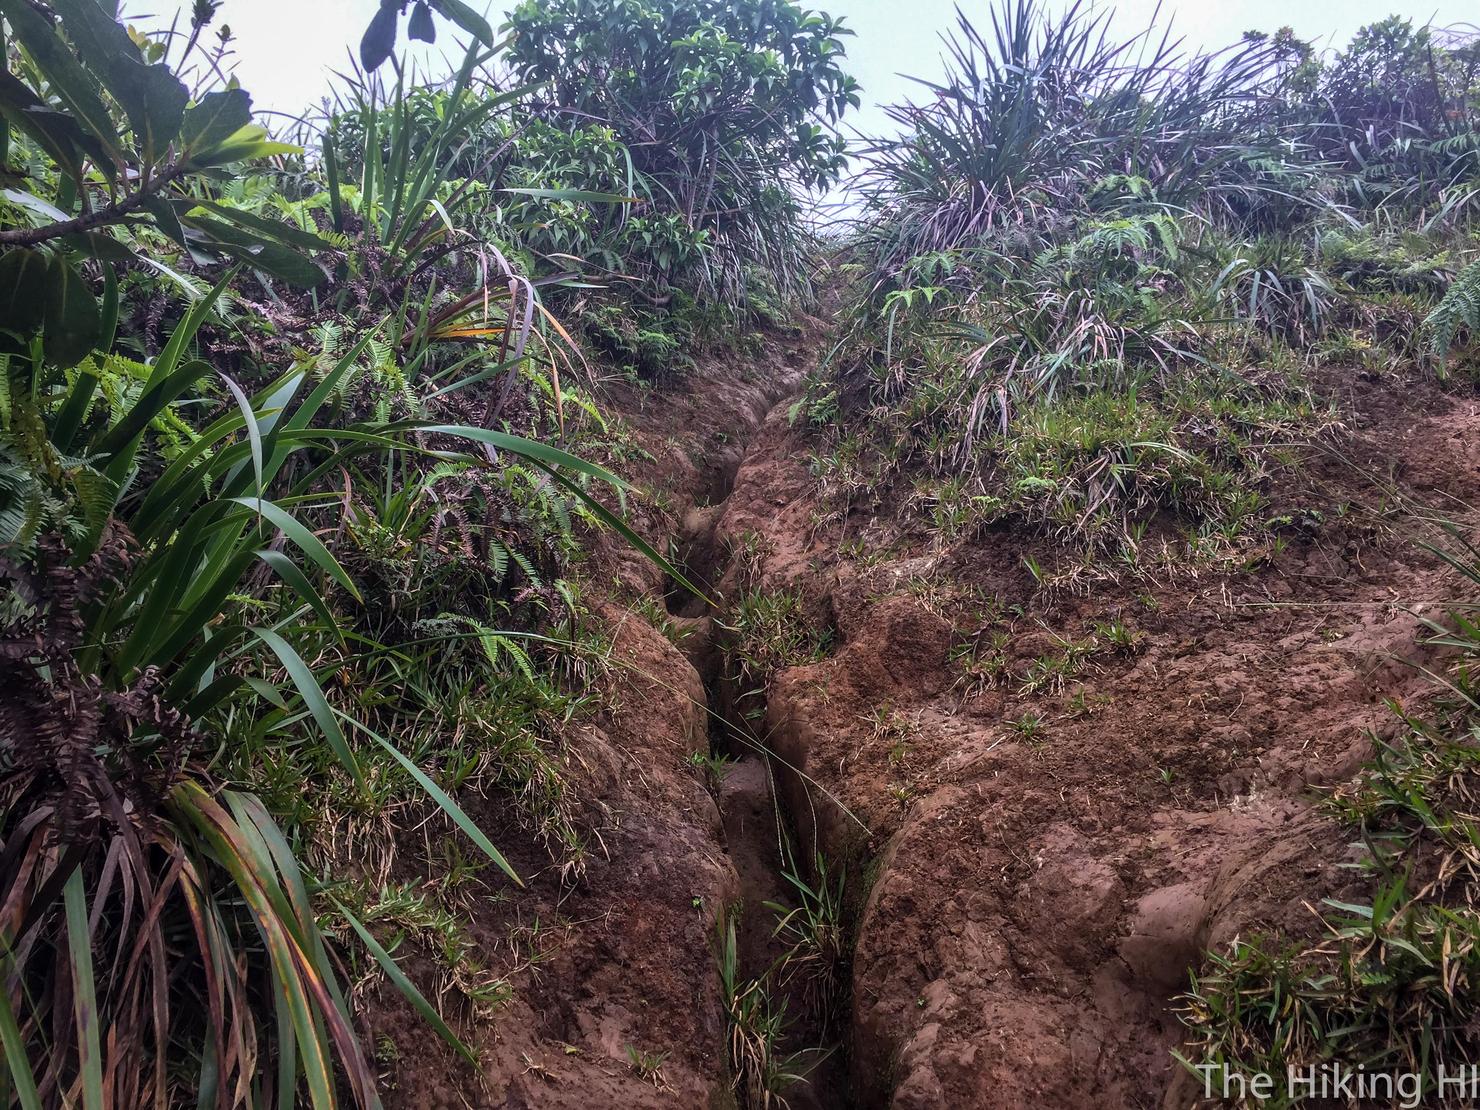
But it does gets significantly steeper and muddier. This portion is the most challenging part of the hike.
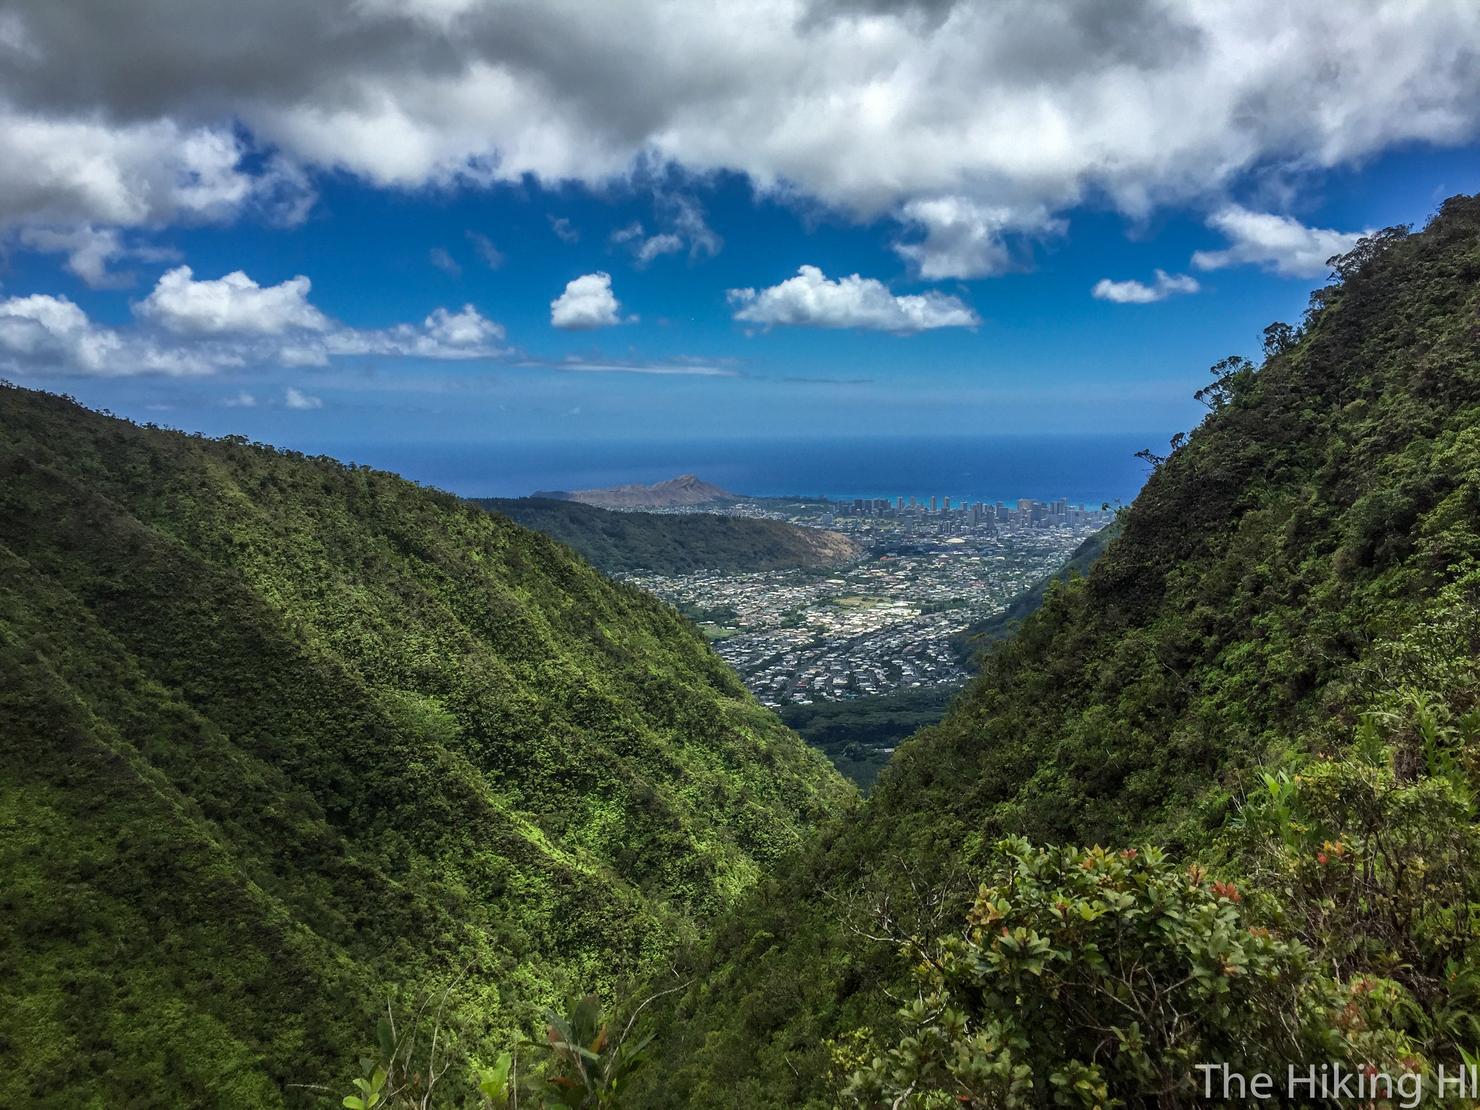
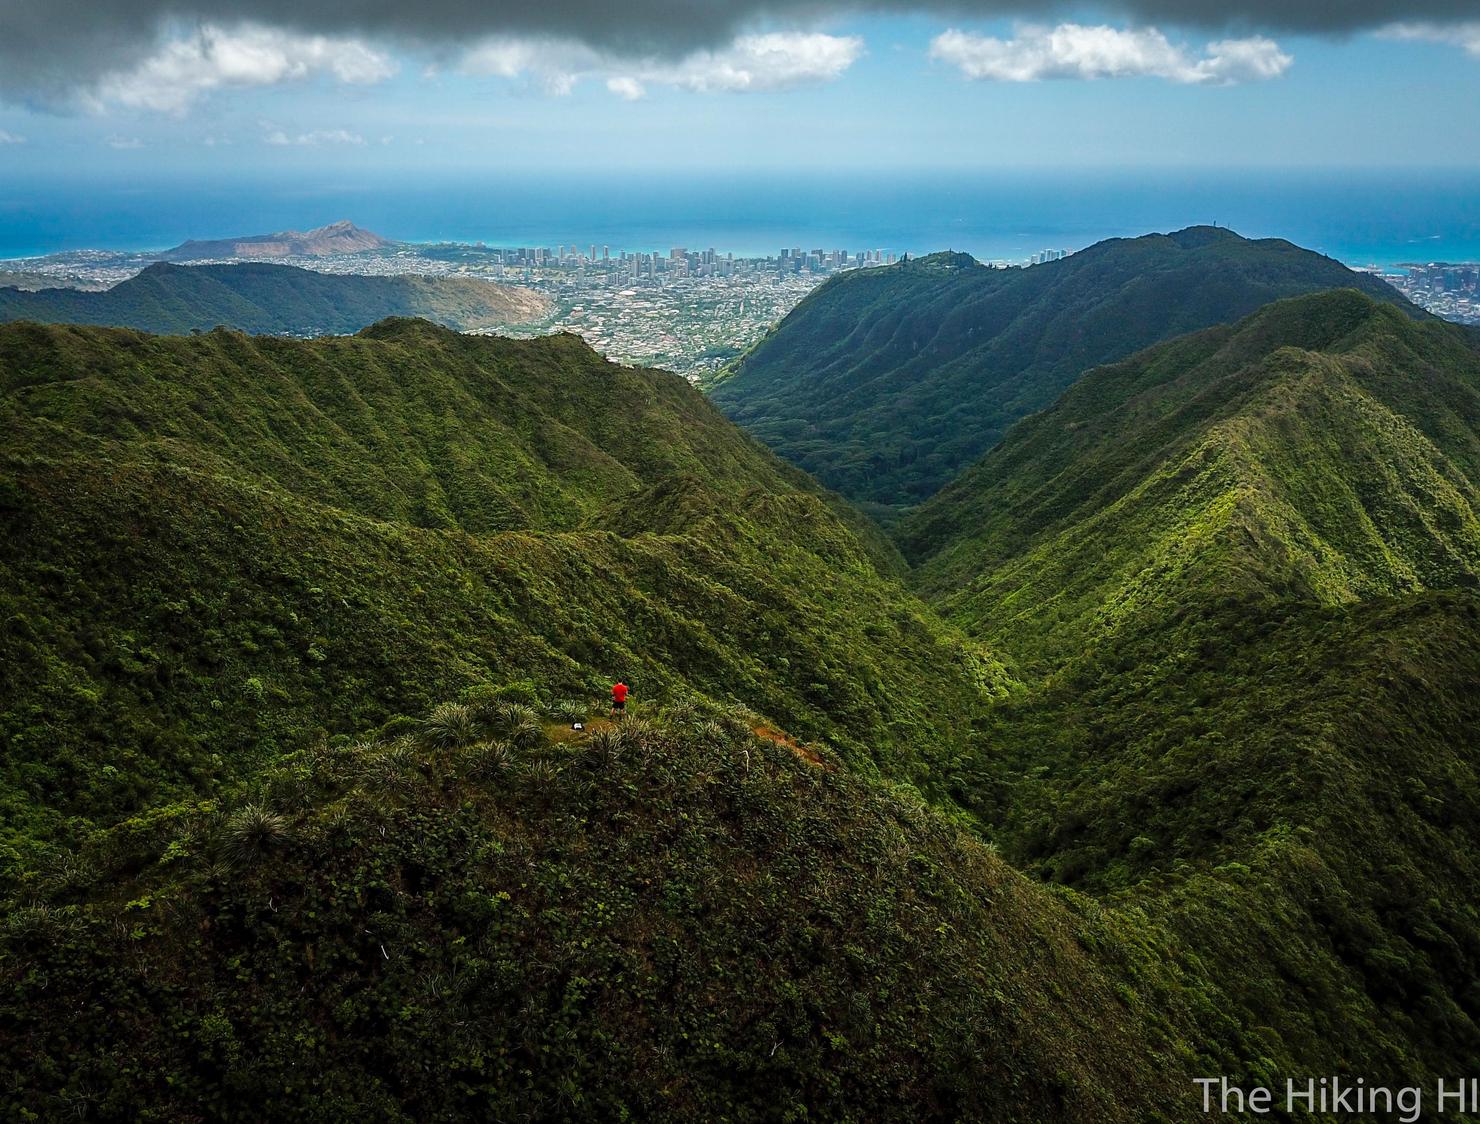
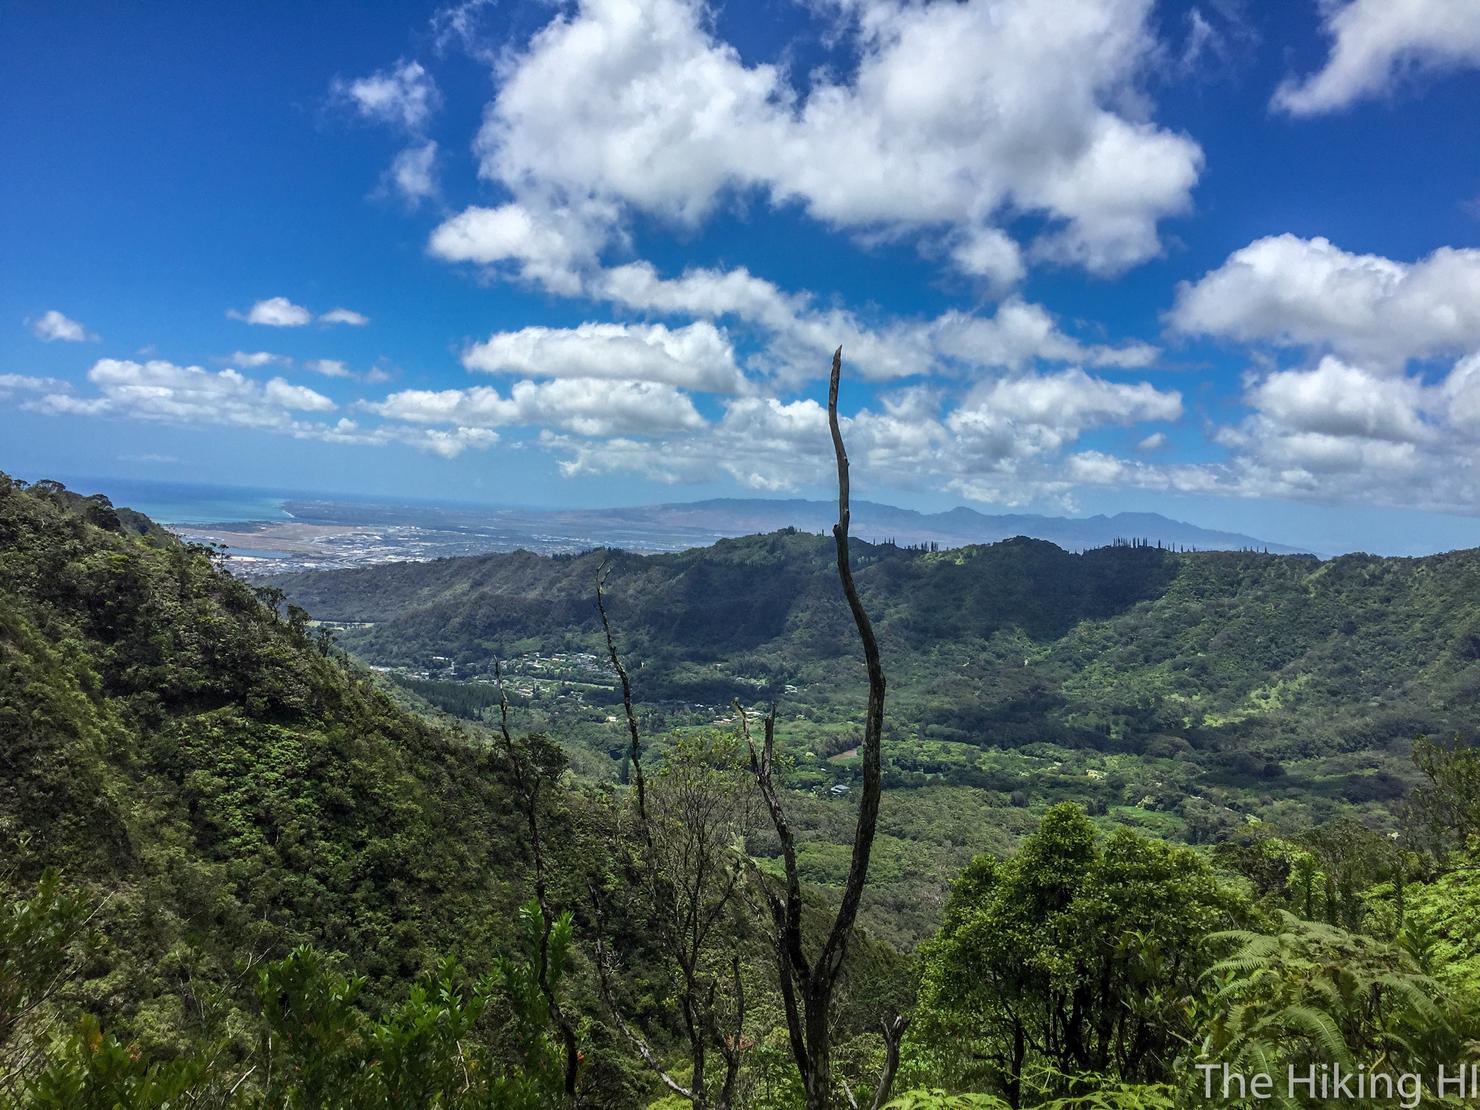
So when you feel tired, turn around and enjoy some beautiful views. You can see all the way to Honolulu and Diamond Head from this ridge. The scenery on this hike continued to exceed my expectations.
But we have a mission, to summit. So we push onward!
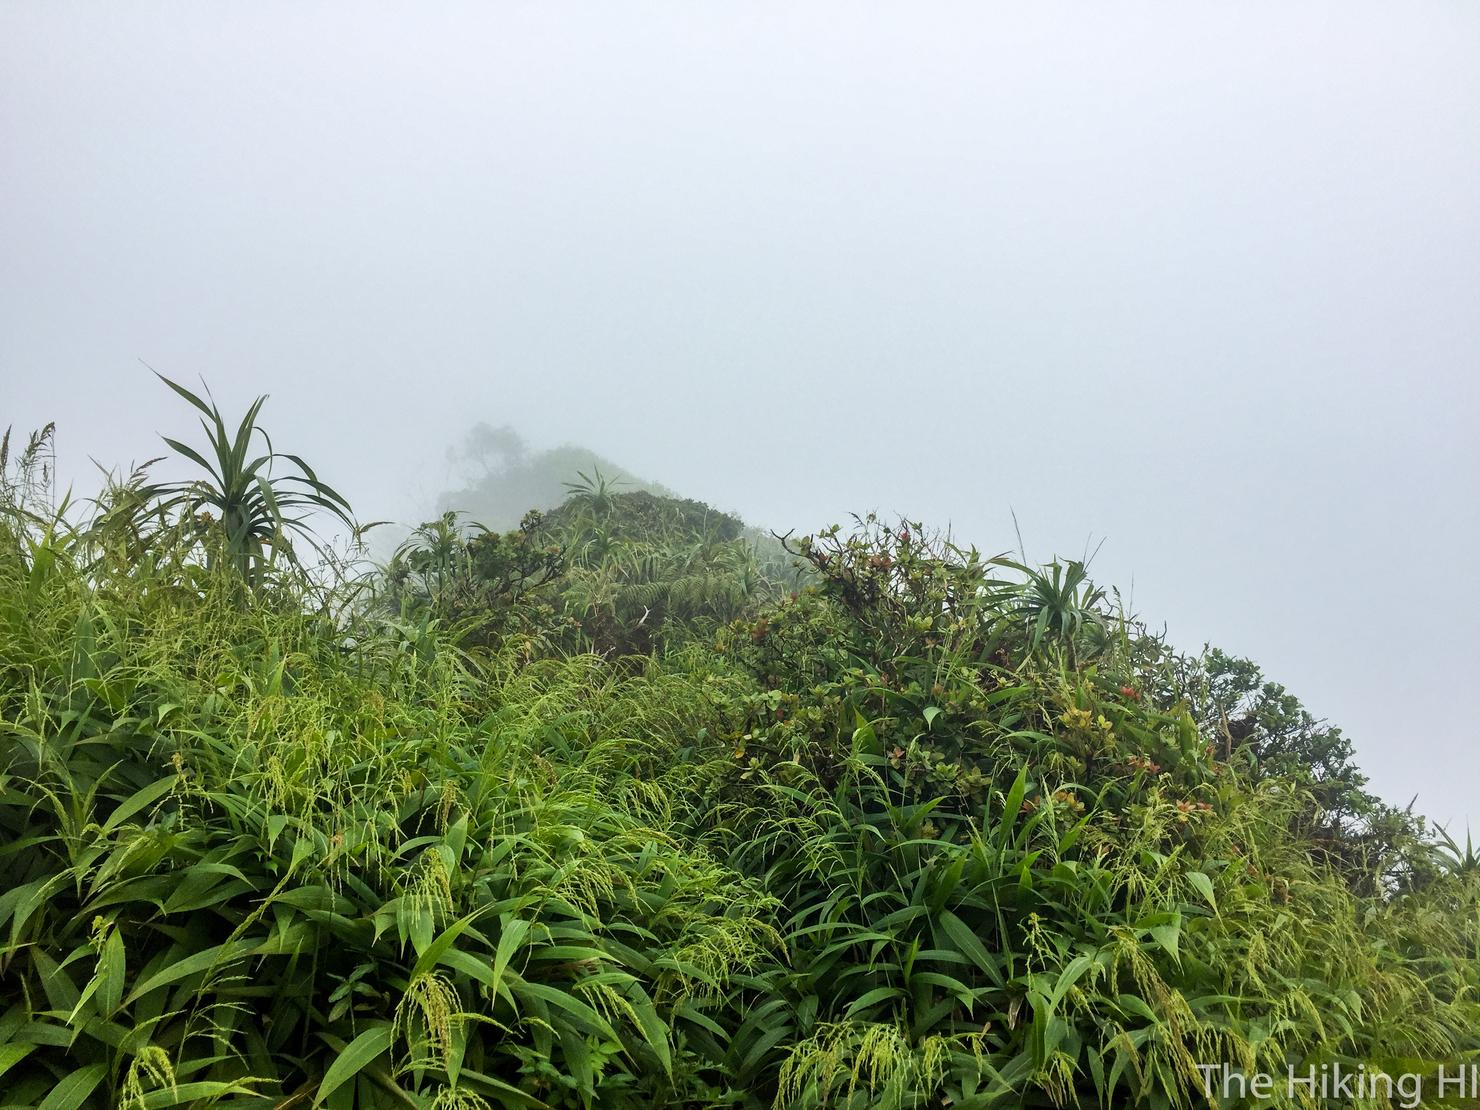
And we made it... Damn. I saw the clouds coming in before I made the final push to the summit and of course they blocked my views. Originally, my plan had been to continue along this ridge to K1. However, given how overgrown and muddy the connecting ridge is and the very small chance of seeing anything, I decided it wasn't worth the effort. Oh well, it just means I will have to come back! (I did end up summiting K1 via the Pali Notches a month later).
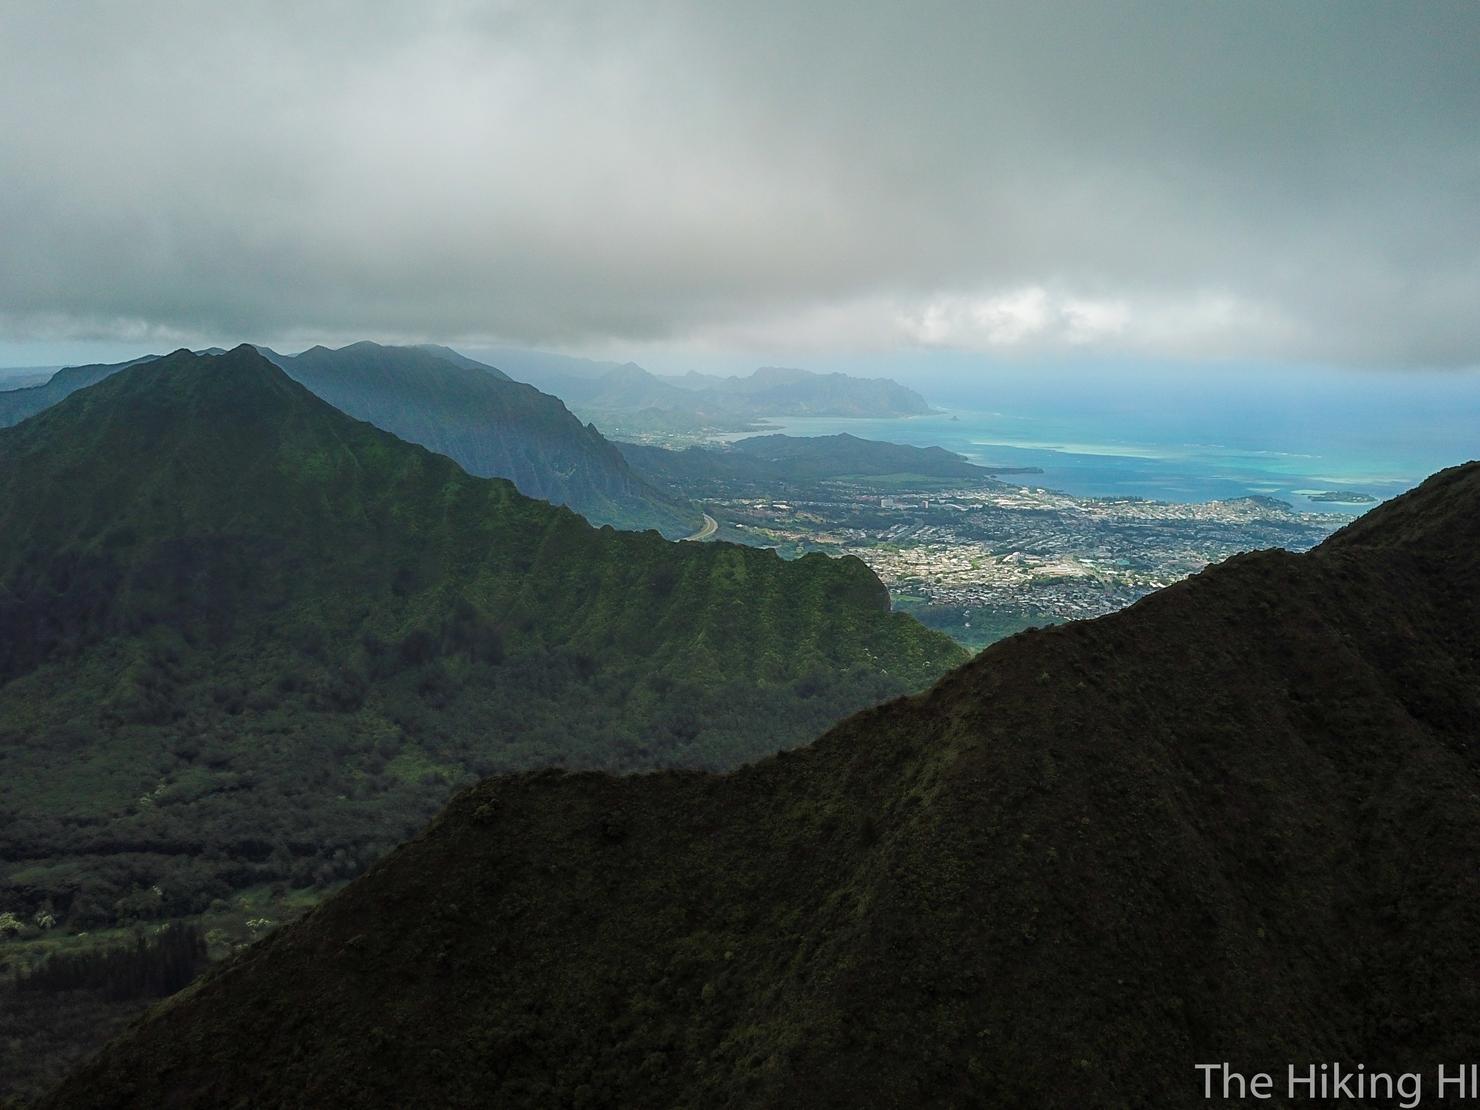
Instead, I decided to head back down the ridge so I could play with my drone. Here's a shot looking north along the windward coast.
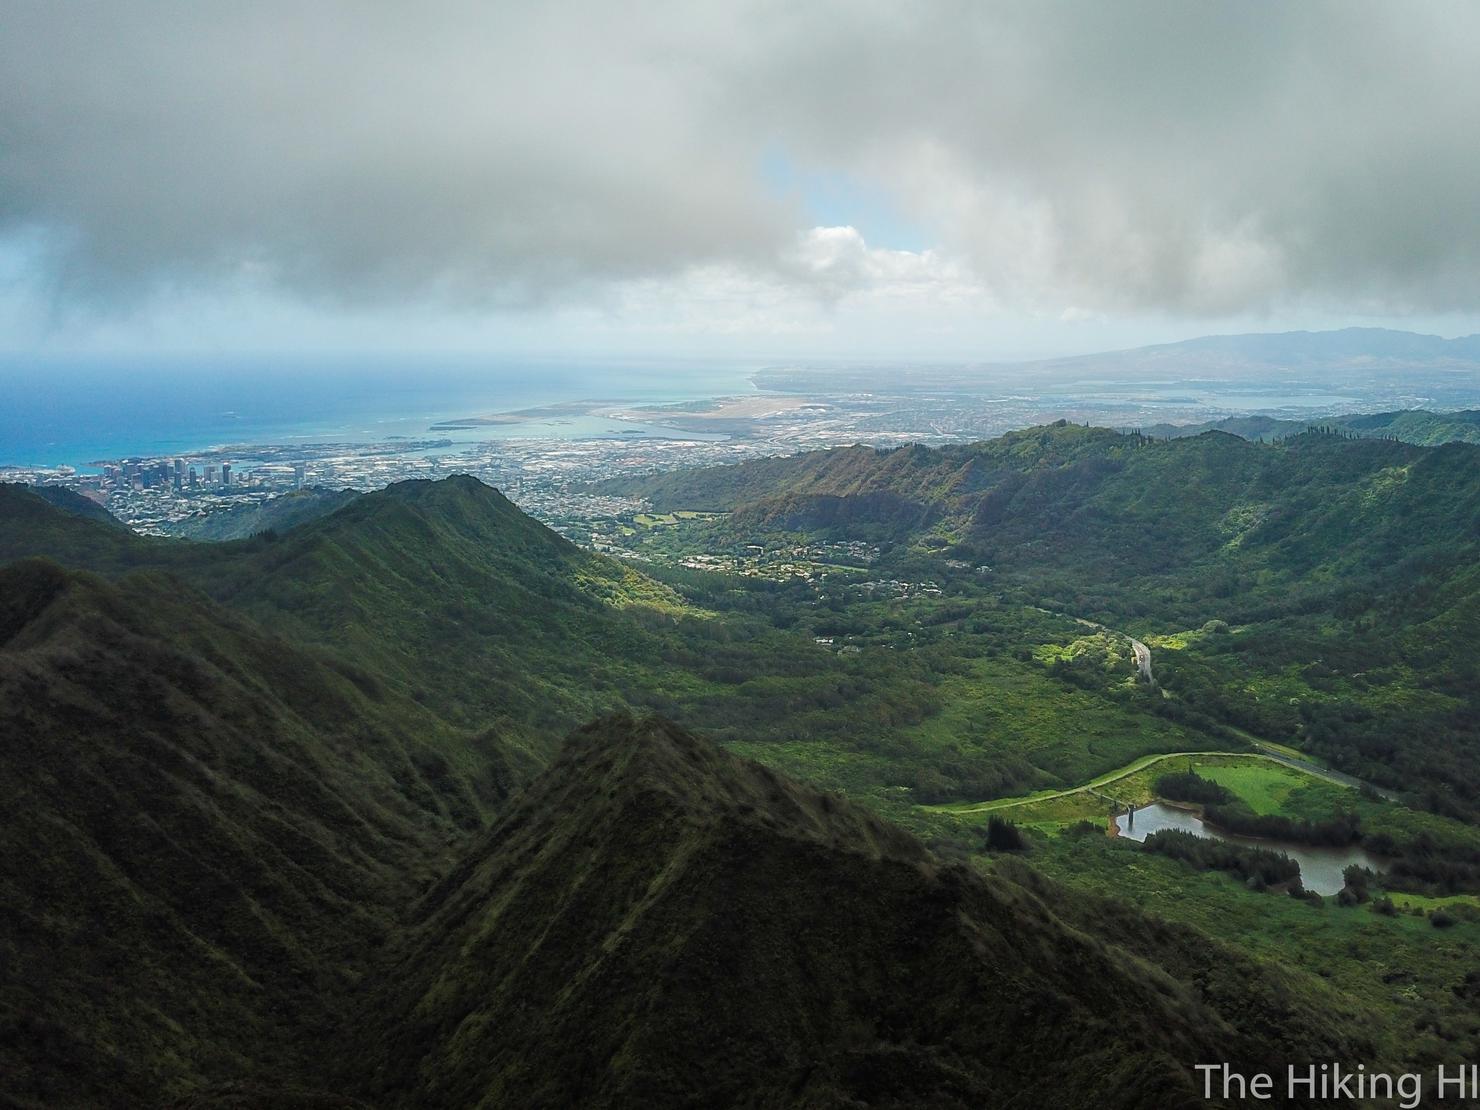
And another shot that captures the Pali Highway, valley, neighboring ridges and the west side.
And one final shot of me surrounded by this endless beauty. Pretty neat eh?
Check out my video of this exciting hike!