Difficulty: ADVANCED
Time: 4-5 HOURS
Distance: 4.5 MILES
Elevation Gain: 1650 FEET
Foot Traffic: HIGH
Challenges: Rock scramble, Free climbing, Steep and narrow ridges
Sights: The Peaks, The Mokes, K-Bay, Ko'olaus, Makapu'u
What to Bring: Water, Sunscreen, Snack, Shoes with good grip
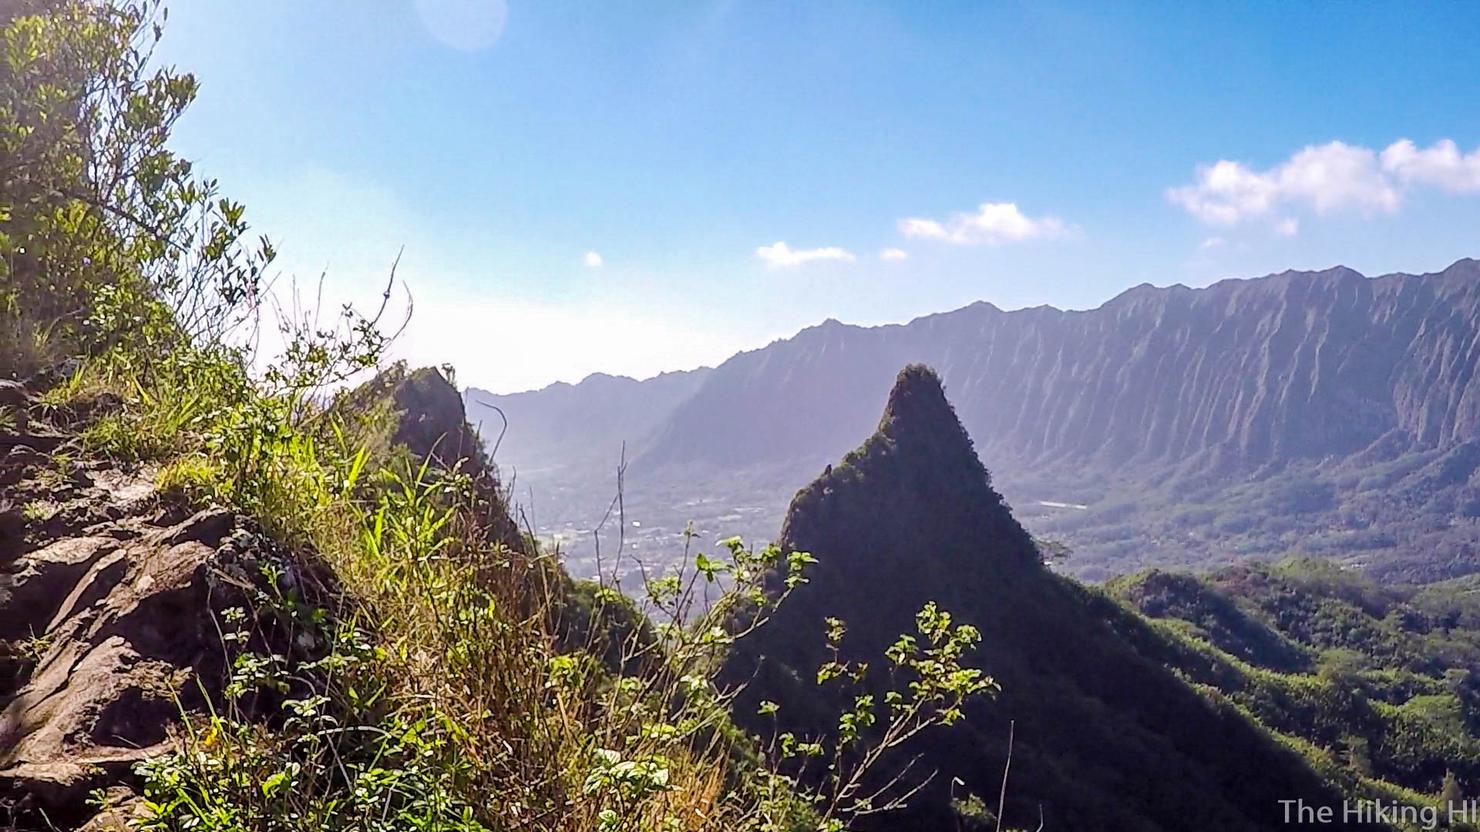
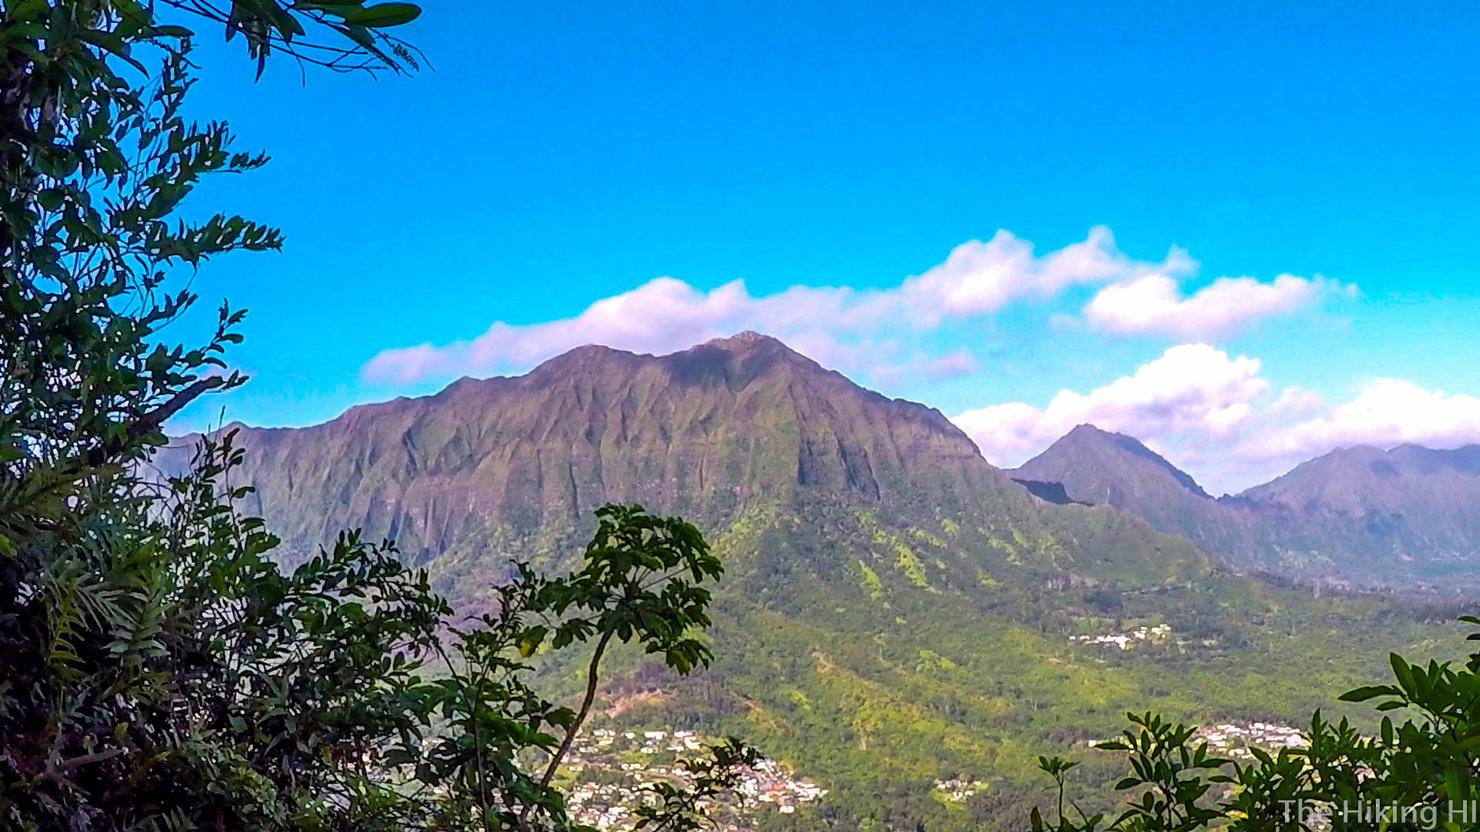
Despite its popularity, the Olomana Trail "Three Peaks Hike" is one of the more challenging and dangerous hikes on the island (assuming you go to all three peaks). It's a long slow hike up the First Peak (the tallest peak) with only one difficult rock climb near the end. Once you reach the first peak, you will be greeted with incredible views of the Windward coast and the Ko'olau Range as well as peaks 2 and 3.
Most people stop at this peak, but if you are more adventurous, you can continue on. The second peak is a short trip from the first with only minor climbing. The Third Peak, however, is the tough one. It requires descending a very steep cliff before climbing up a narrow rock ridge to reach the third peak. If you choose to complete this, know that you are risking serious injury. For some of us however, the juice is worth the squeeze.
It had been far too long since I'd hiked Olomana Three Peaks Hike, which is one of my favorite hikes on all of Oahu. It hits all my criteria for a good hike, physically challenging, some tough climbing, narrow ridges, and most importantly, amazing views. I decided to take my new hiking partner Chelsi with me to show her all its beauty. What an amazing adventure we were in for!
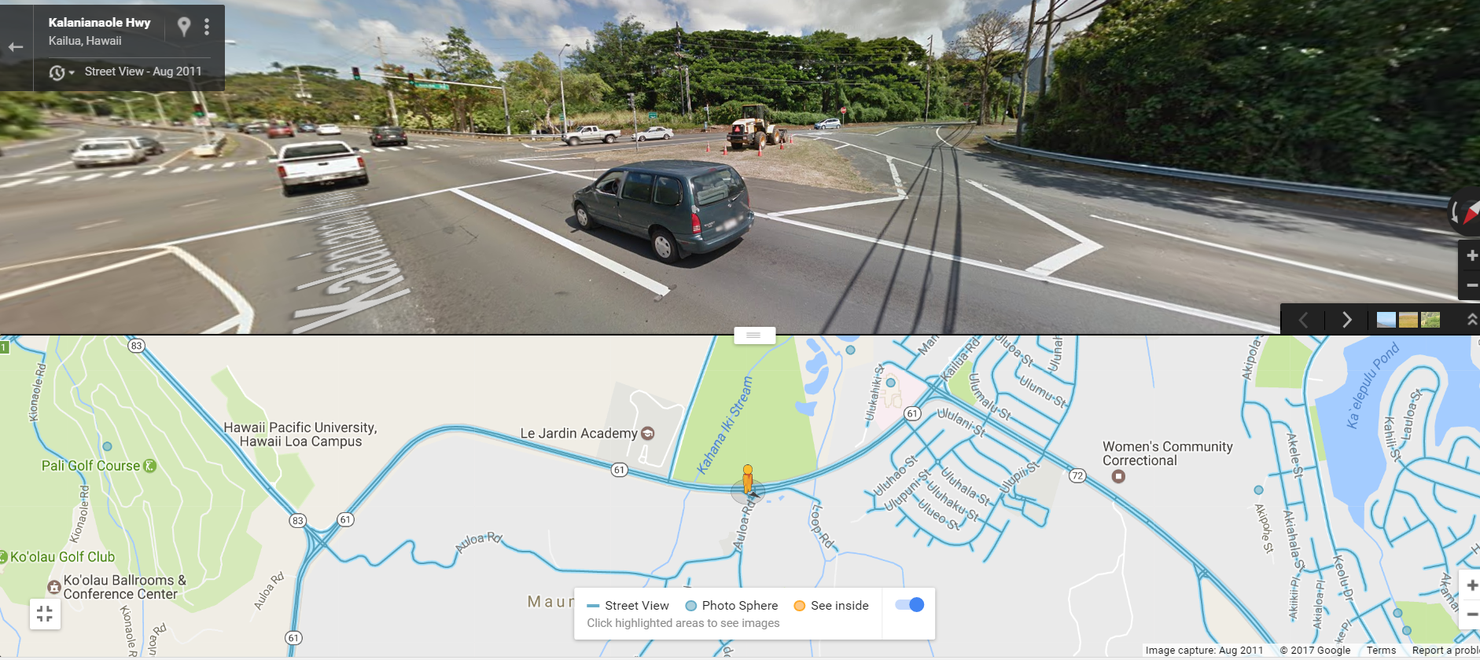
The hike starts on Loop Road just off the Pali Highway. You will have to park somewhere along Auloa Road (road on the top right of the screenshot) because it is illegal to park on the road leading up to the hike. If you park on Loop Road, you WILL BE TOWED.
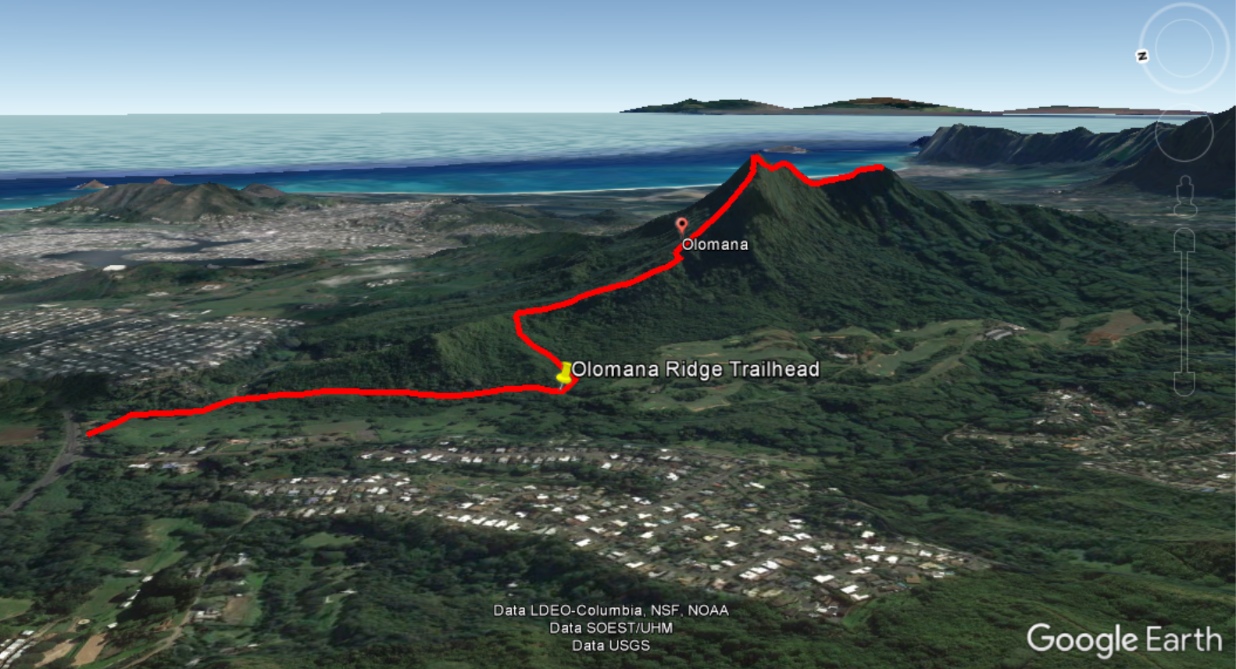
A Google Earth shot of Olomana Ridge. I consider Three Peaks one of the most iconic landmarks of the Windward side (maybe only second to the Mokes).
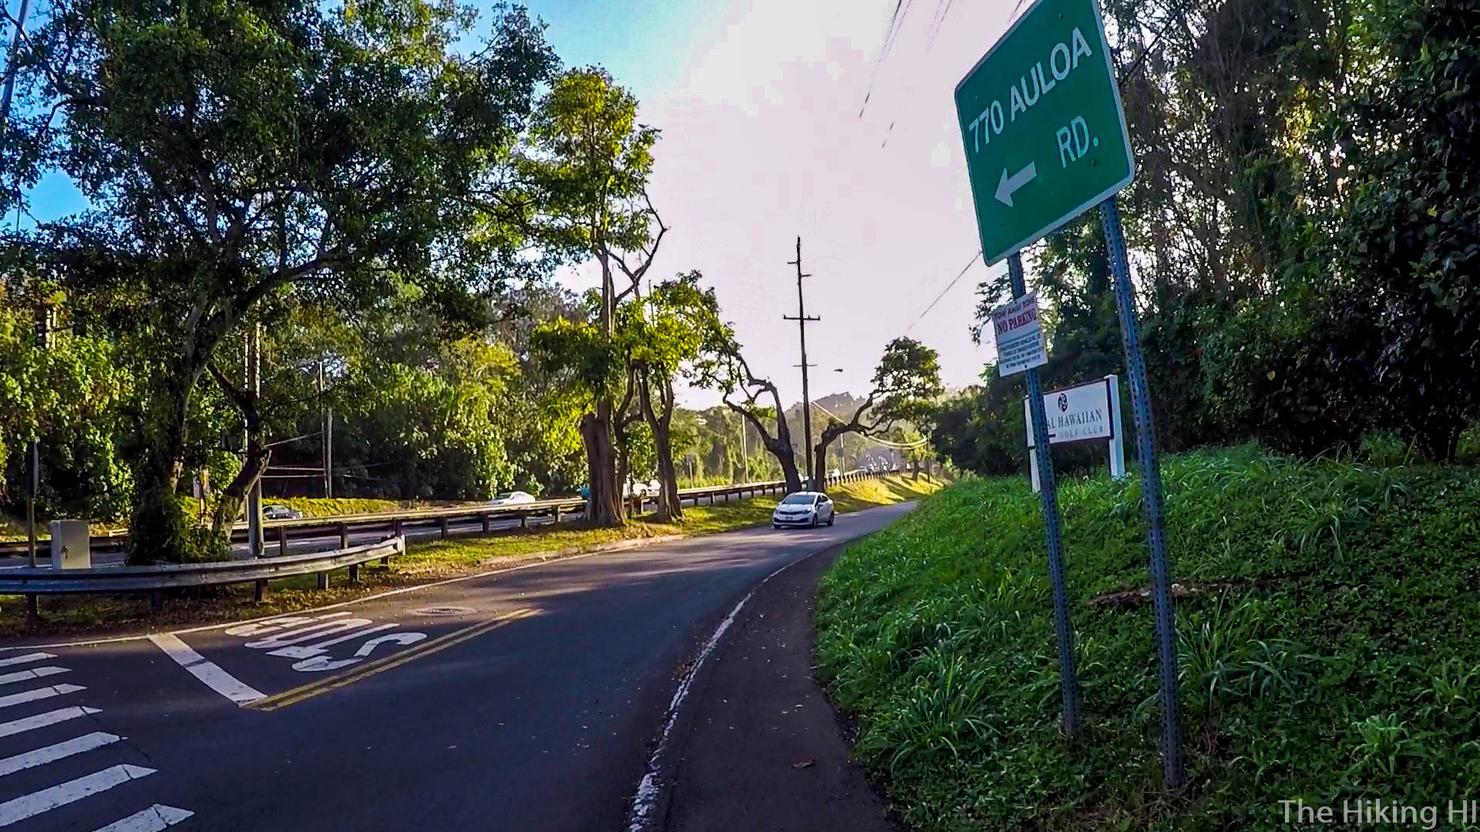
Here is Auloa Rd. It's the road that leads you to the Royal Hawaiian Golf Club. Unless you have some nice friends to drop you off at the trailhead, you will have to make this walk up the road. There's nothing wrong with doing it, it just doesn't feel quite like hiking when you're not on a trail.
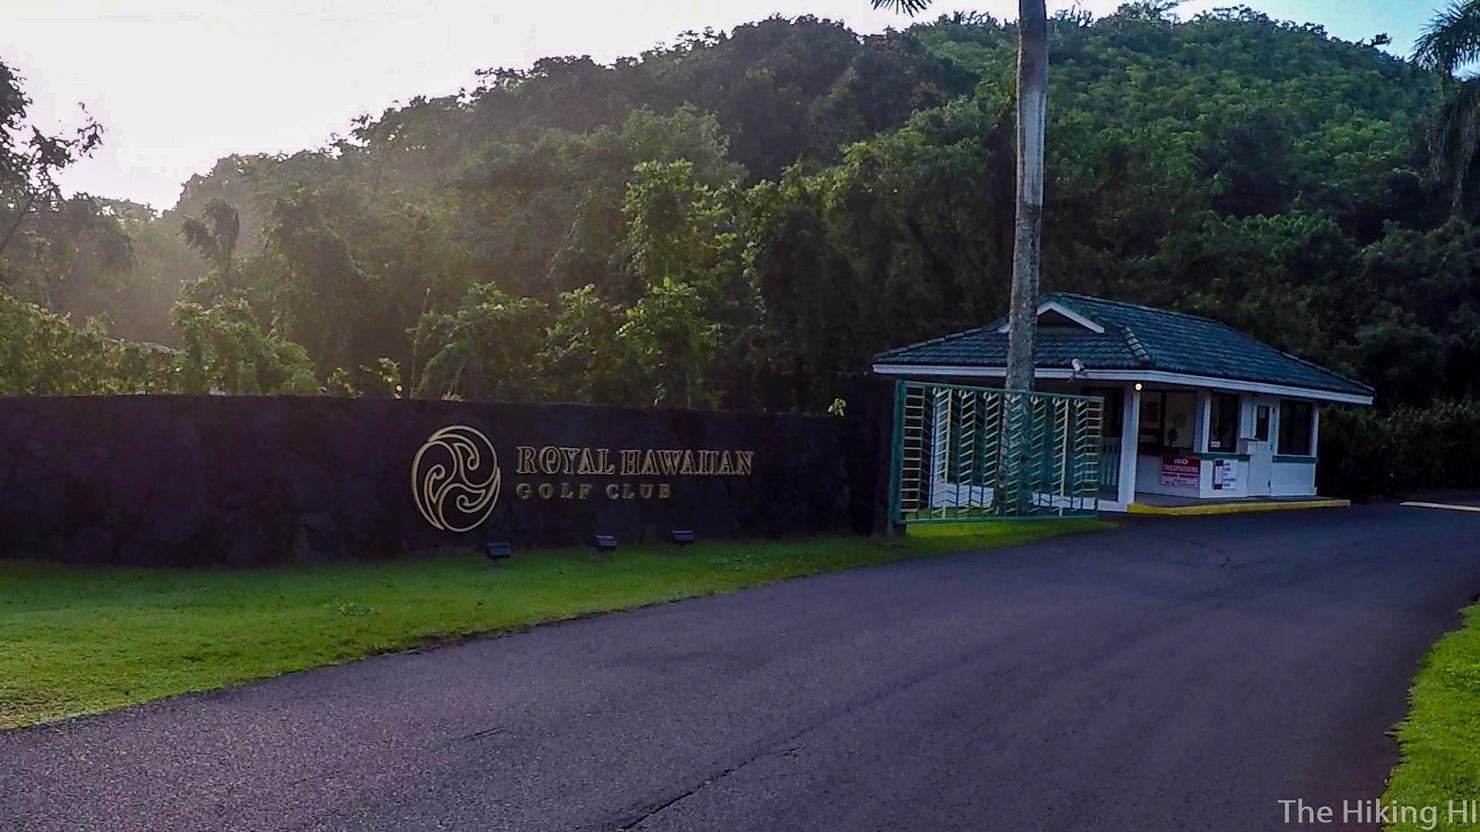
Eventually you will pass the guard to the golf course. The first time I did this hike, I was nervous he was going to stop us. Don't worry, it's his job to track the number of people that do this hike. Despite its difficulty, this hike is legal.
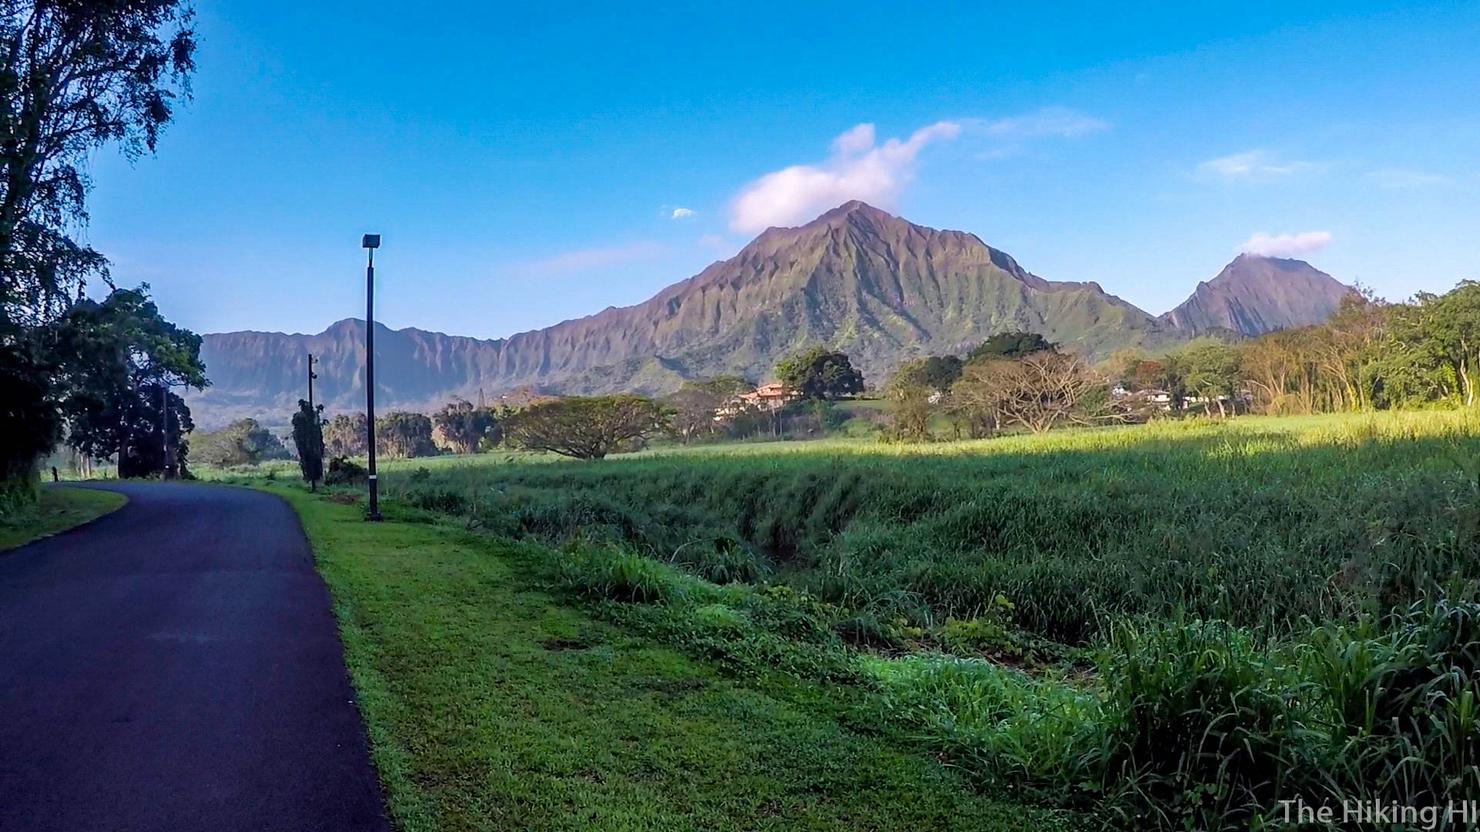
I guess the road isn't that terrible. You do have these amazing views. That peak is Konahuanui 1, AKA "K1", the highest peak in the entire Ko'olau mountain range. I made the venture there via the Pali Notches, which was one of my more extreme hikes.
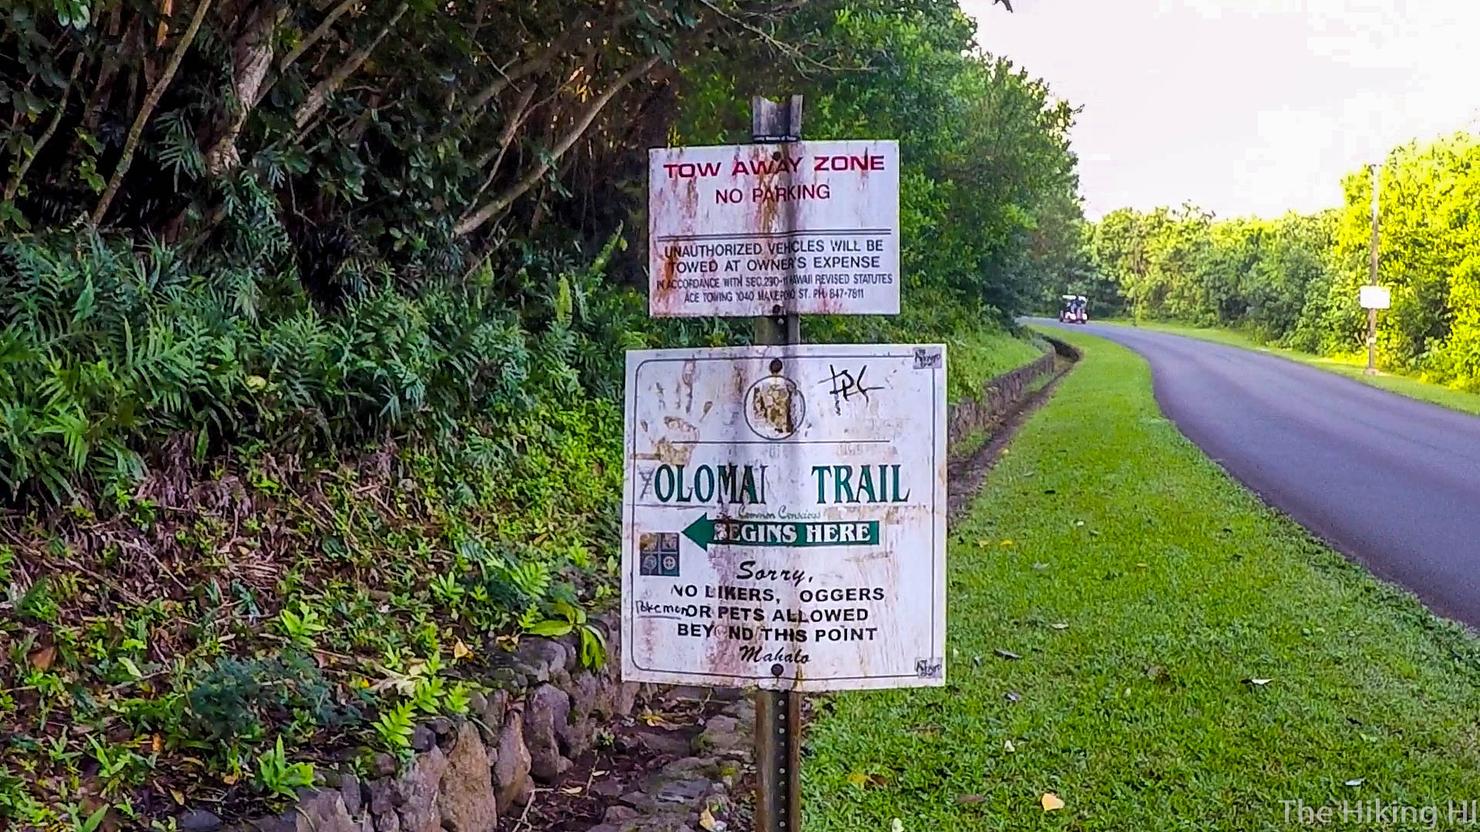
After walking on Loop Road for about a mile, you will reach the trailhead on the left side of the road. This sign has seen better days, but it should be easy to spot.
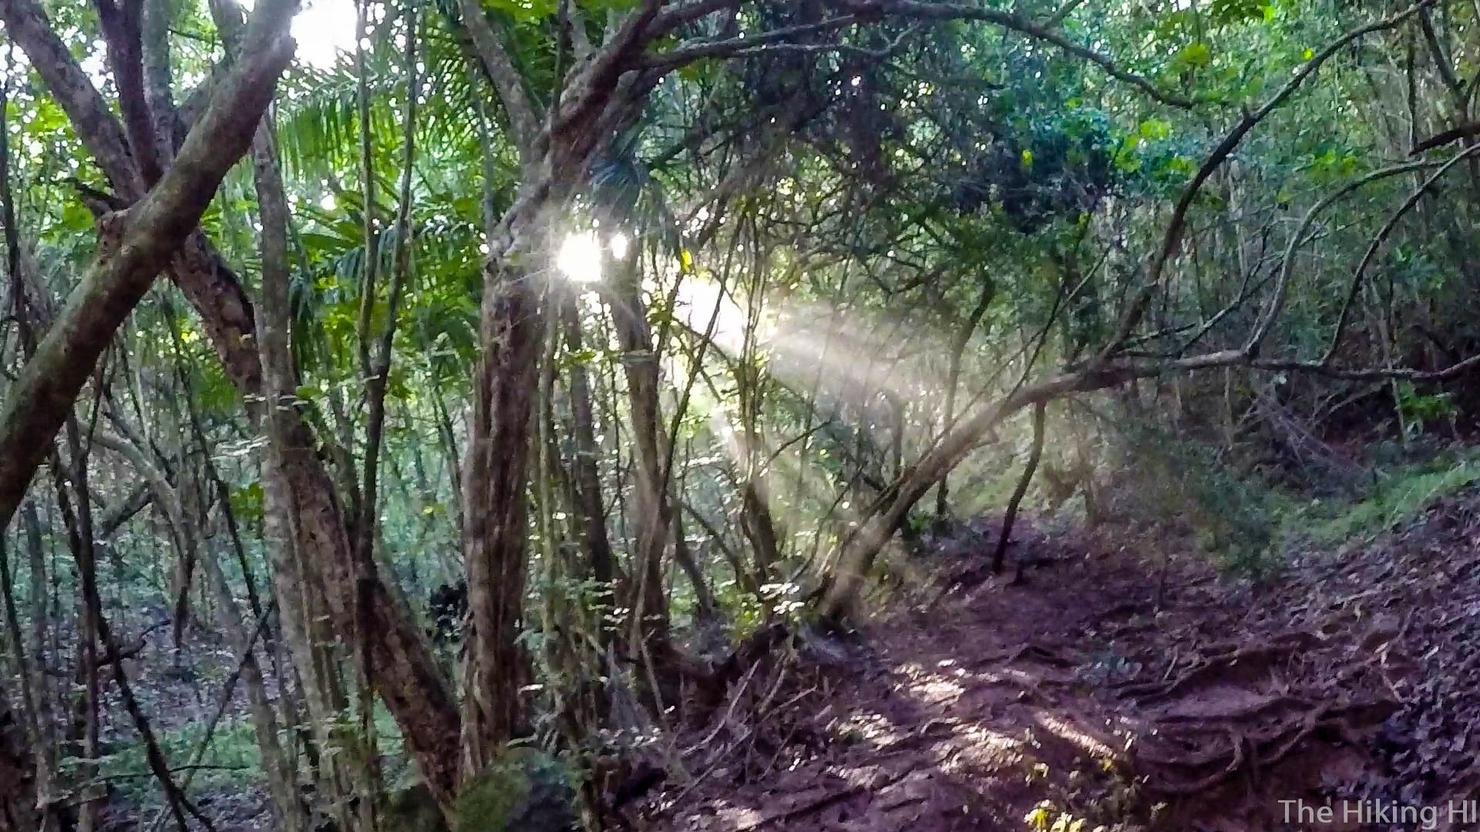
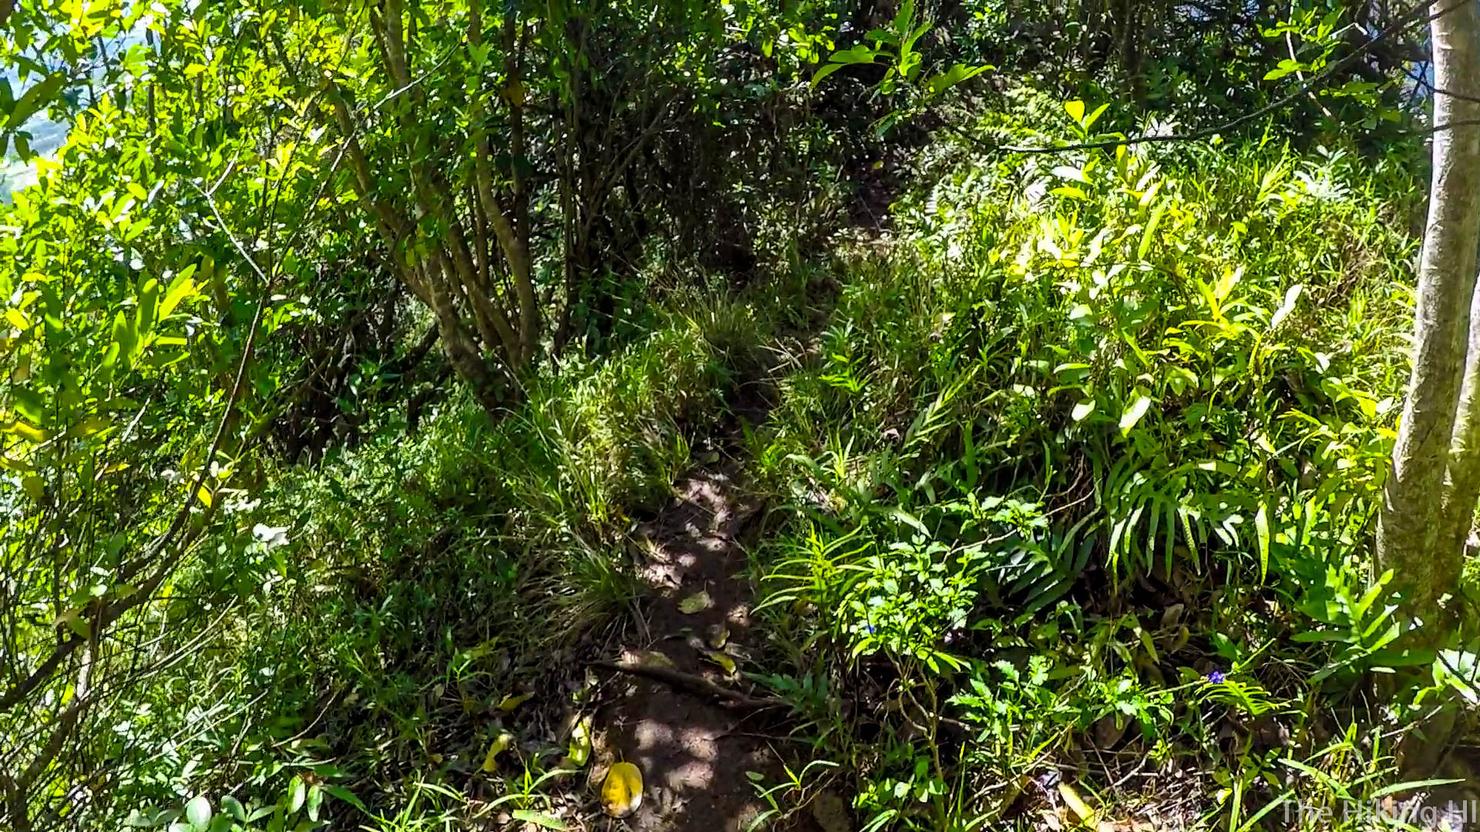
This first part of the hike isn't too steep and has some nice shade. It can be a little muddy though. Since we started this hike early, I was able to get a nice shot of the sunburst through the trees.

After walking on the trail for about 20 minutes, you will come to the only fork on this hike. It's obvious you turn right to go up the mountain, but it is possible to miss this on the way back down (I've done it before).
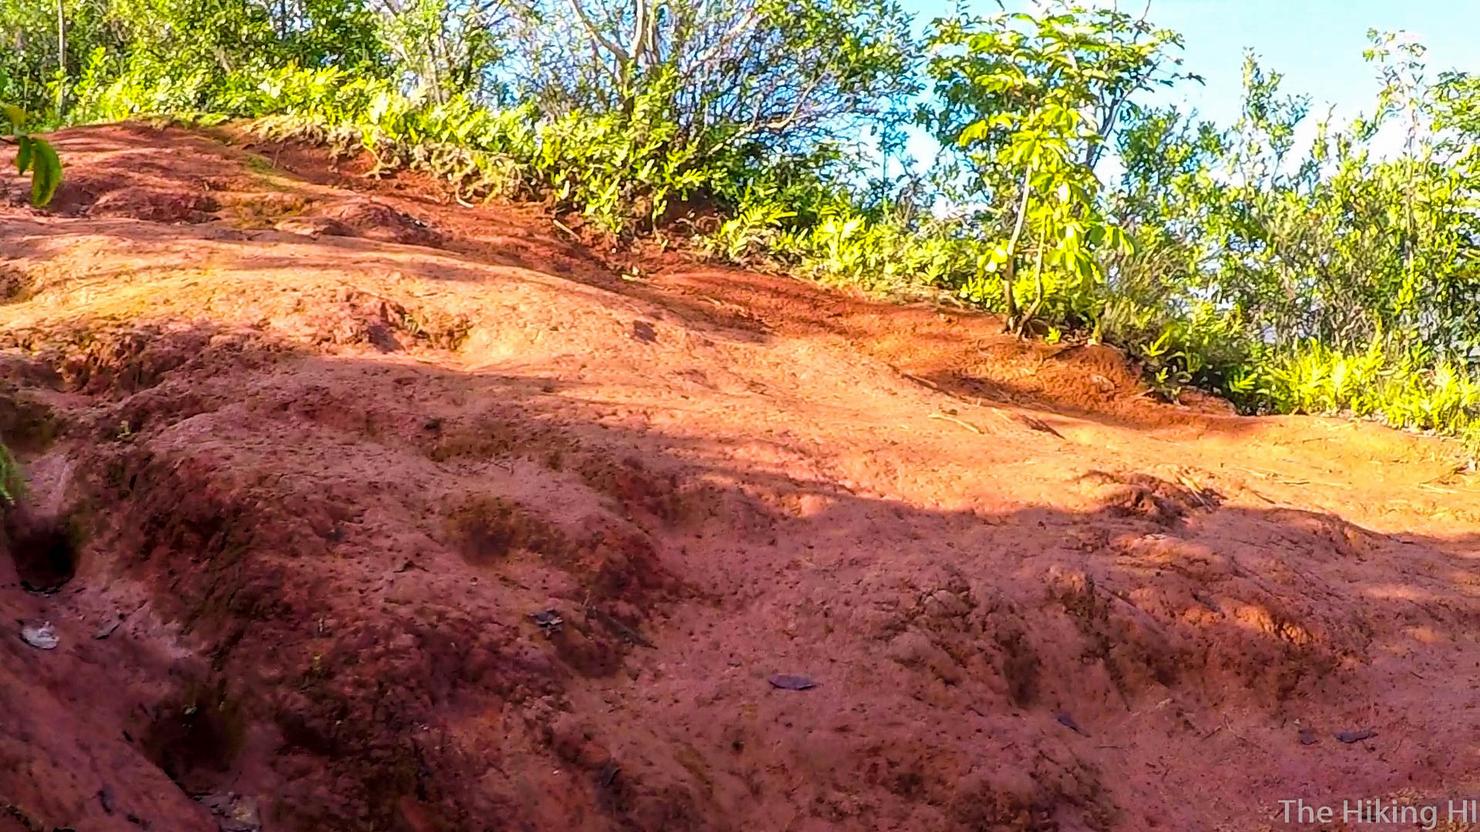
This is a good reference point on the return hike. Once you reach the red dirt, the trail back to the road will be shortly after.
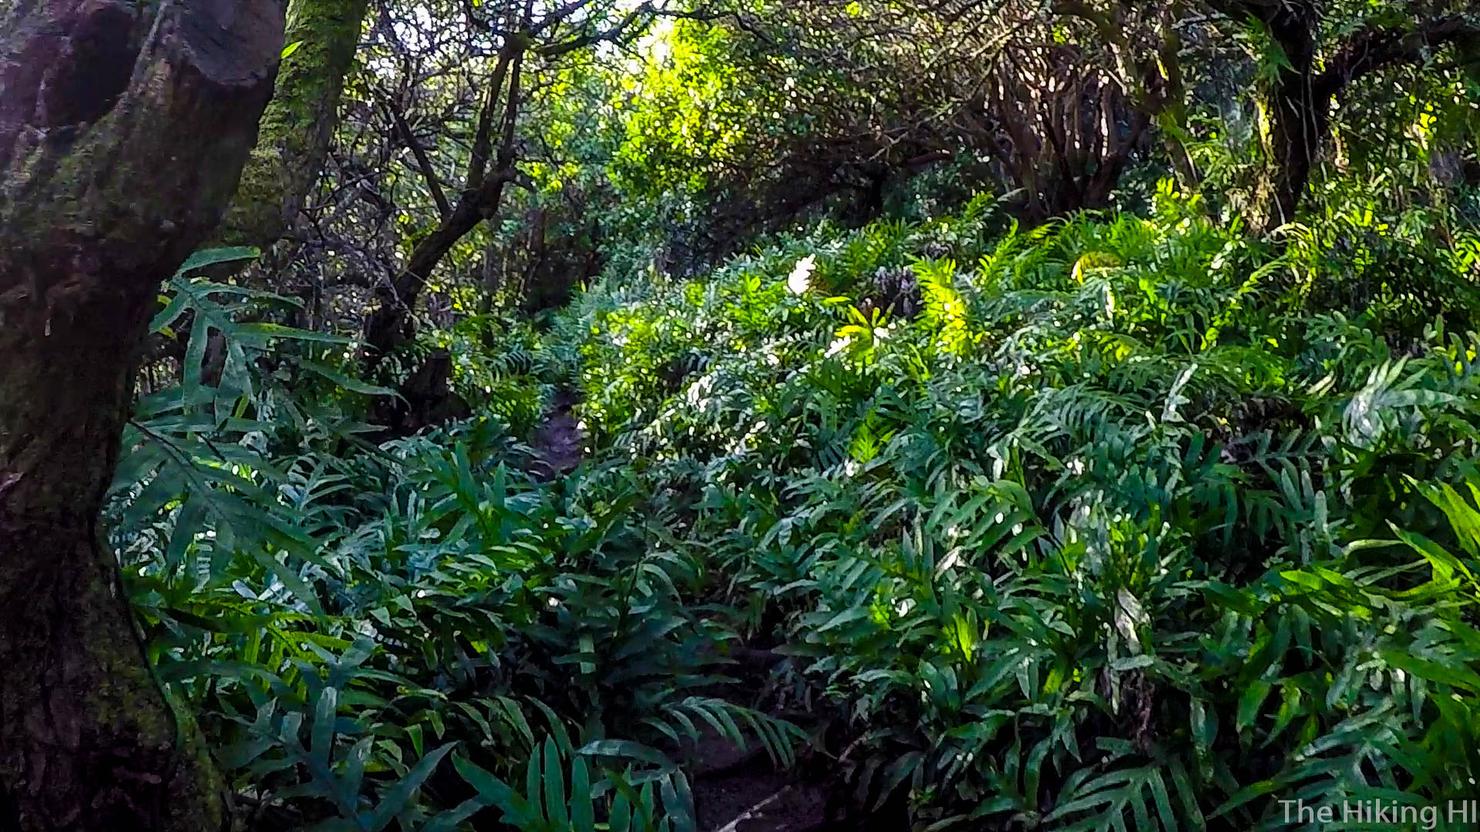
This is where the physical challenge of this hike begins. It is nice and shaded, but it is a long and gradual uphill. You will definitely break a sweat.
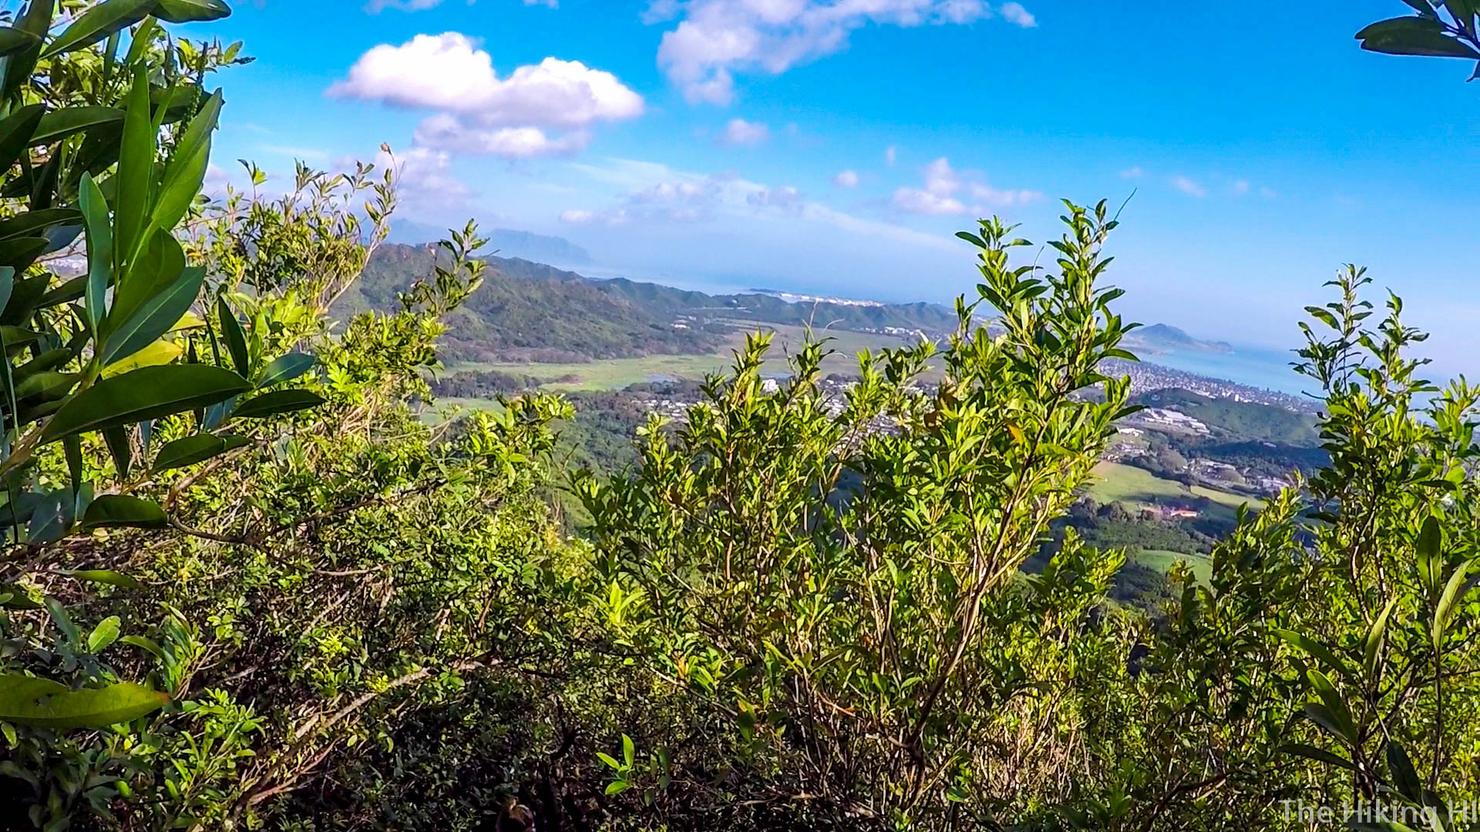
So when you get tired, just take a break and turn around. There's plenty of gaps in the trees to snag some good looks at K-Bay and the Ko'olaus.
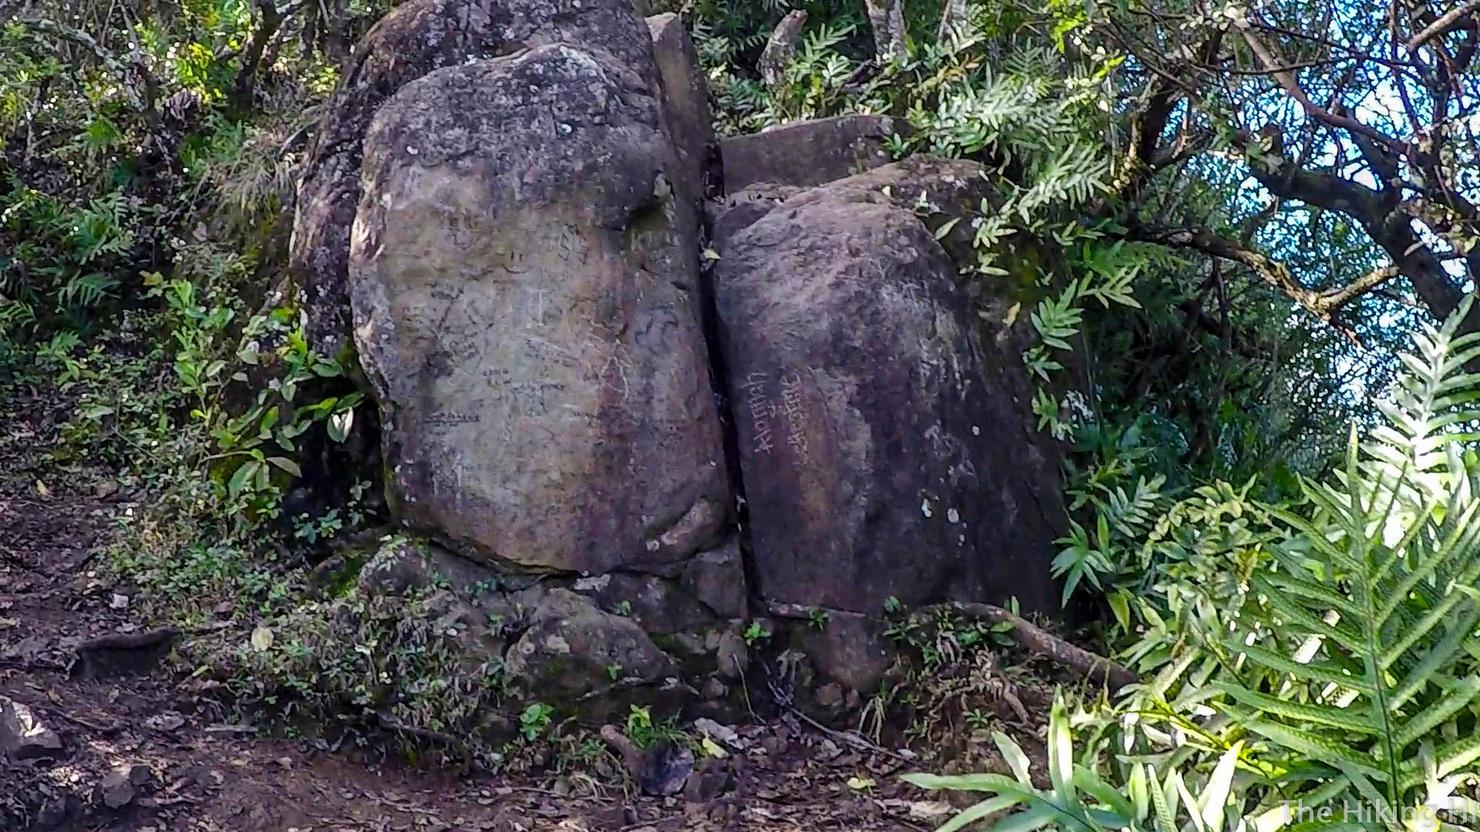
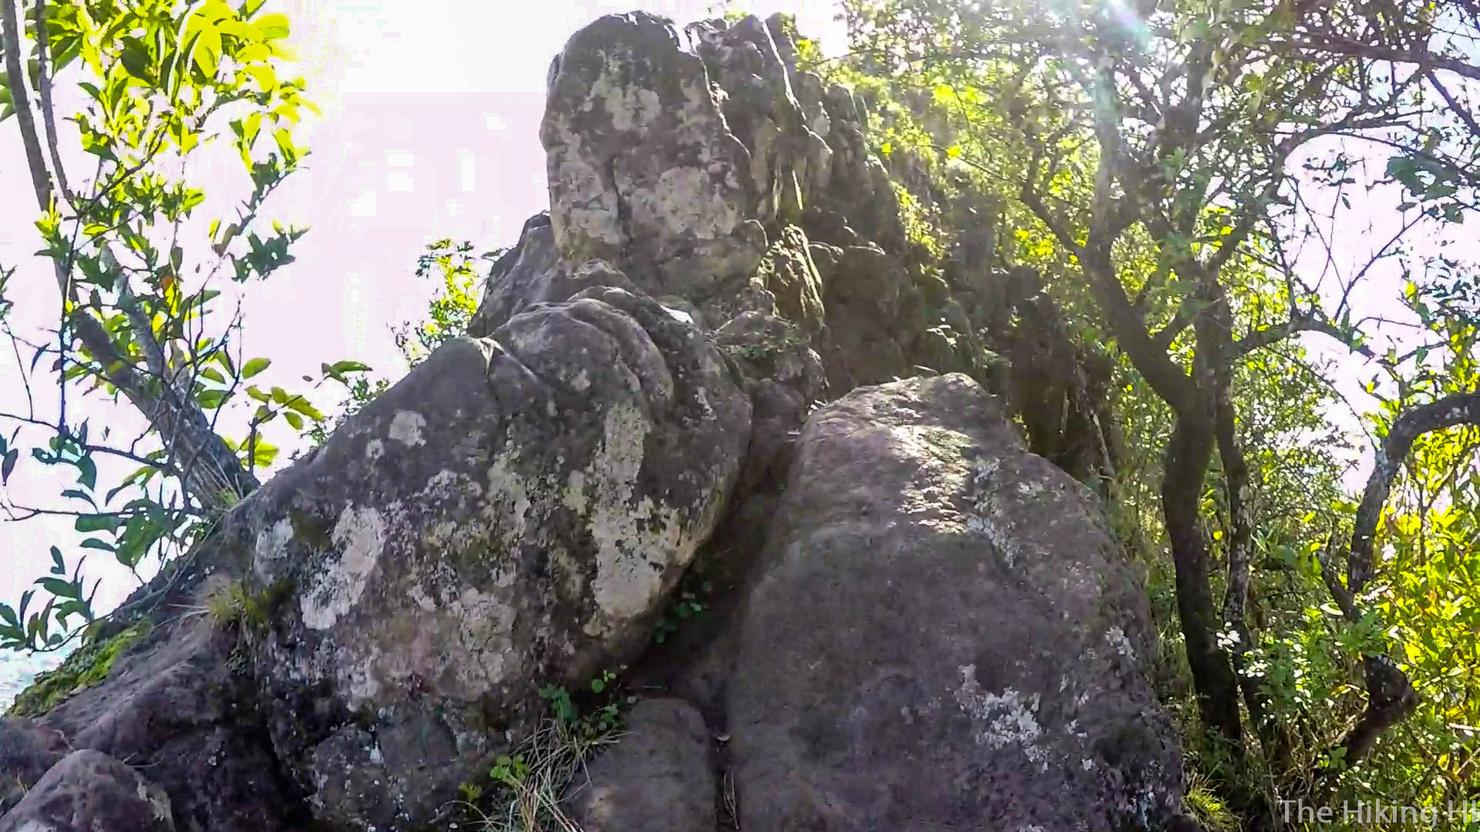
These boulders signify when the climbing will begin.
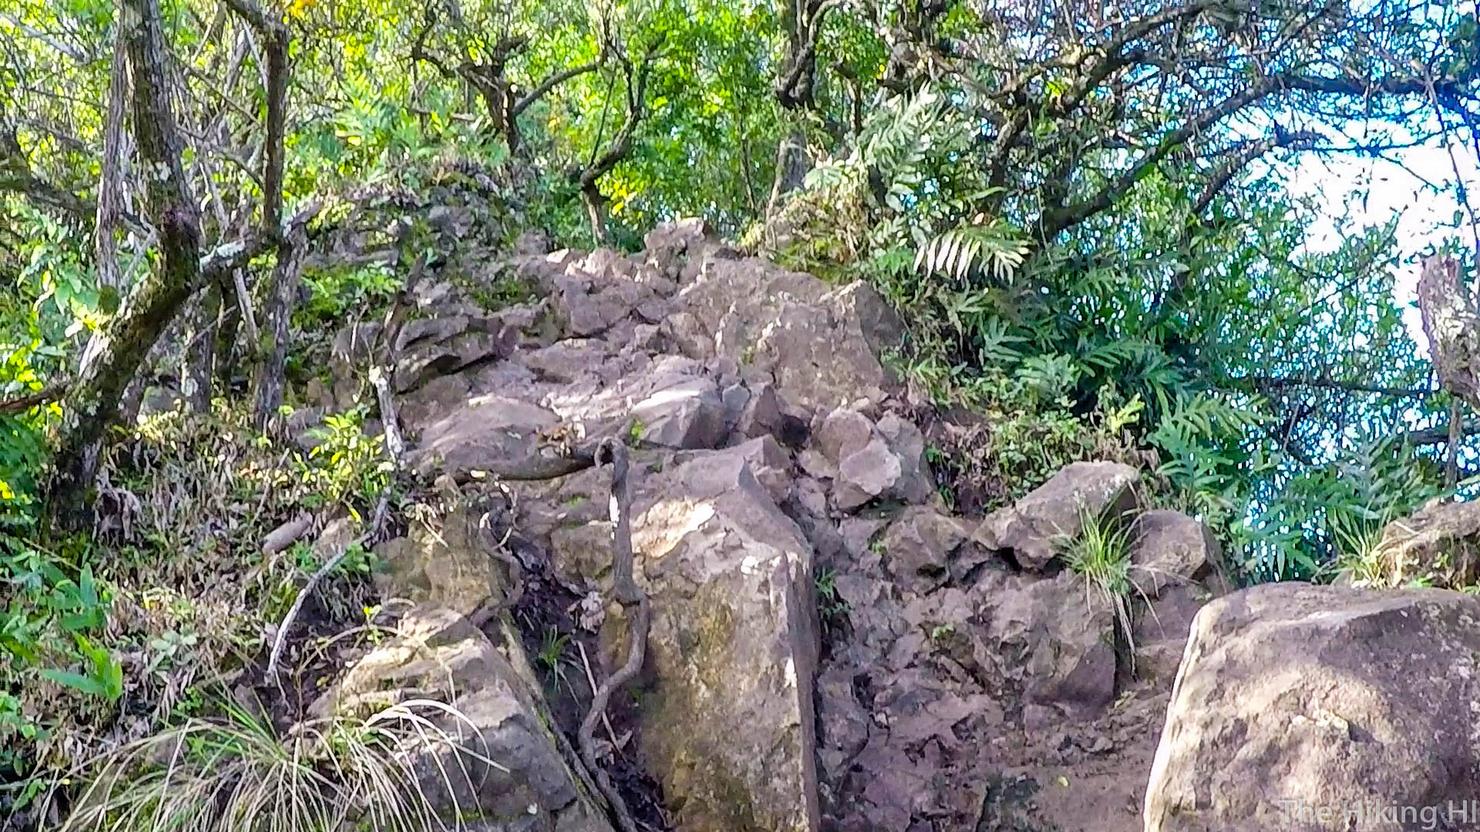
It starts off relatively tame...
But that doesn't mean it won't require some use of the upper body.
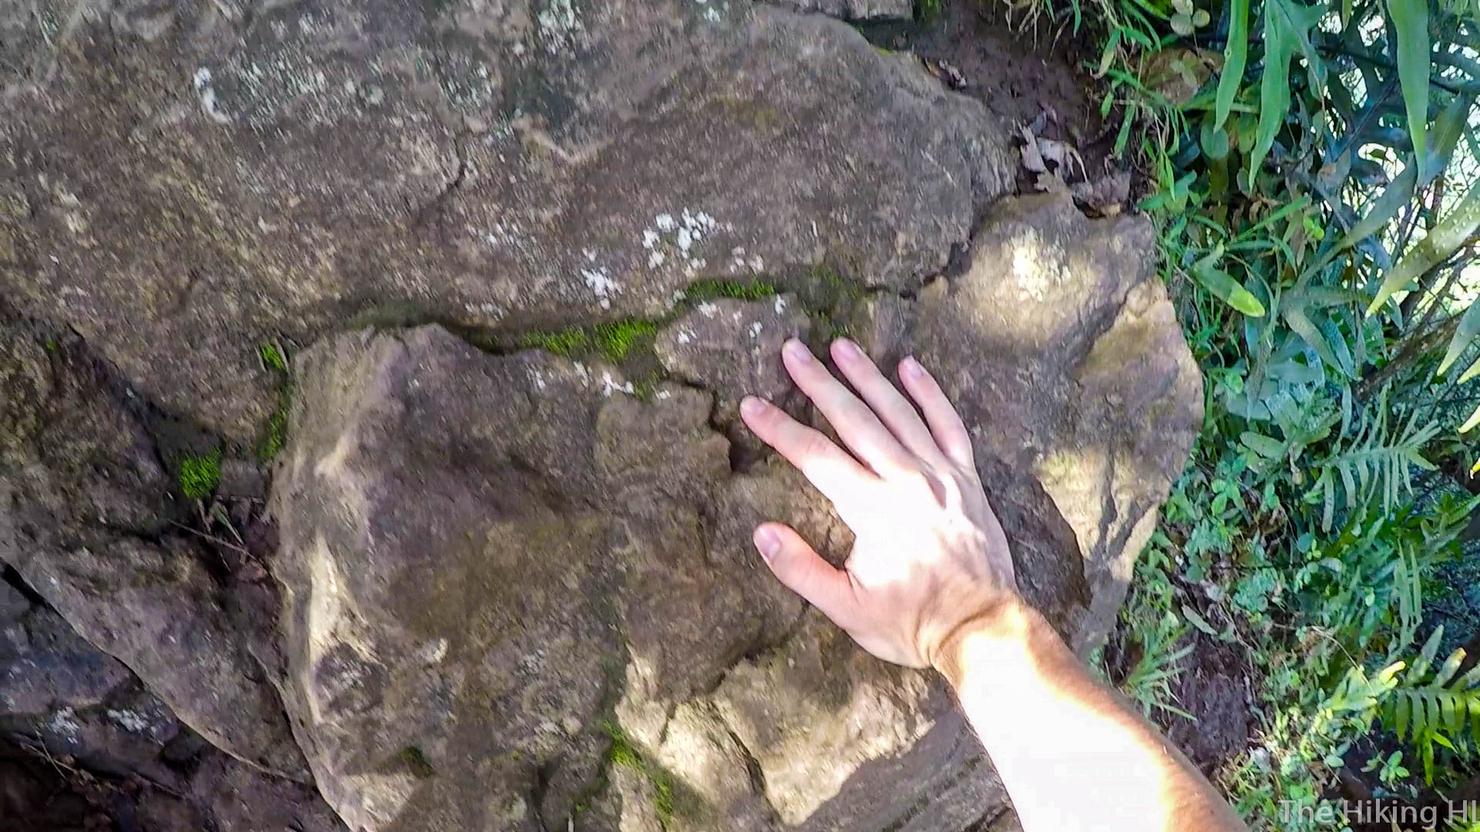
Then it gets a little steeper...
And sometimes you have to get more creative to ascend...
But always remember, breaks are encouraged.
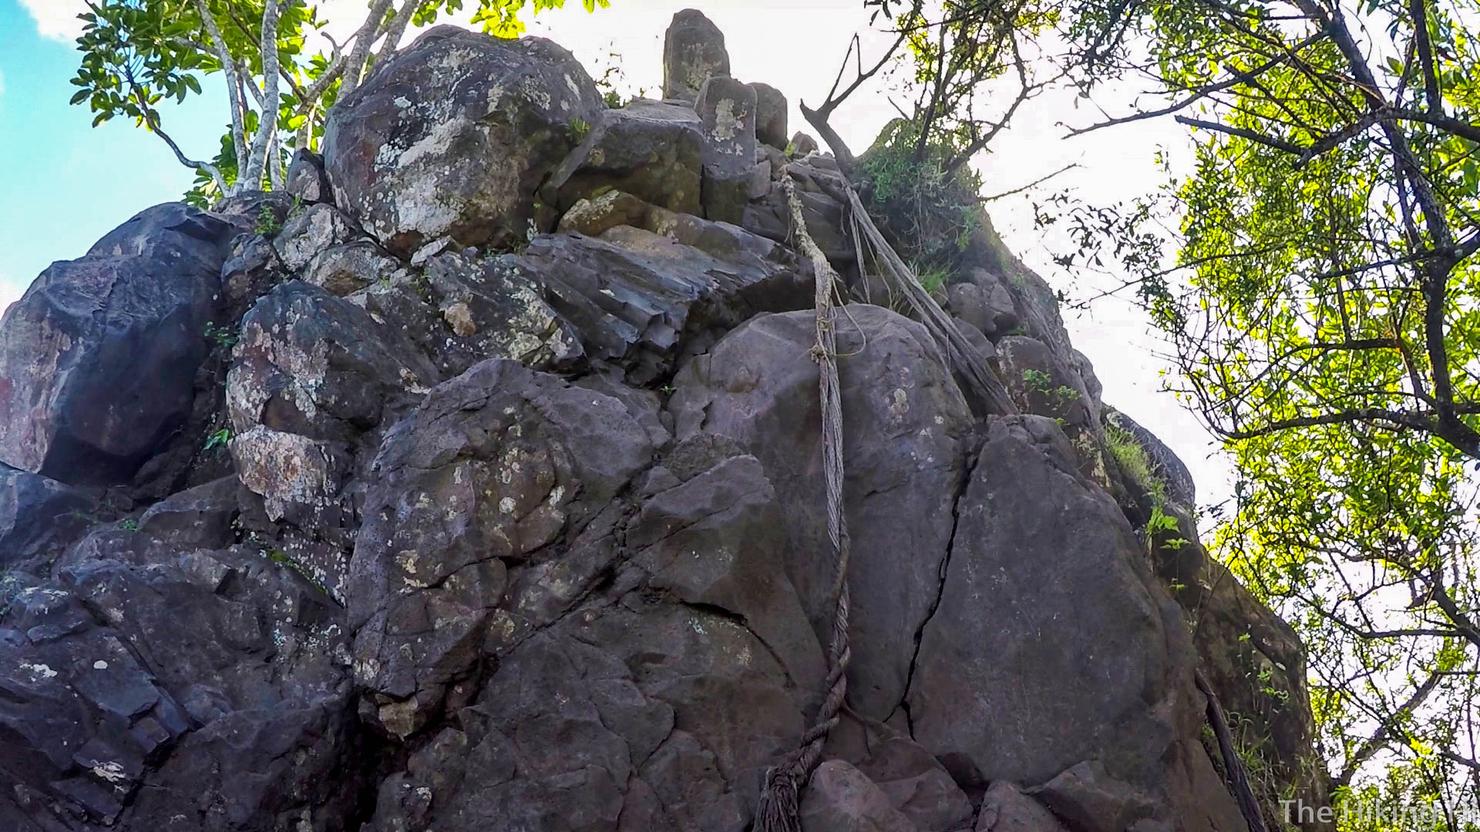
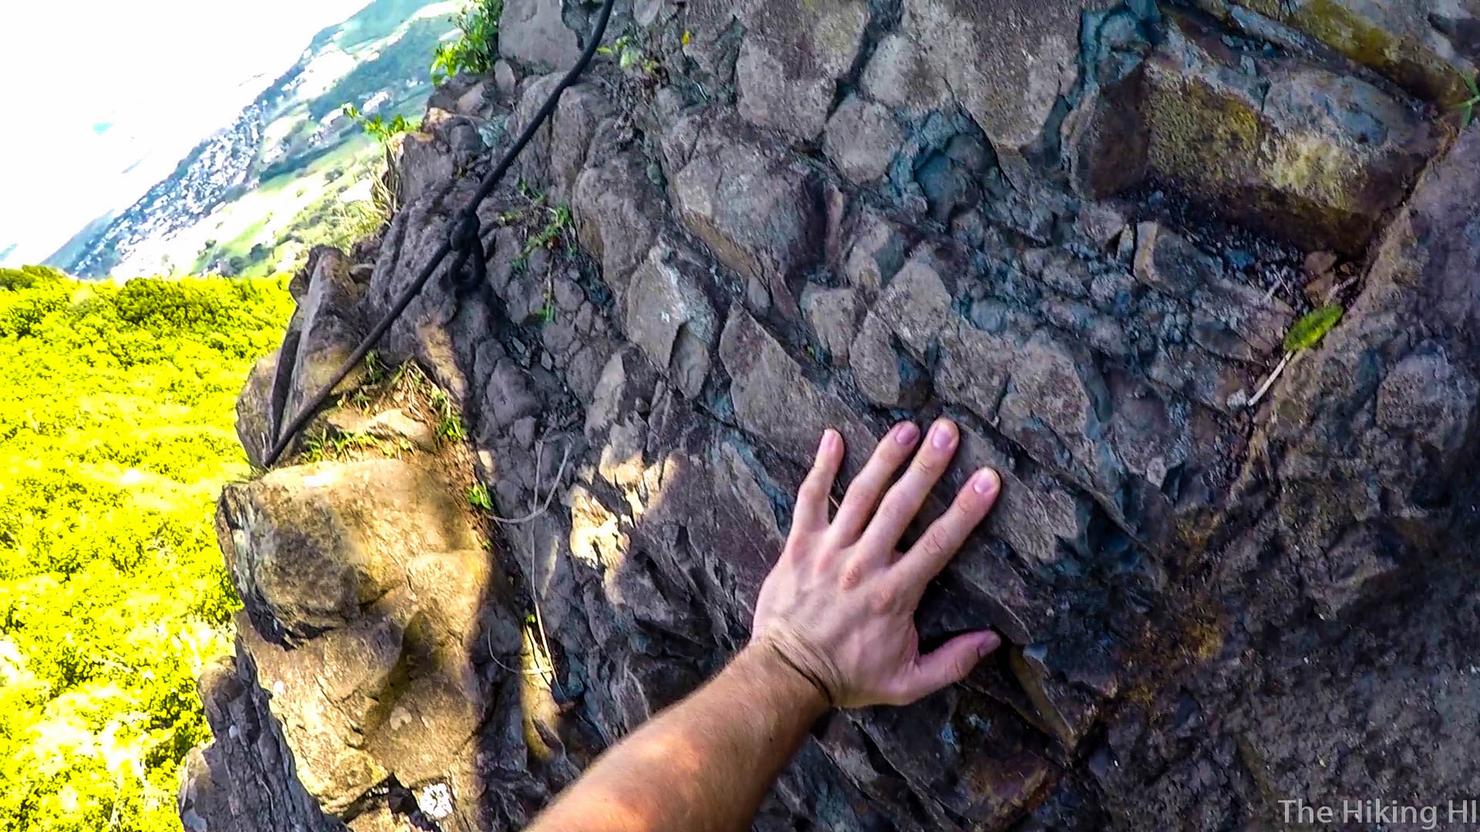
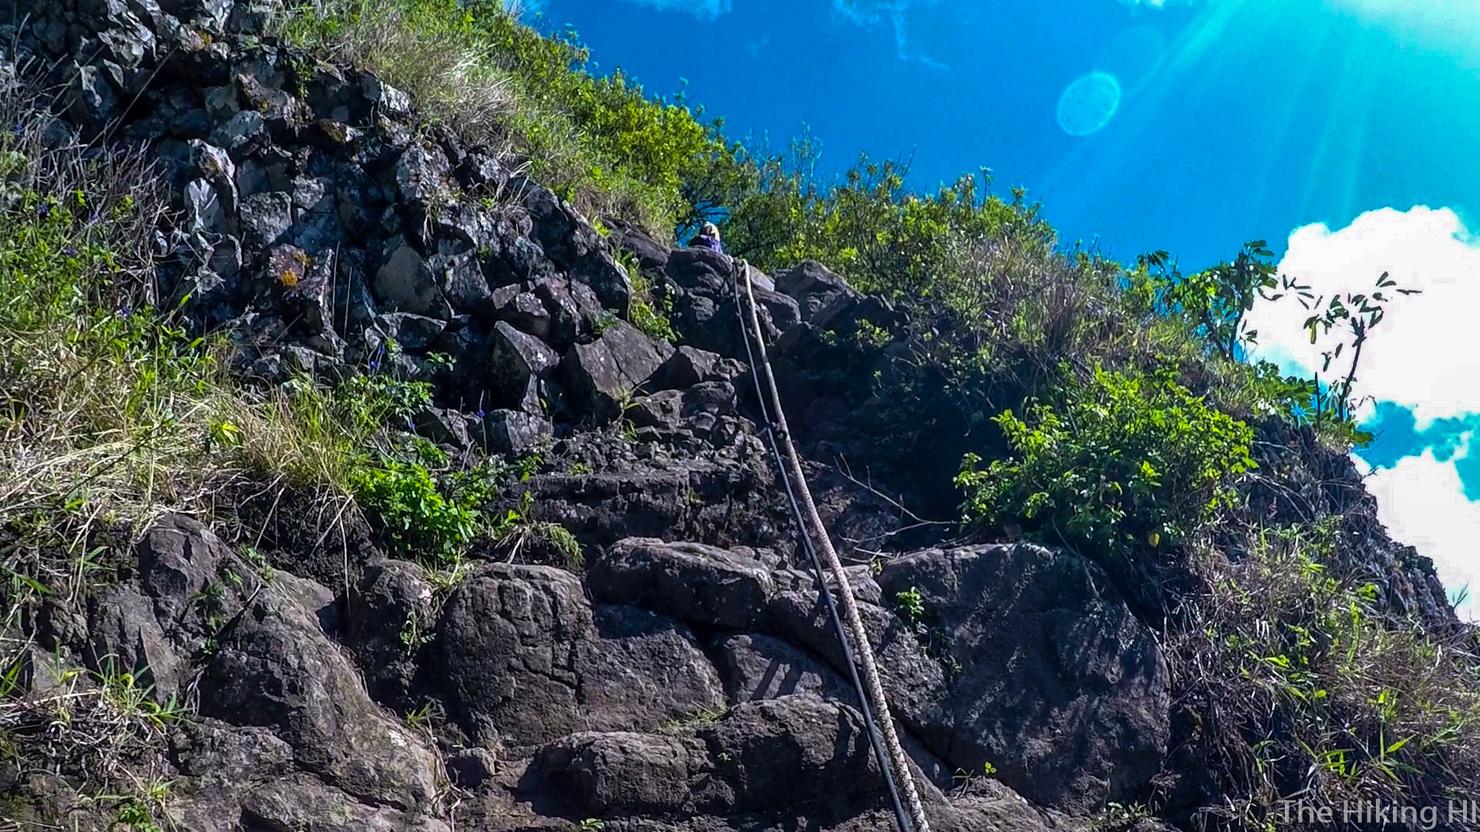
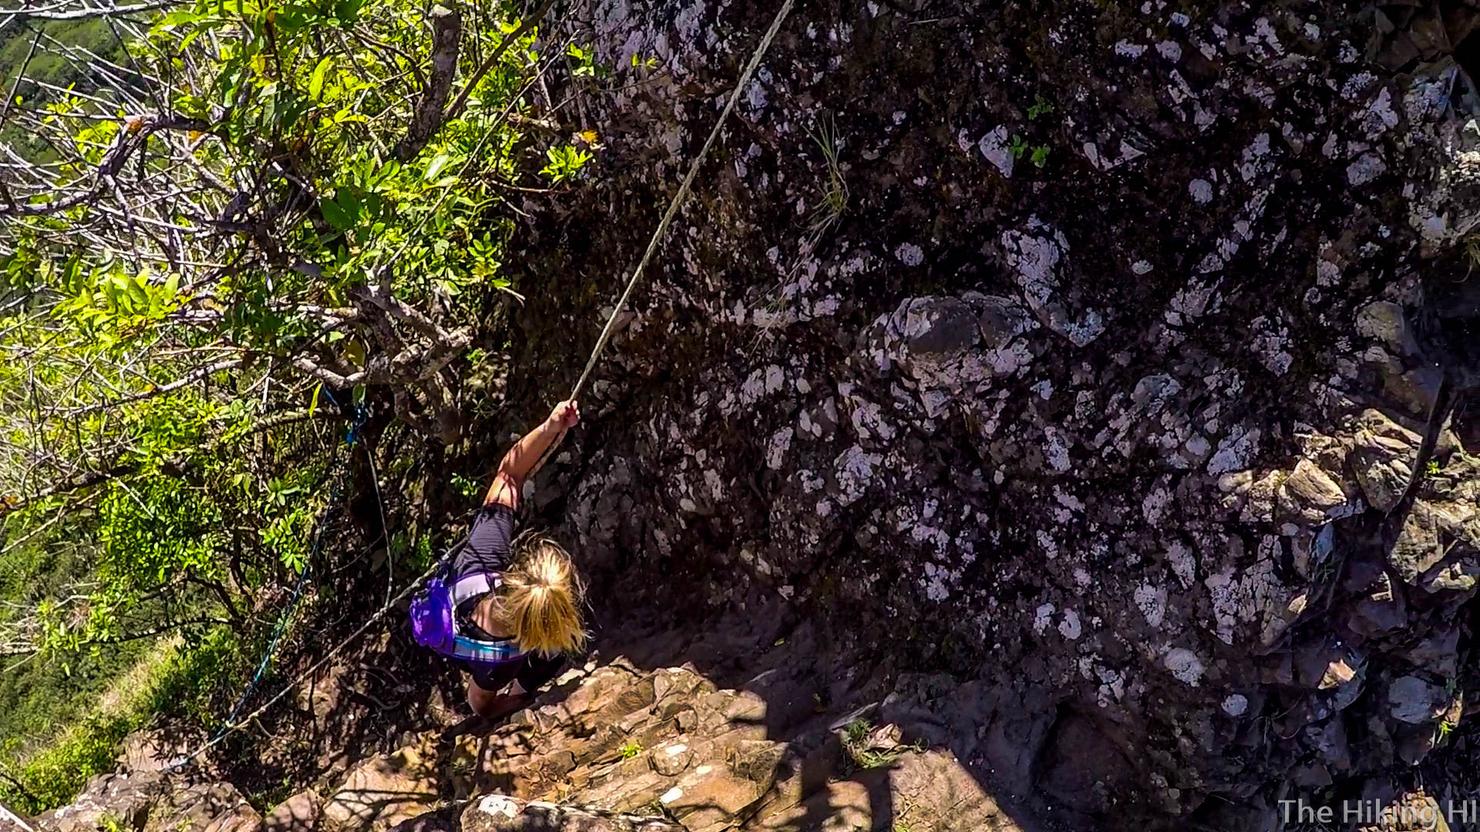
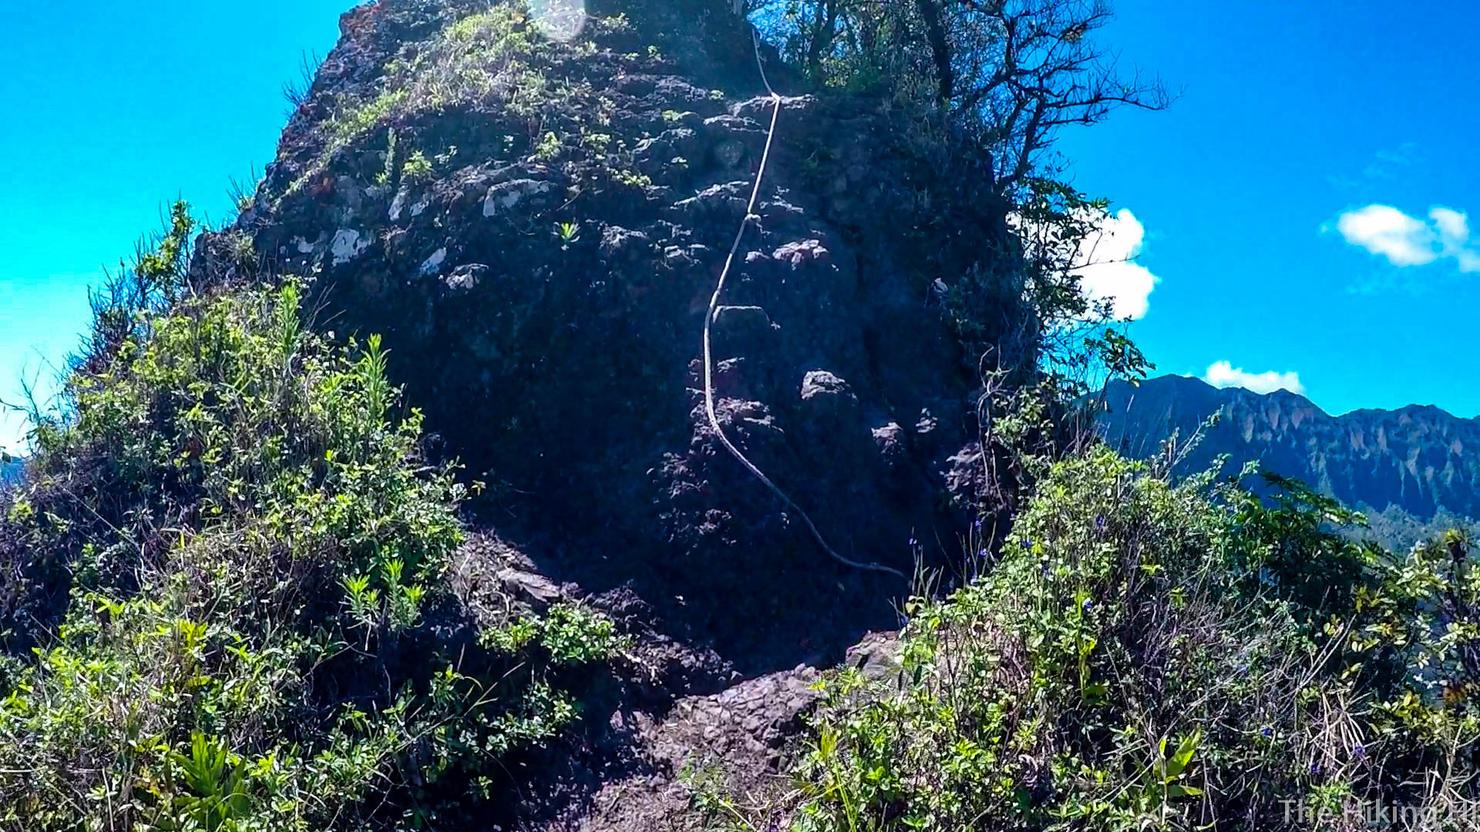
Finally you will get to the big guy. This is the hardest part about ascending the first peak. It's a pretty steep climb, which might make people who are new to climbing or afraid of heights nervous. There are plenty of good holds and the ropes will help (although you should never put your full weight on them). My best advice is to go slow and think about where you are going to put your feet and hands before you do it.
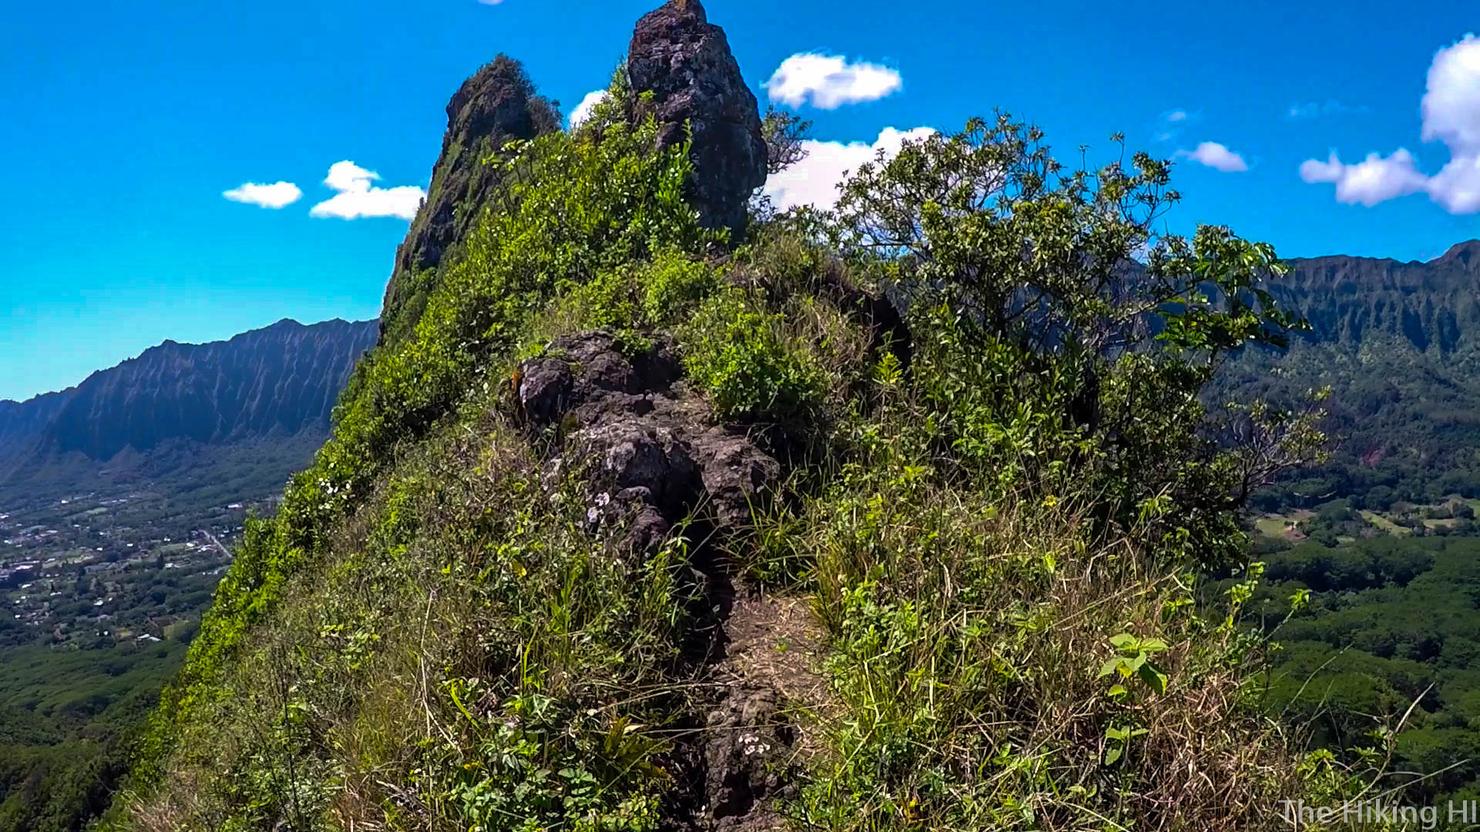
Once you conquer that big rock, there is a bit more climbing to get to the peak. This is a little rock ridge you have to climb.
But its not too bad. It's relatively wide and there's plenty of rope and good holds.
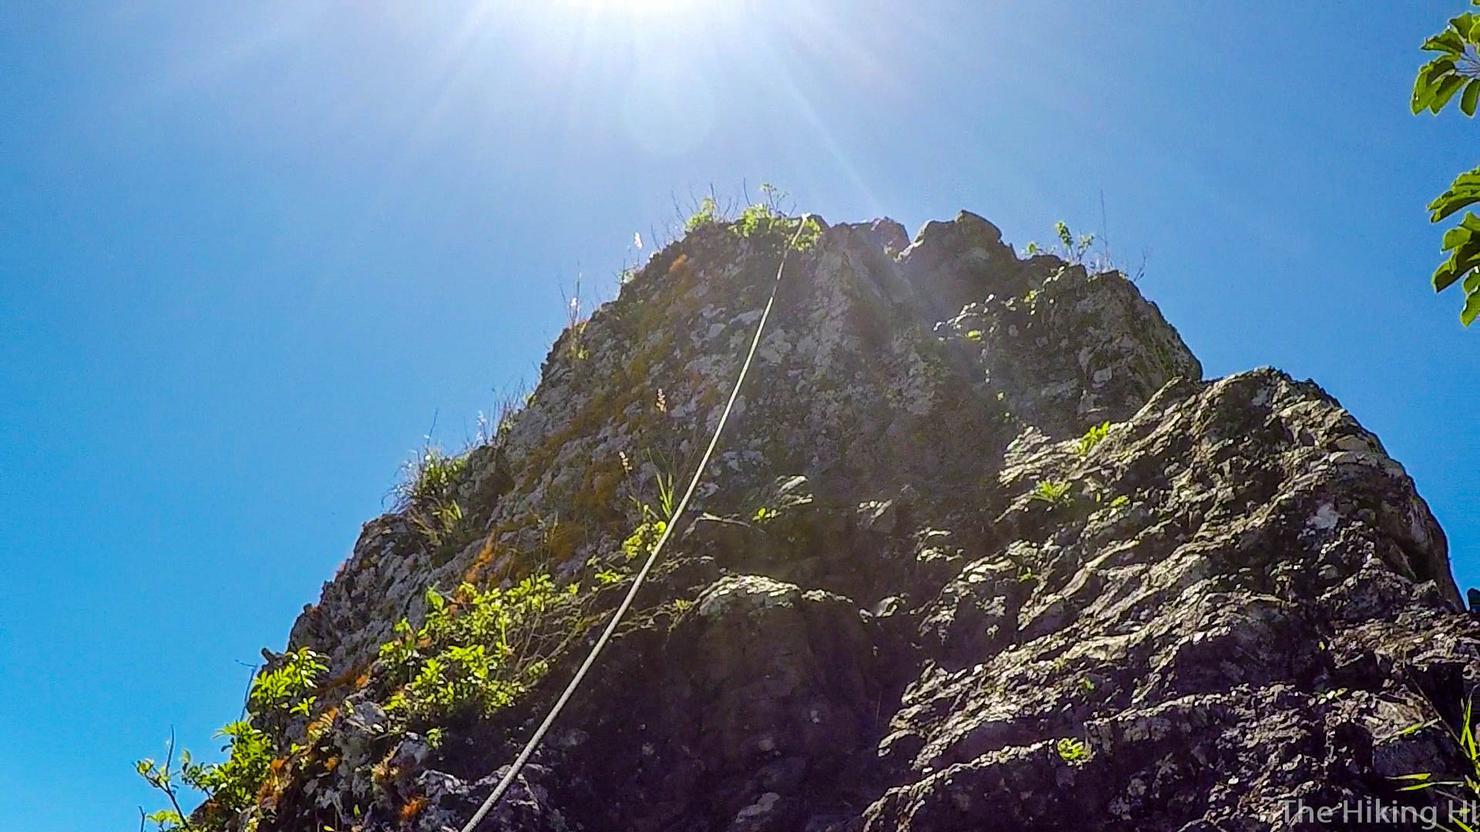
A shot of what's to come.
Just a wee bit more climbing.

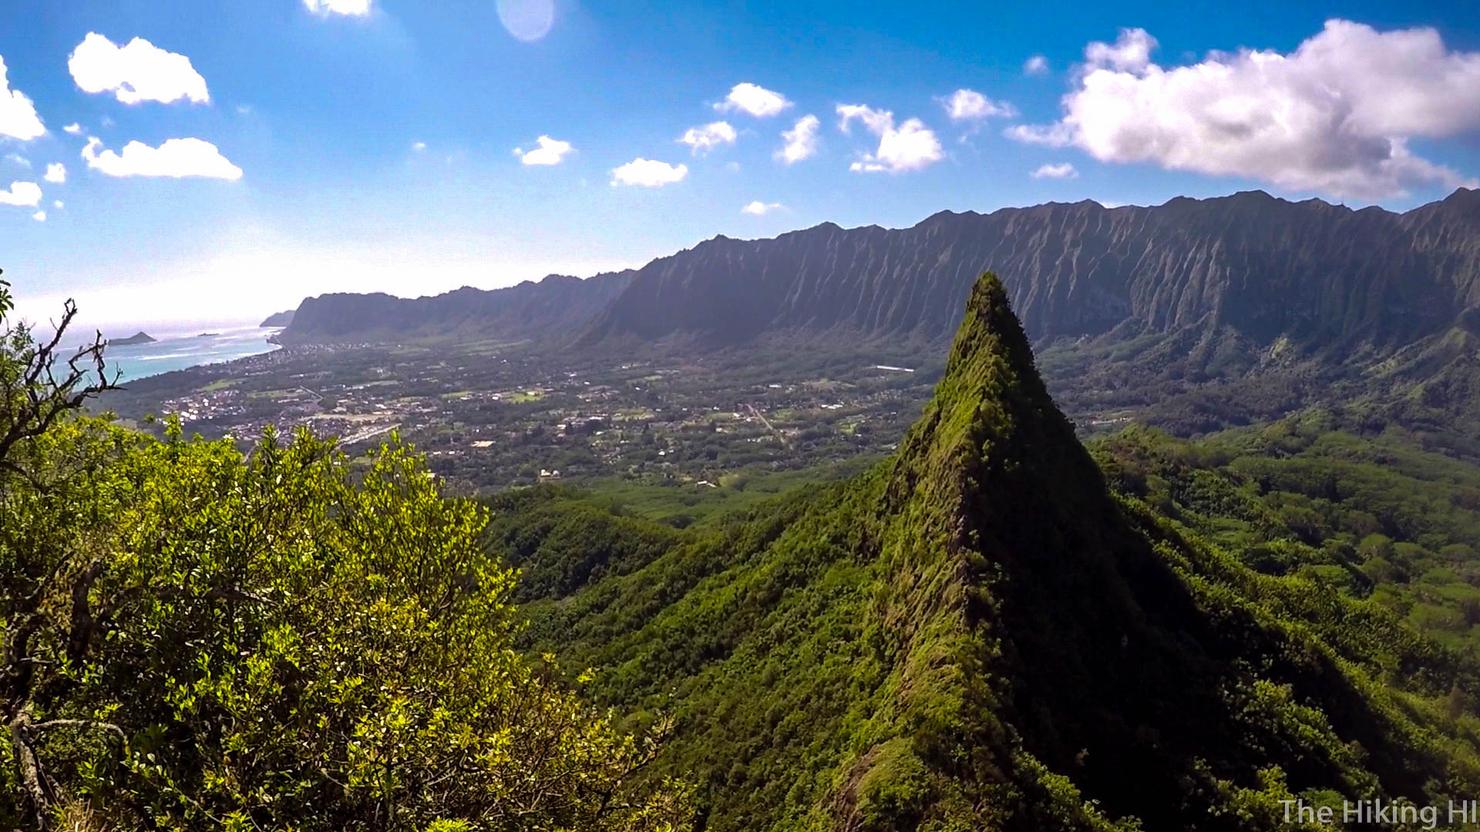
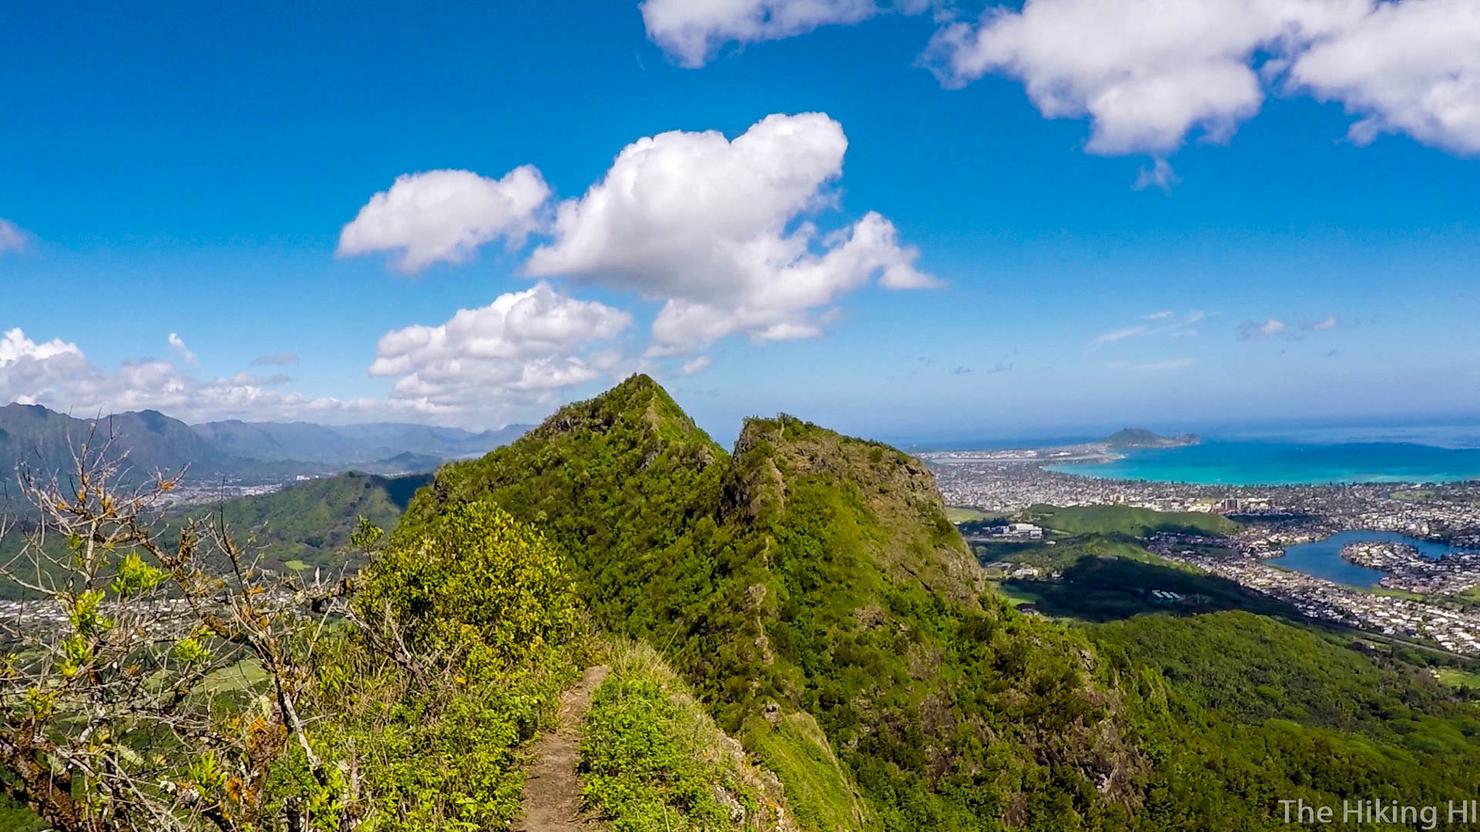
And we made it! Welcome to the first peak, Olomana, the highest of the 3 peaks. Many will stop their journey here, which is perfectly OK.
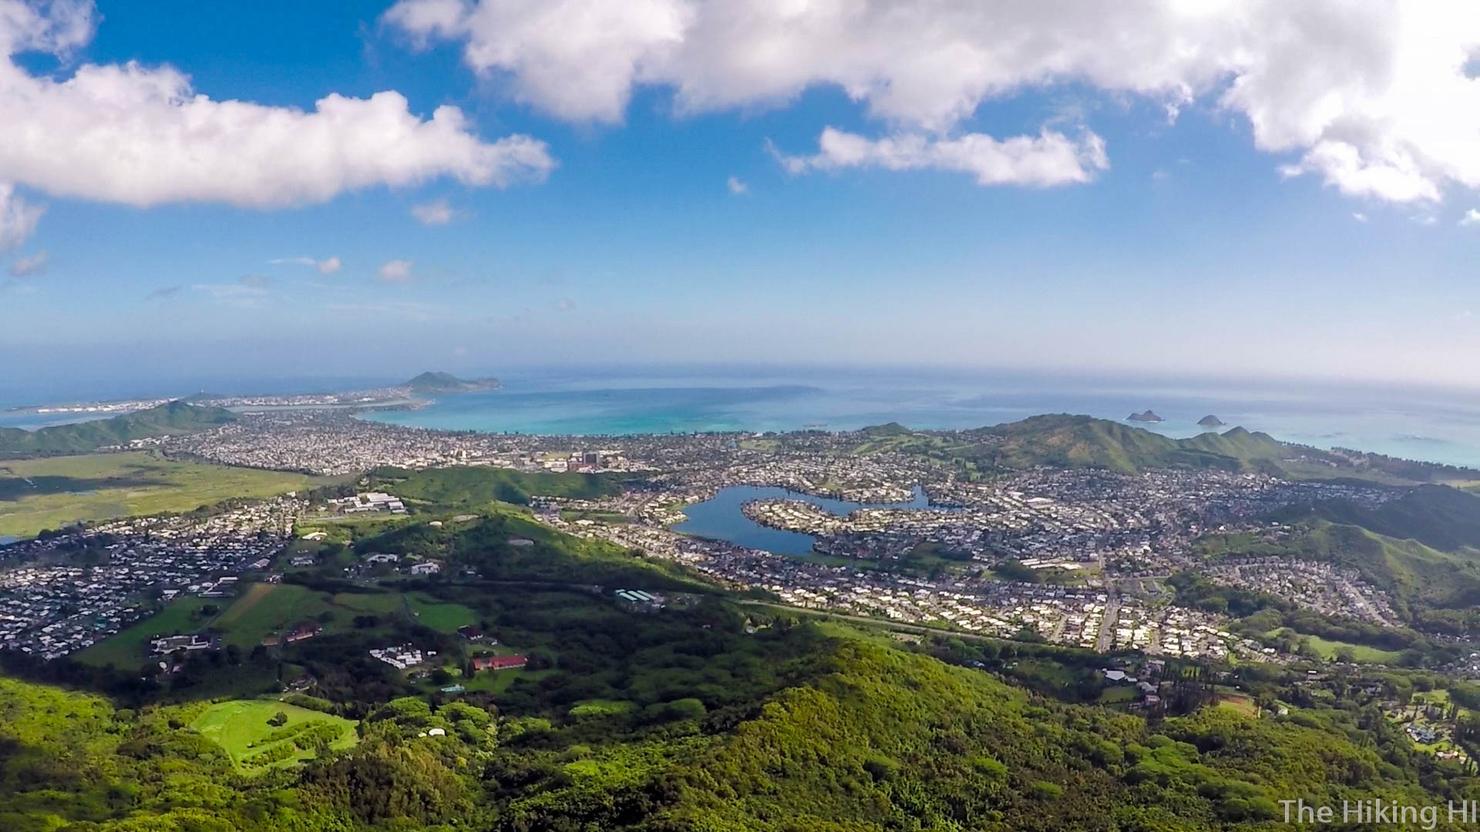
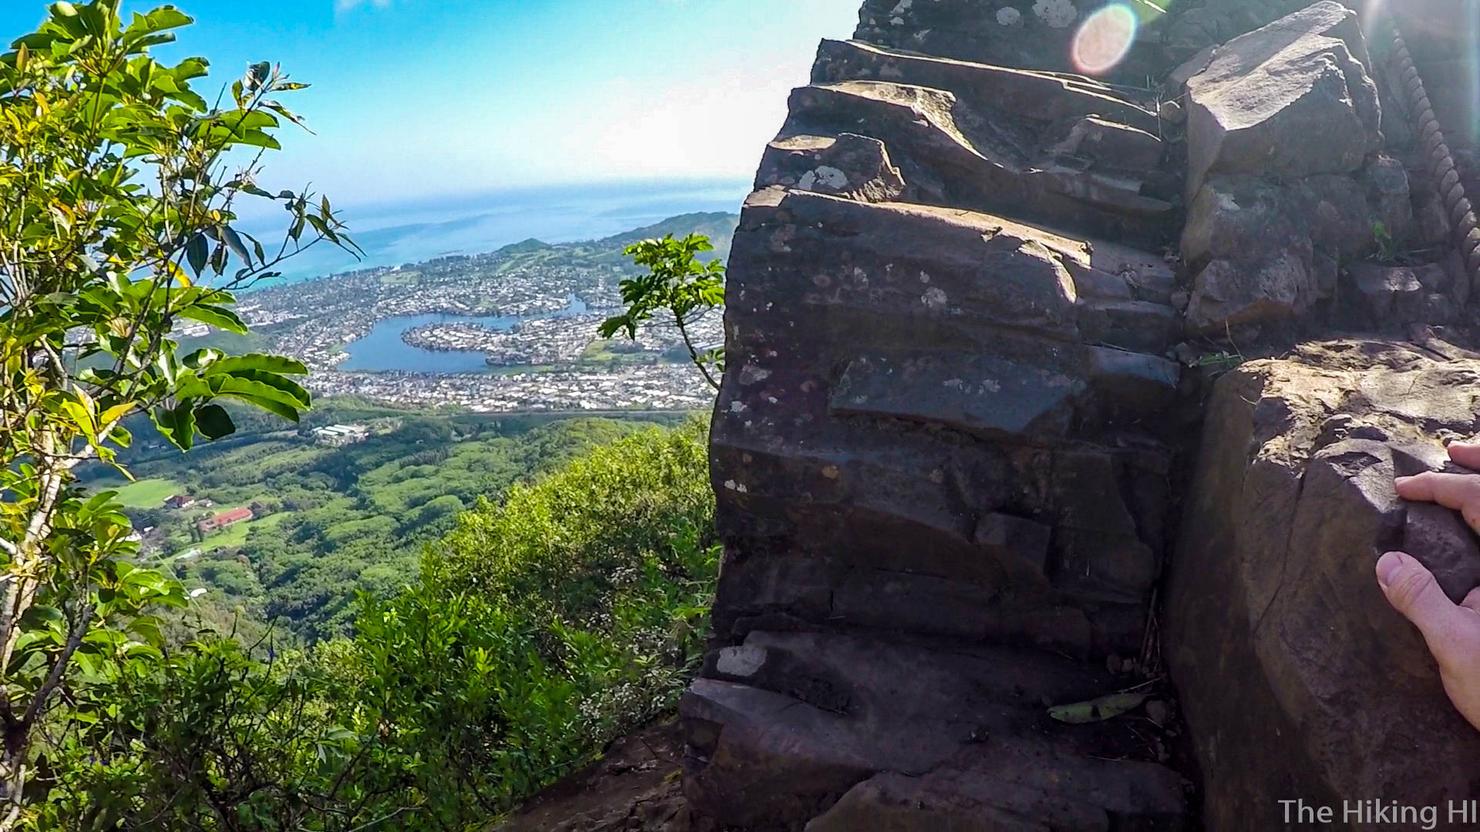
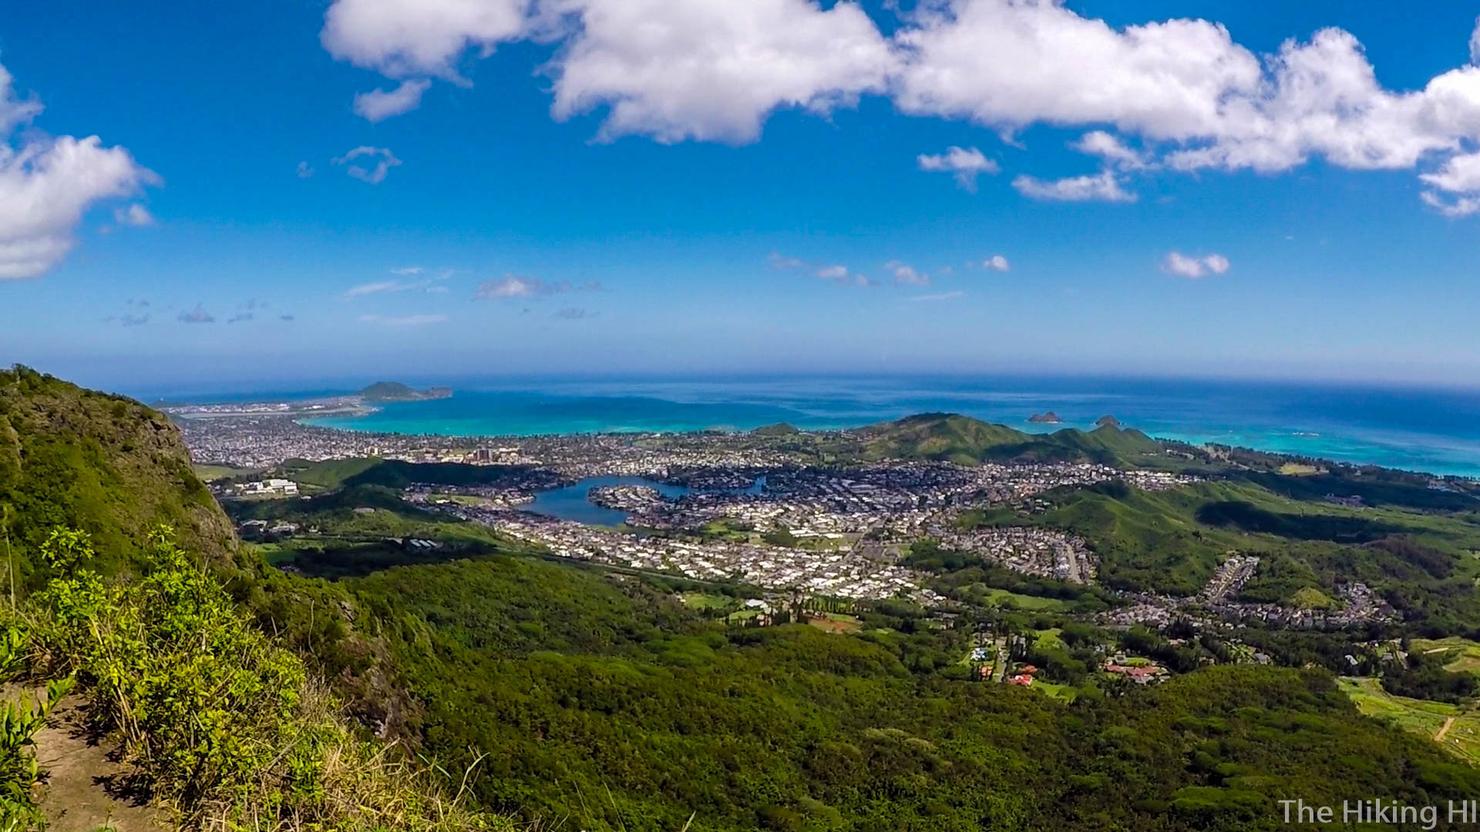
But be sure to take in these incredible views. I don't know if there is a better place to view Kailua on the whole island. I can almost see my house from here!
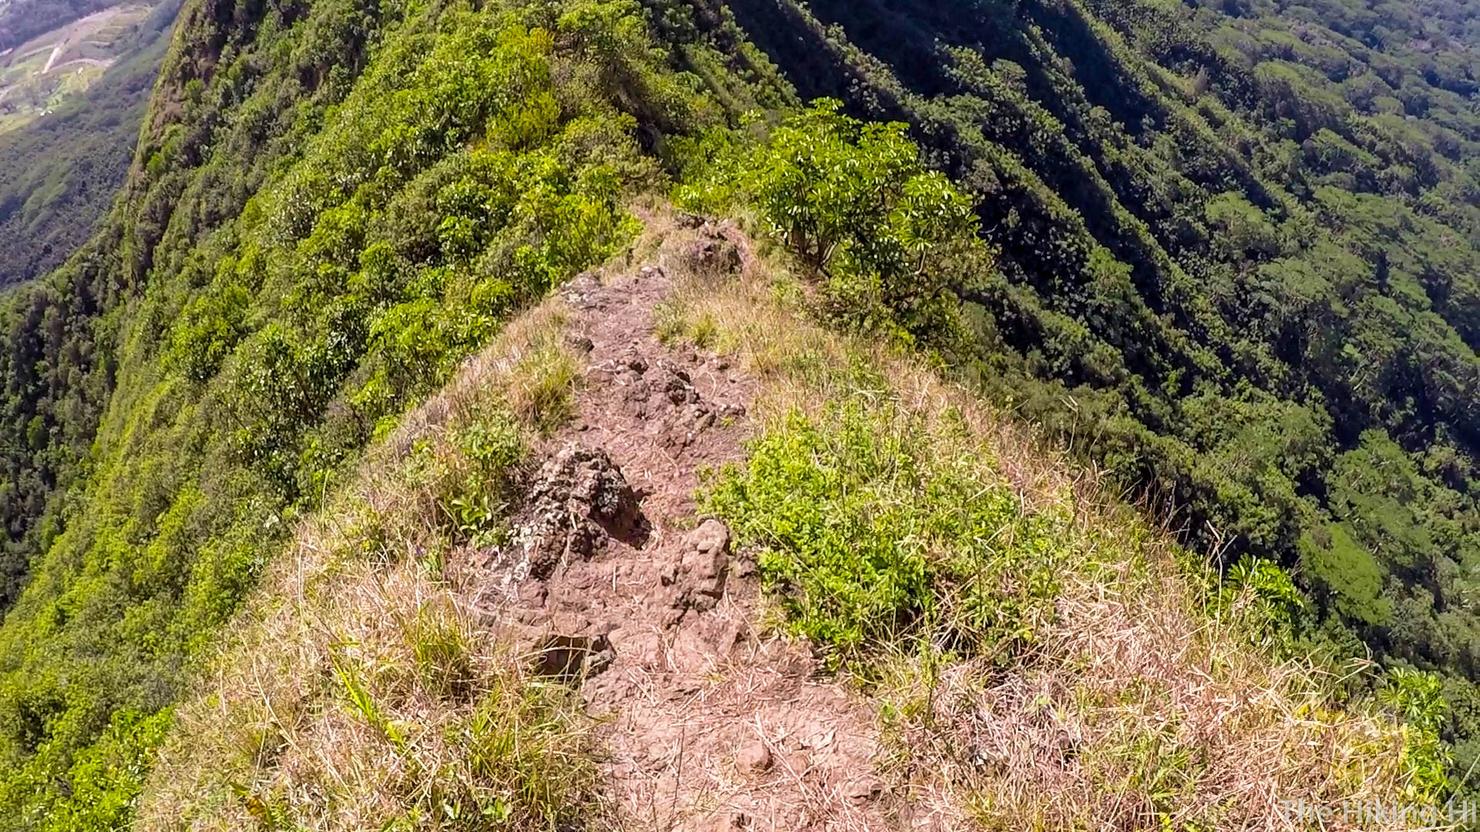
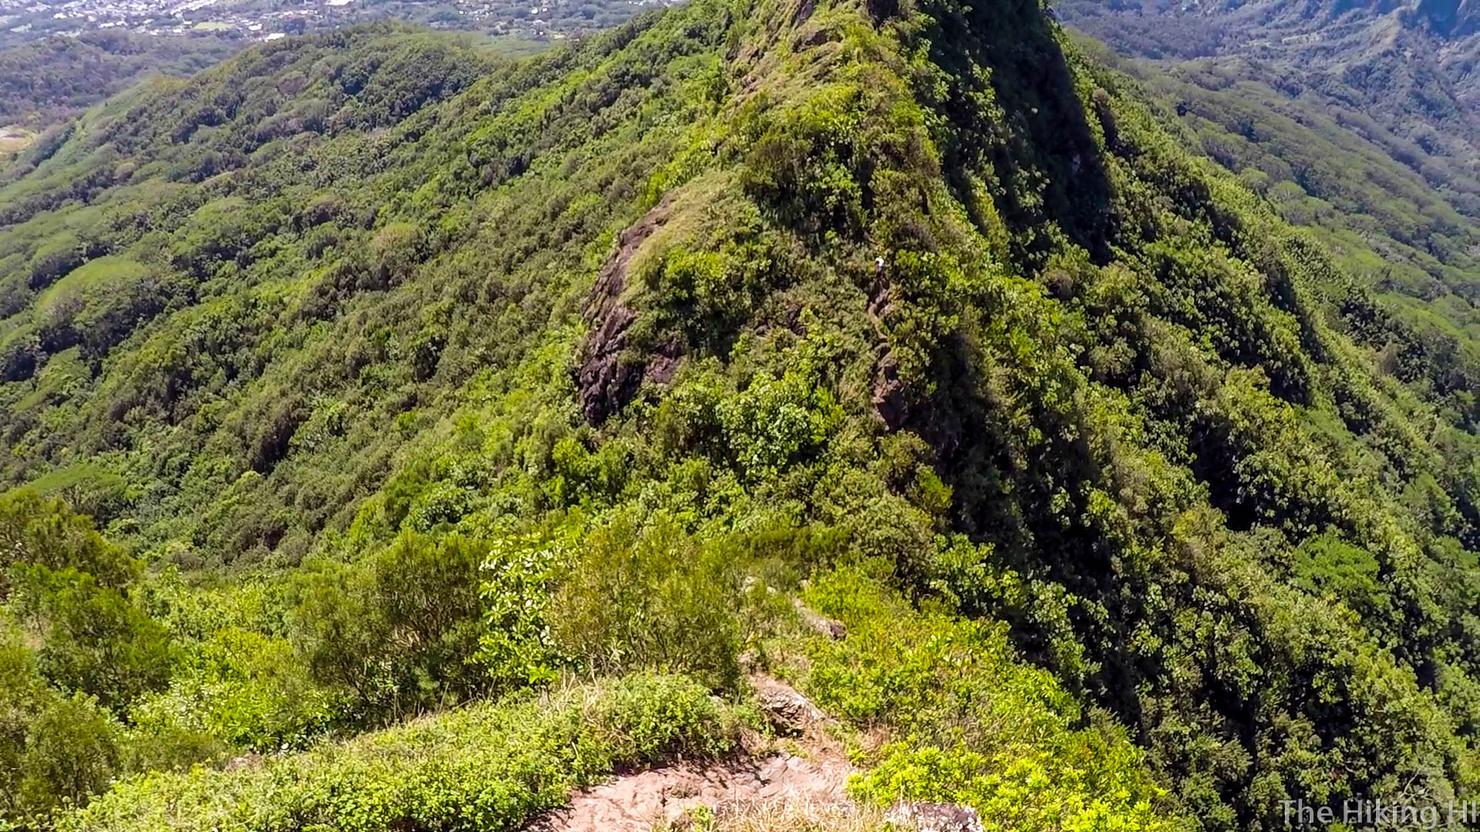
Its time to continue onward. The views are the best at the first peak, but in my opinion, the real fun in this hike is the climbing. That is where peaks two and three shine. There's a little bit of ridge hiking down the first peak.
And a quick dip back into the trees.
And then the climbing begins. It's a little steep, but it really isn't too bad. In my opinion, if you made it up the first peak, you are more than capable of making it up the second peak.
And within a few short moments you will be on top of the second peak, also known as Paku'i. These views are just beautiful.
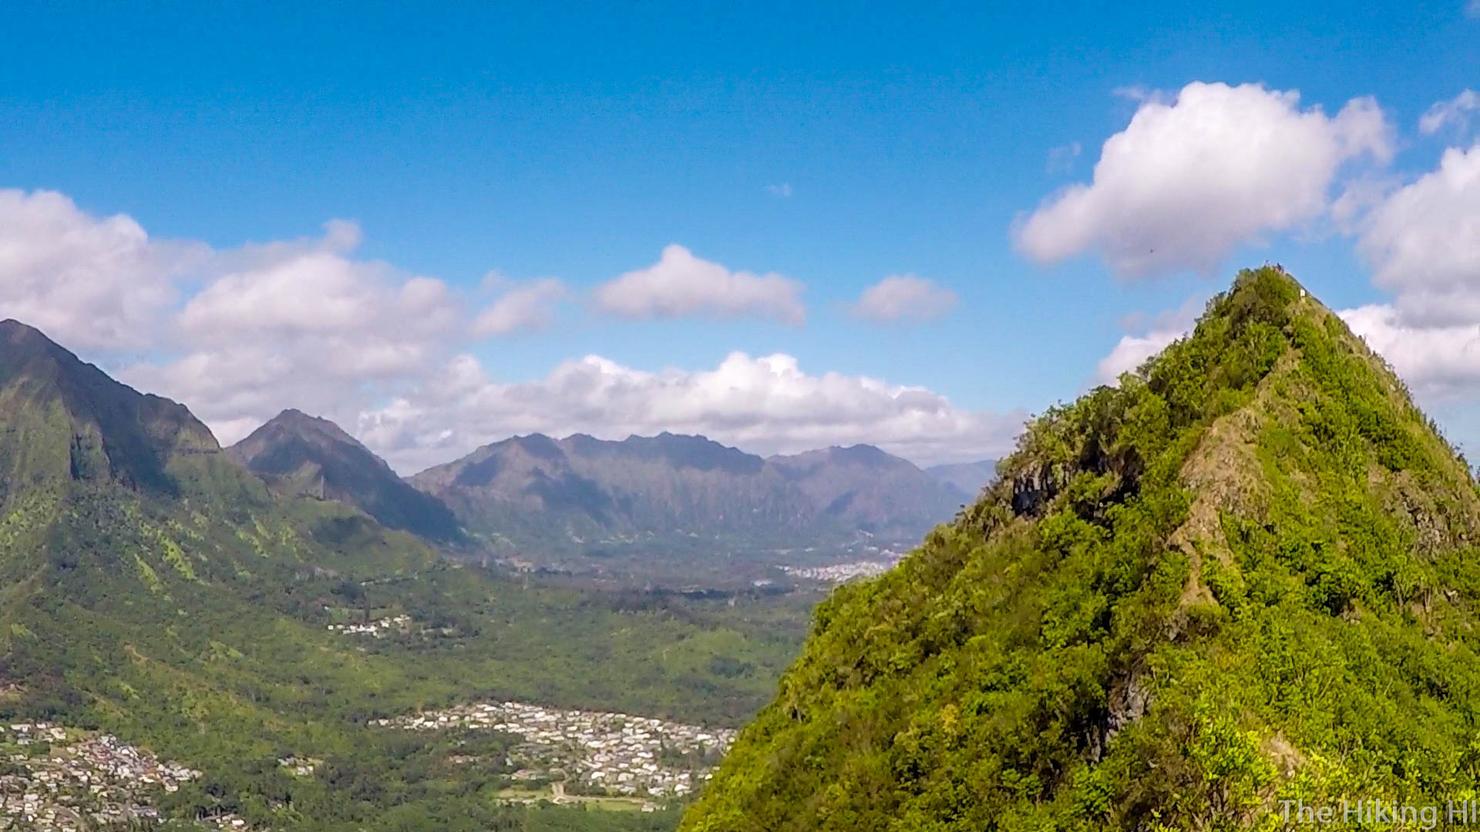
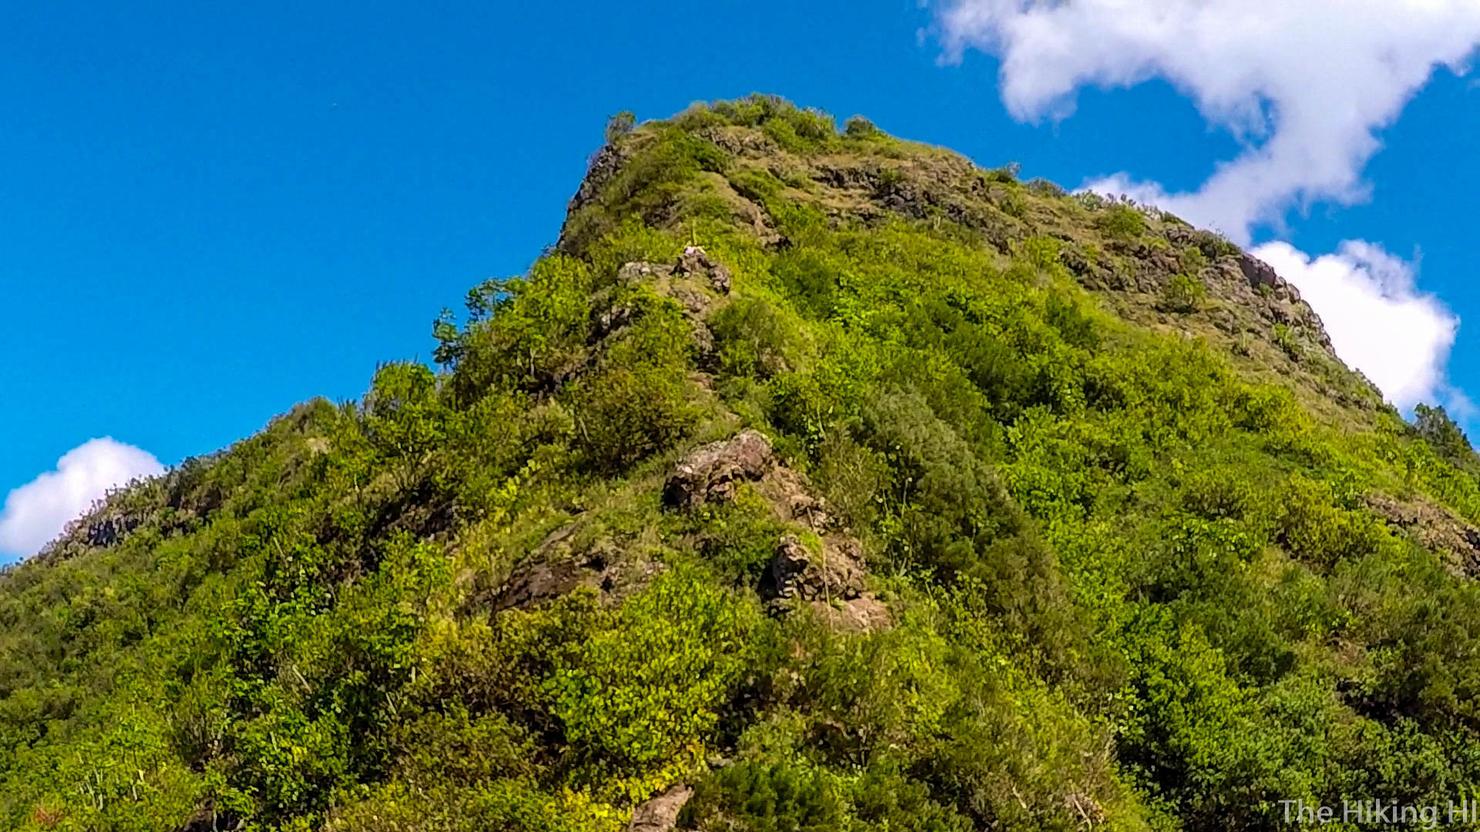
A shot looking back at the first peak. This hike is very relative in terms of difficulty. The rock climbing on the first peak may seem hard when you first do it, but if you choose to summit peak three, it will seem easy.
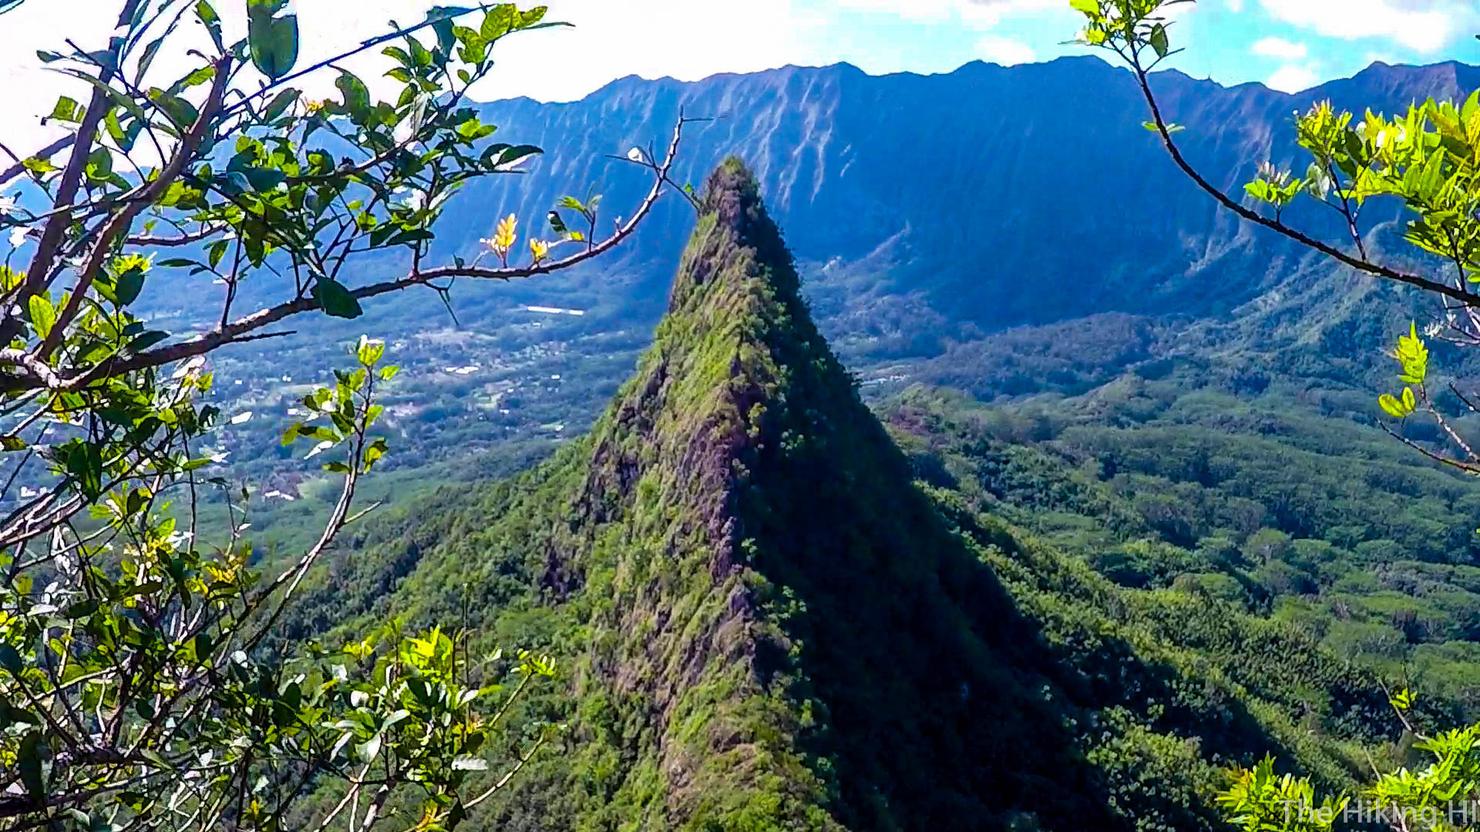
And that's exactly where we were going, the Third Peak, also known as Ahiki.
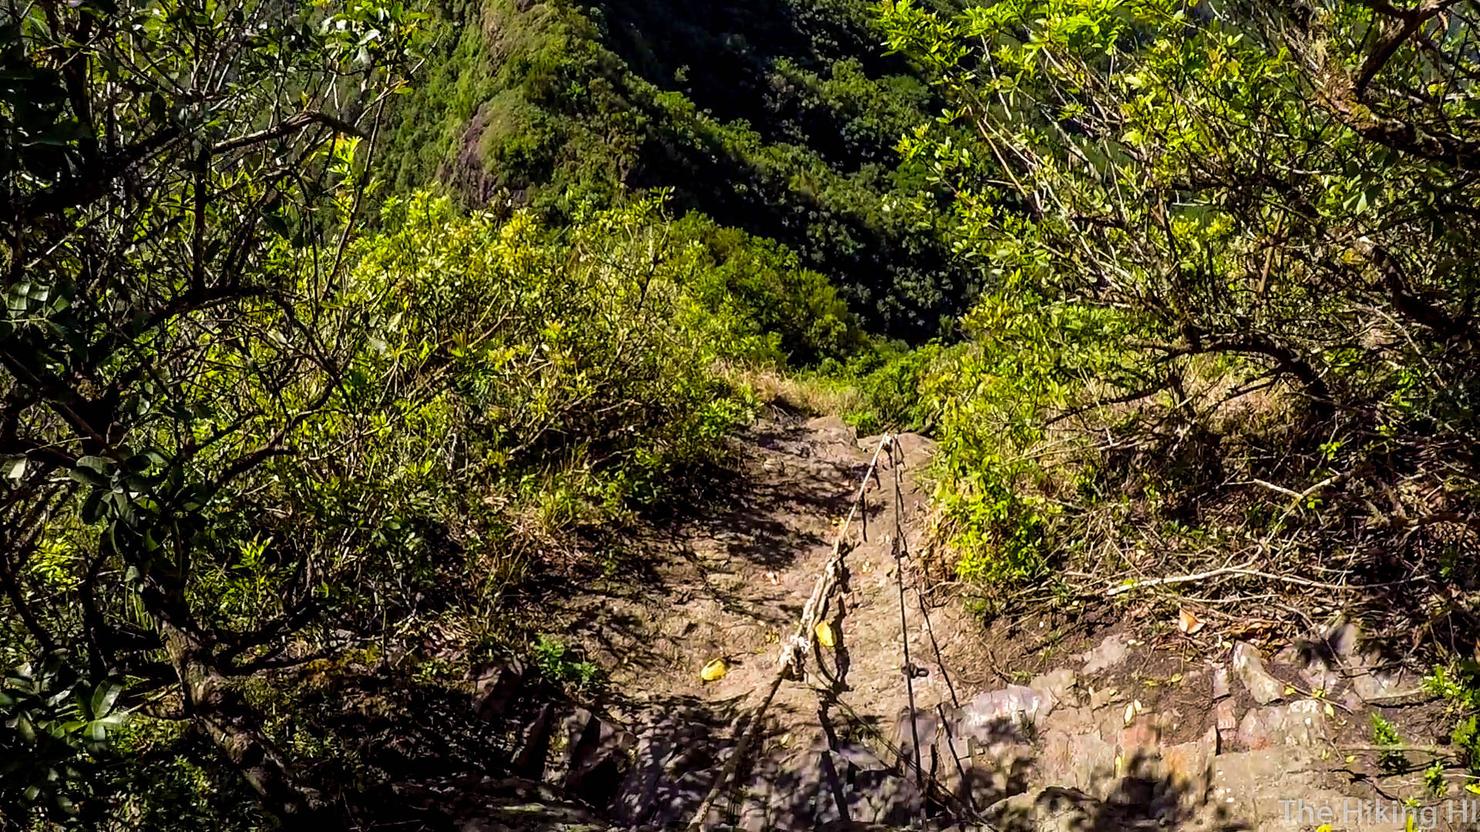
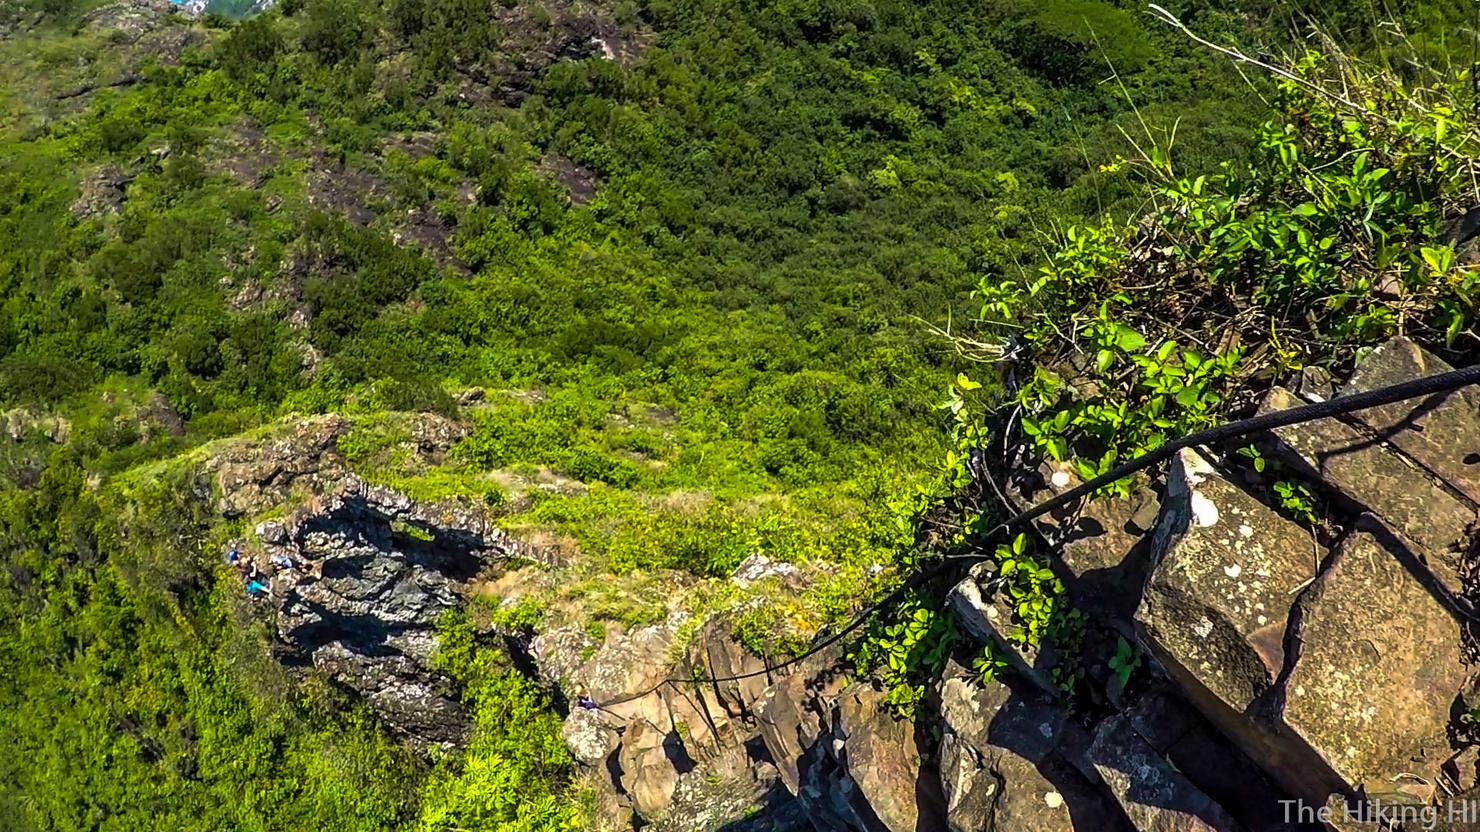
This is where the hike instantly starts to get more intense. This is a shot looking down the second peak. I like to call this Clench Moment 1 (you know because you clench your teeth when you're nervous... what were you thinking?). You cannot see where the rope ends. I will also tell you in person this looks much steeper.
But as long as you are careful, that shouldn't stop you. Plenty of people do this hike every day. So down we go!
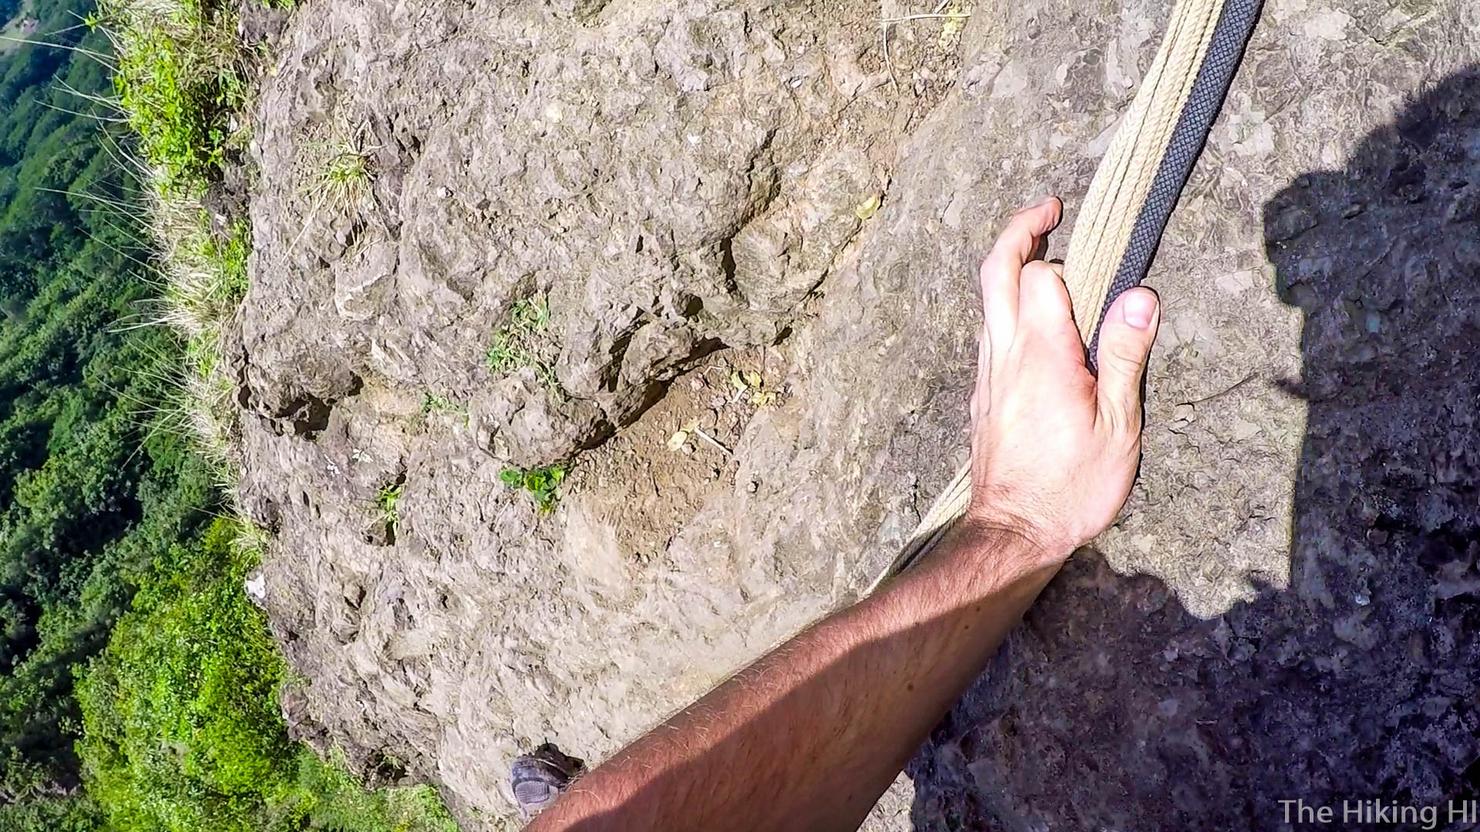
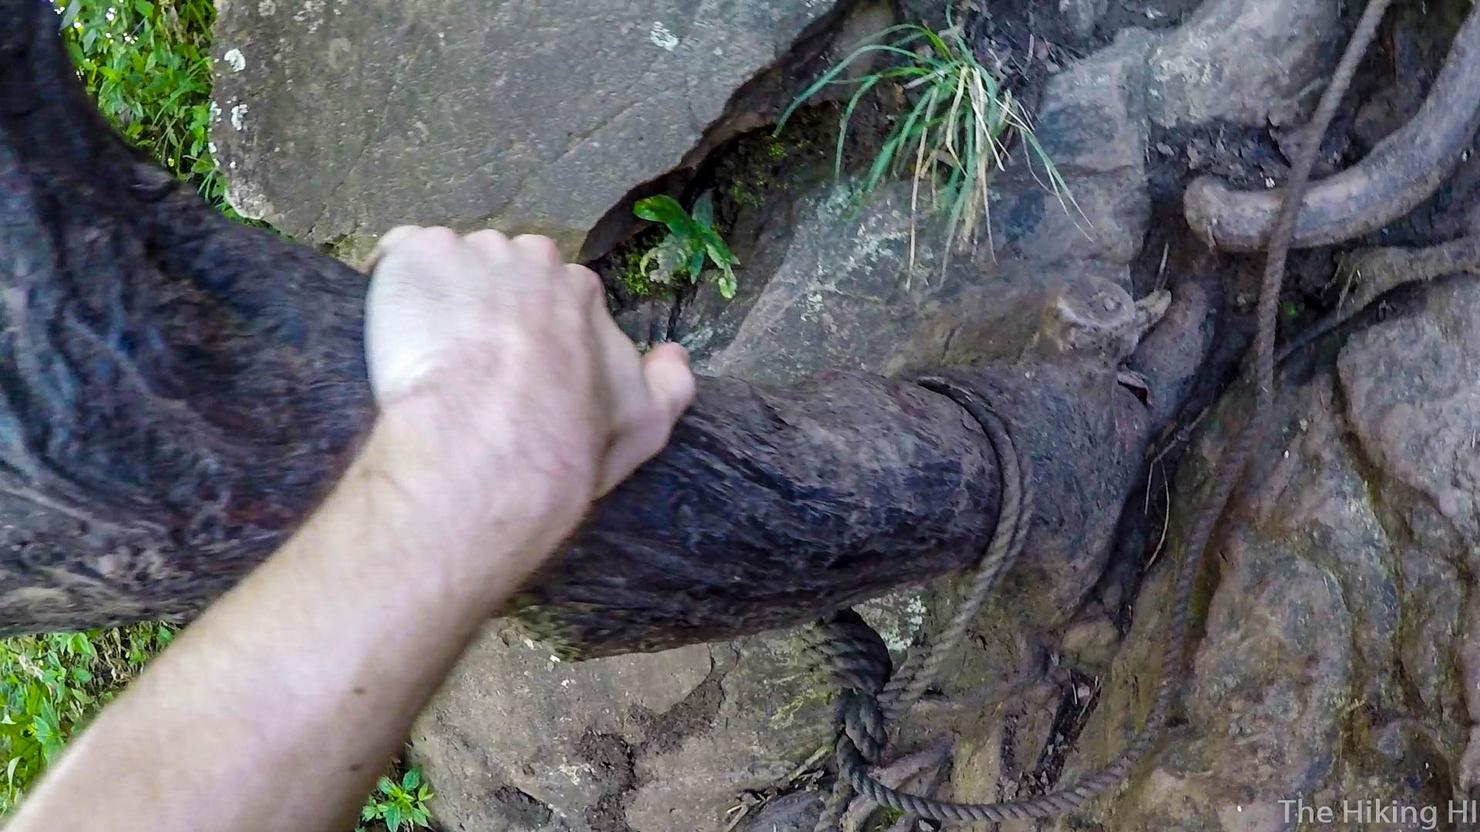
In my opinion, this is the most difficult part of the entire hike. There aren't as many good holds as you would like, so using the rope is almost necessary.
Trees are also good to use. I think this shot does a better job at capturing the steepness.
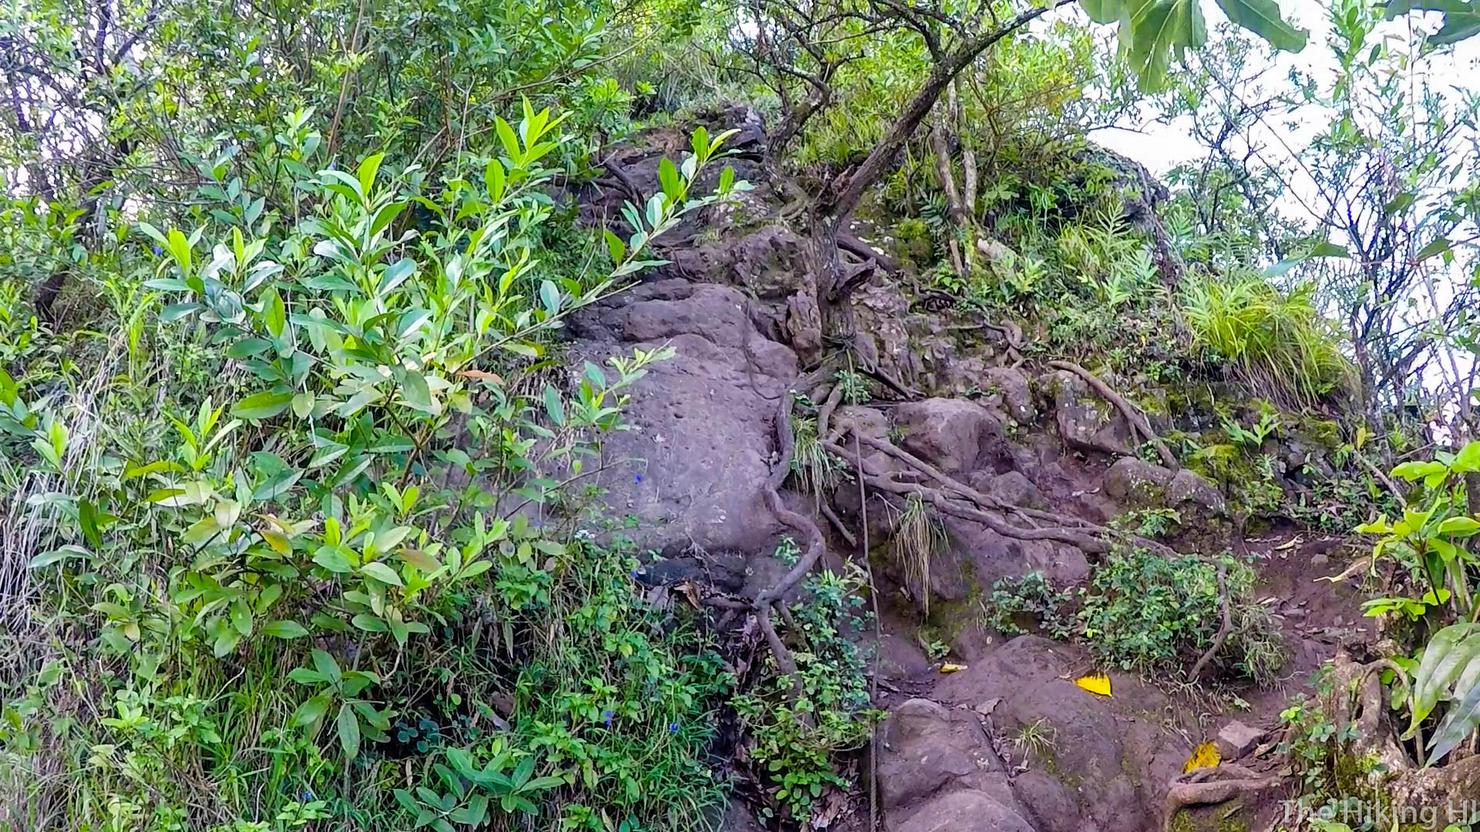
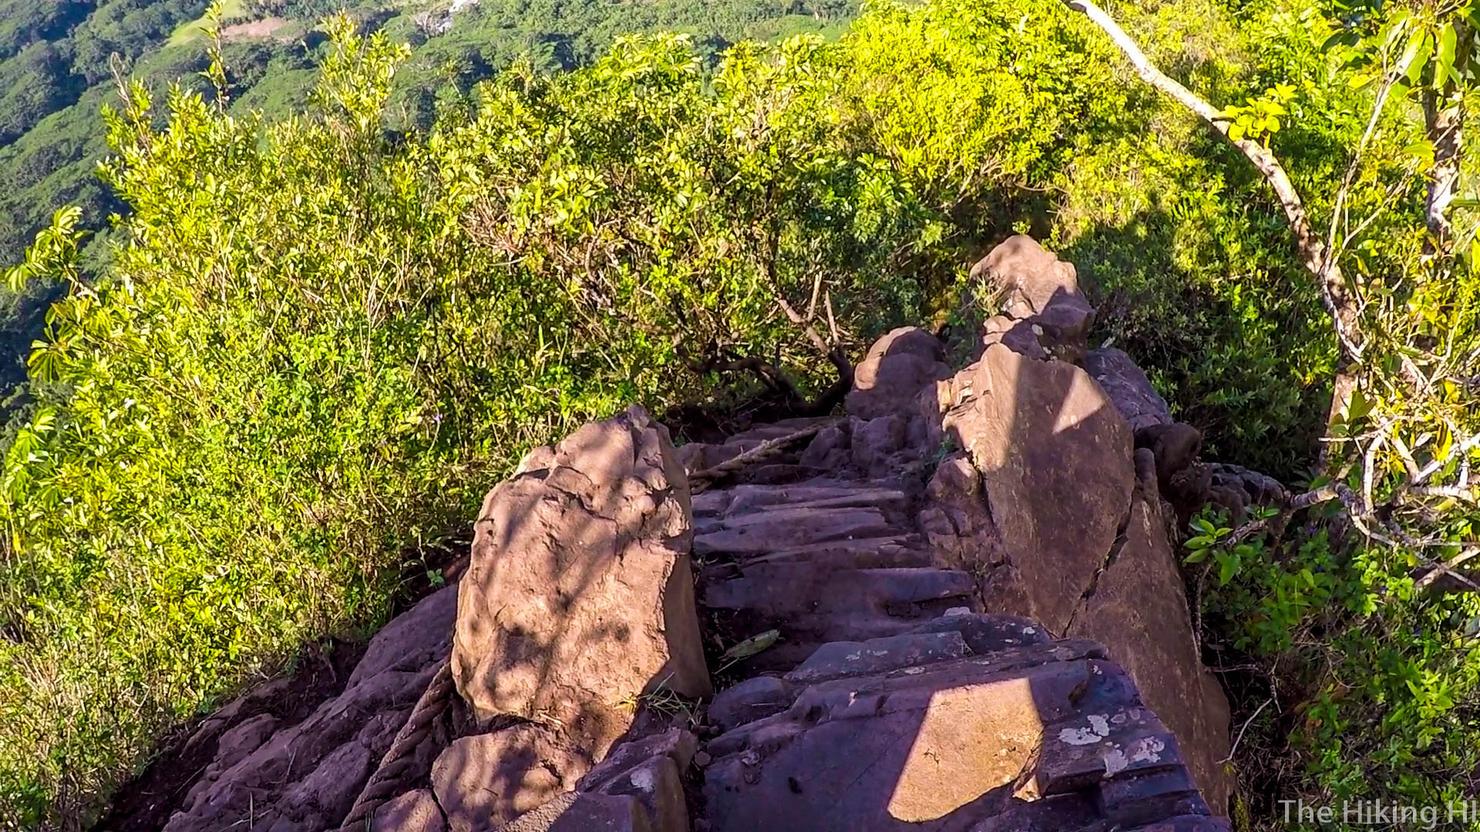
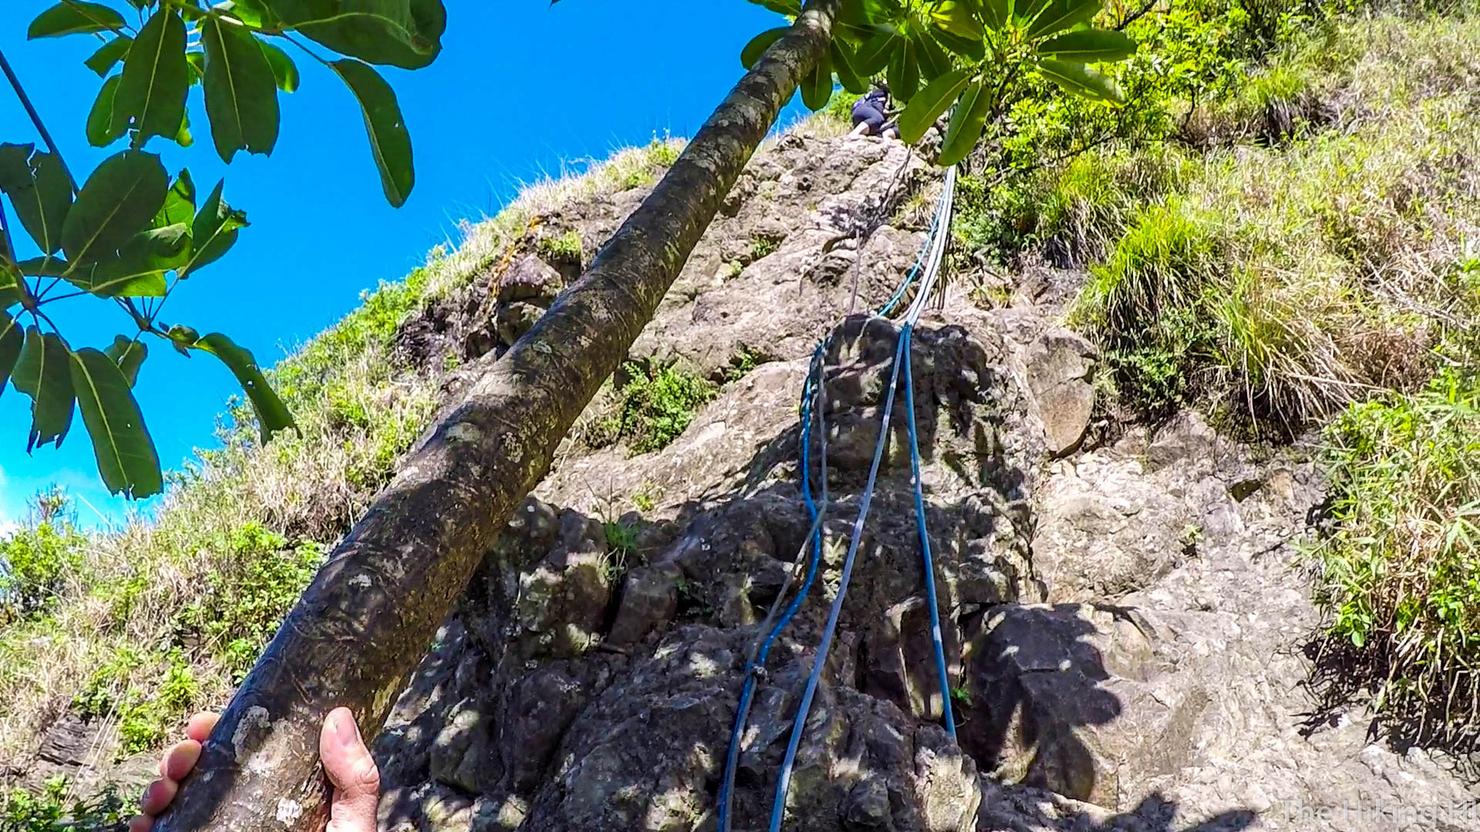
Once you get past that tough section, it's just a ridge descent to the base of Peak Three. That doesn't mean you won't have to use some balance and upper body, but it is much easier than the initial descent.
Looks more impressive when you're down here.
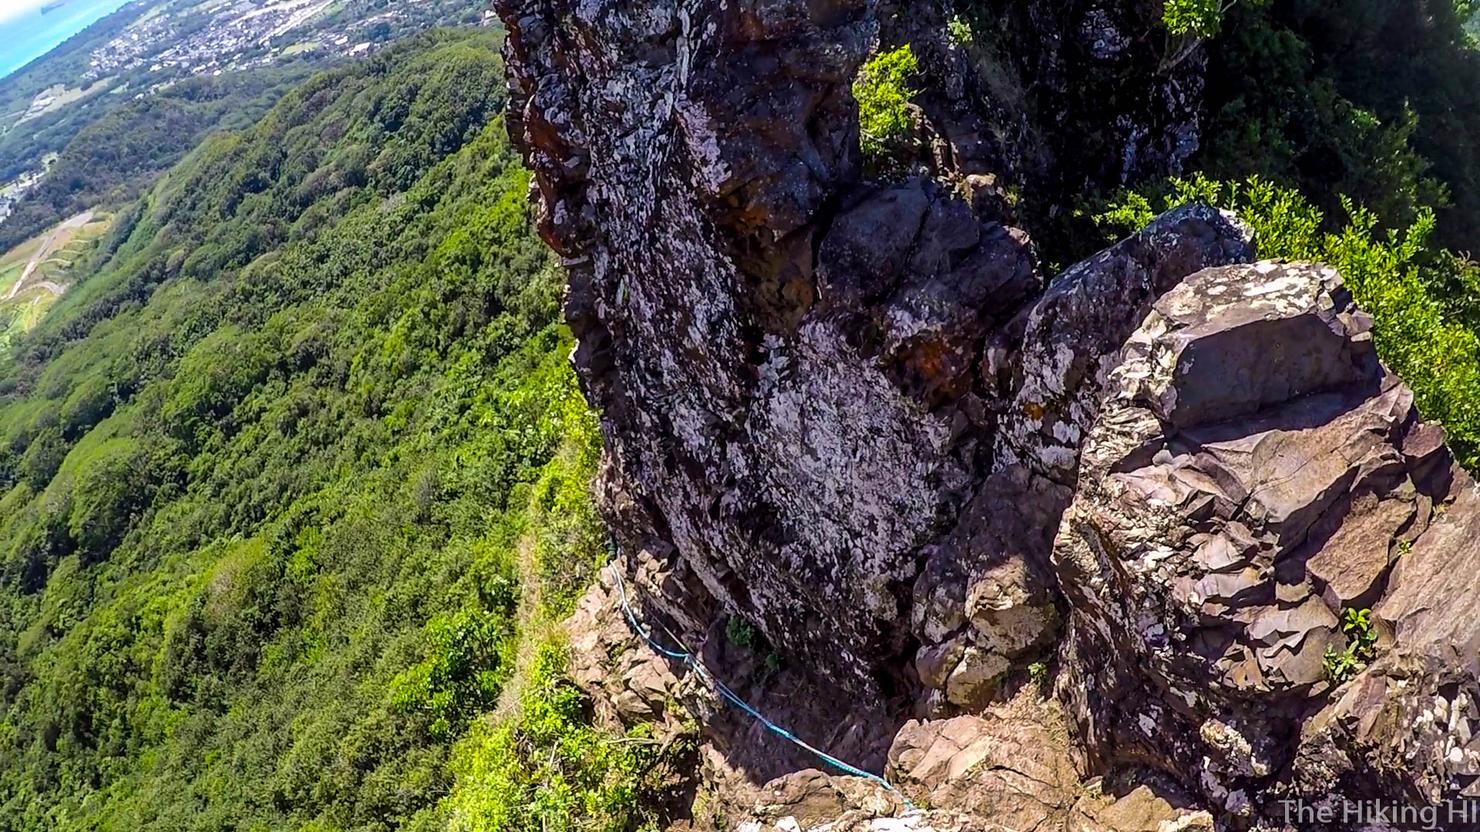
Here is Clench Moment 2. It's a descent that requires you to maneuver your way around a wall along a narrow ridge with steep dropoffs. It looks intimidating the first time you see it, but once you start doing it, you will realize it's wider than you think.
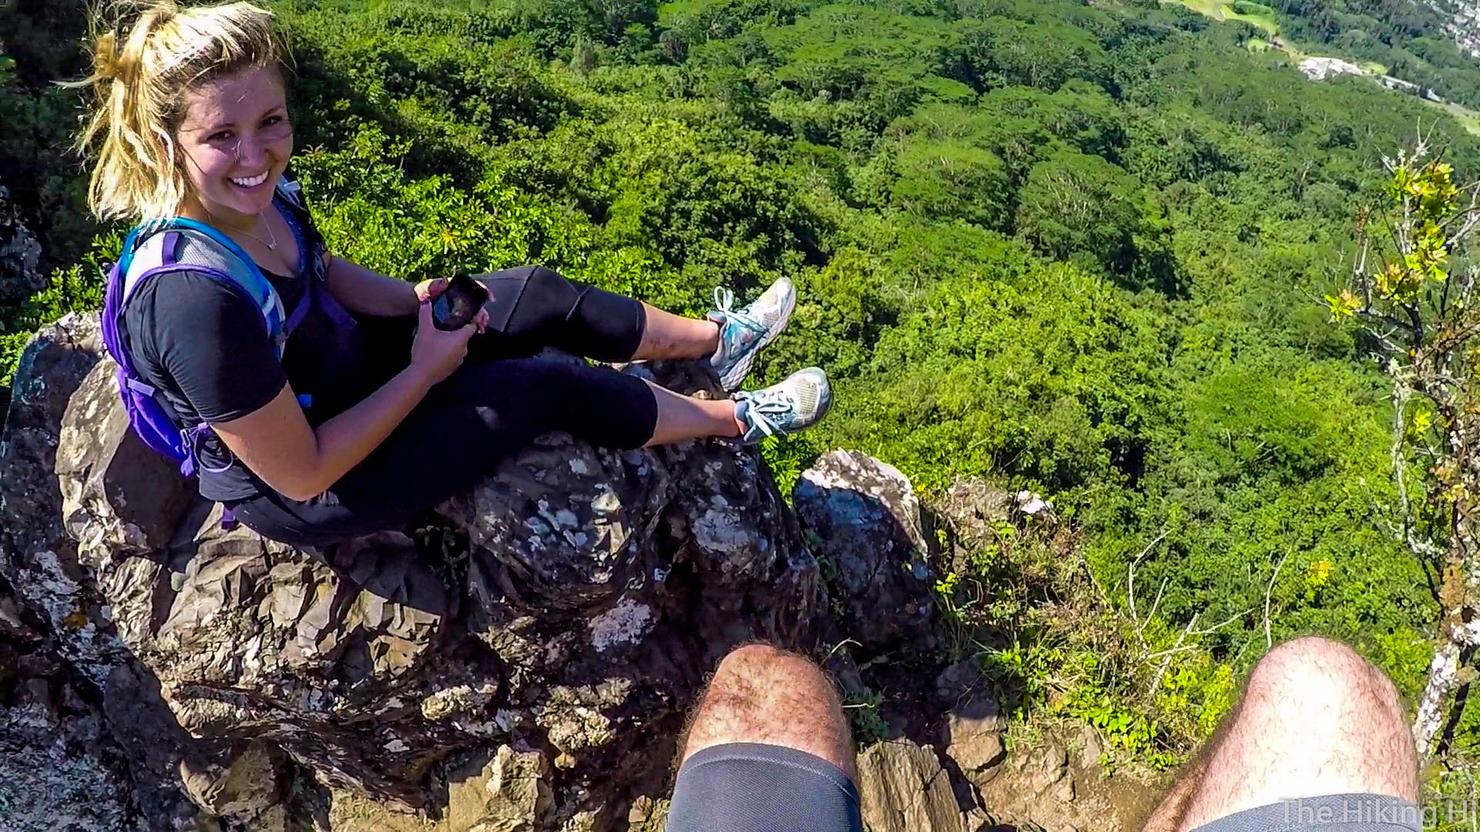
But not wide enough for 2 people. Chelsi and I took a little break while we waited for some people to come up. Chelsi is just lounging on a rock with a several hundred foot dropoff on the other side. No big.
Chelsi making her way around the wall and back up to the ridge.
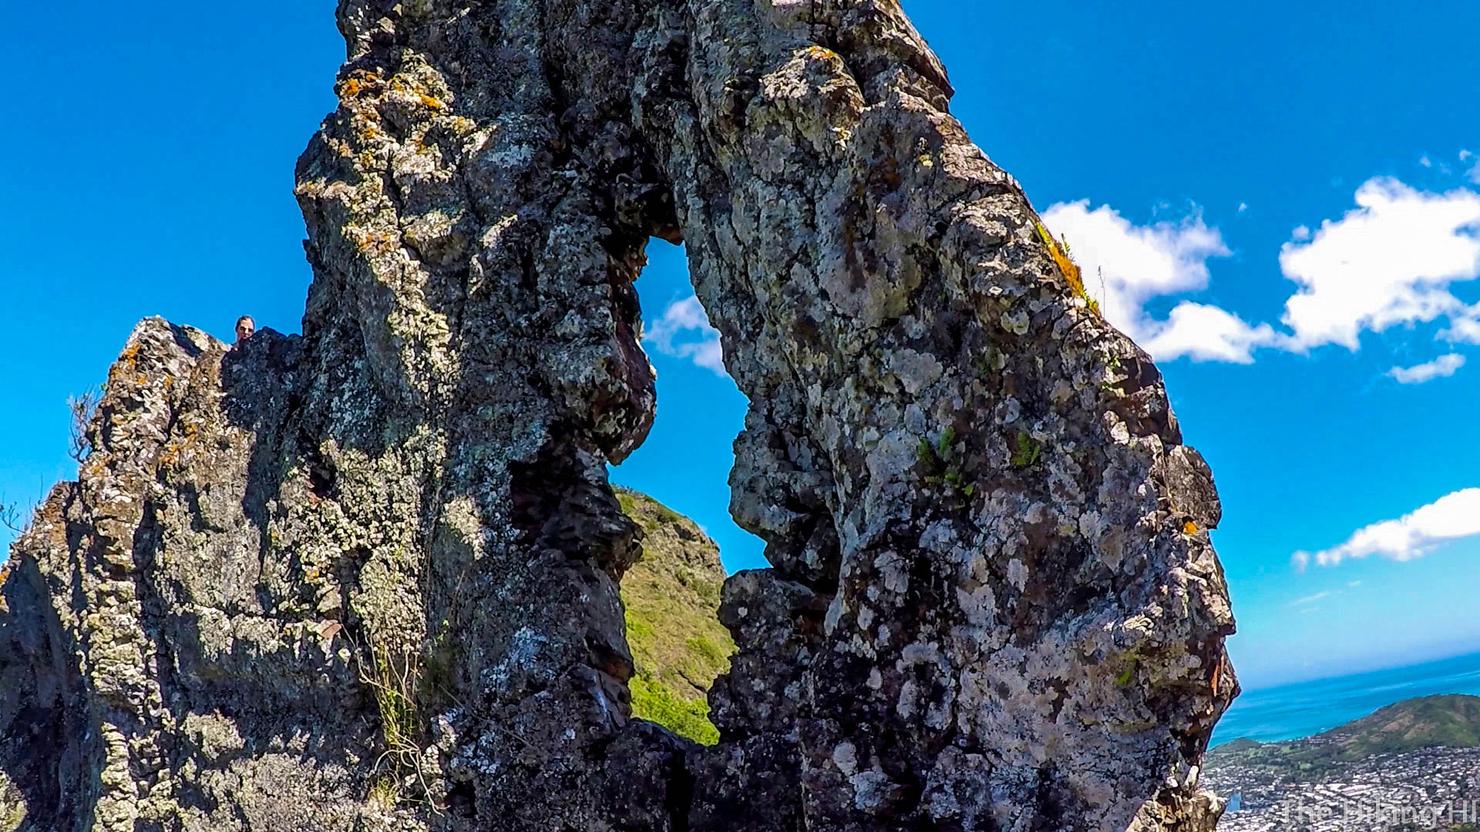
And after getting past that little obstacle, you will be rewarded with this little puka, commonly called the "Keyhole." This is a great photo opportunity.
And shortly after passing the "keyhole" is Clench Moment 3, the final Clench Moment. Given what you've accomplished, going up isn't too bad.
But going down is a different story. We passed a couple on our way up that said one of them had lost their footing and was dangling off the edge holding on to the rope. I think there was a point where I had to hug a rock as I slowly lowered my body to find another foothold. Just a reminder that this hike is dangerous.
We are almost there. Just a bit more ridge hiking.
And one more less sketchy climb.
And we made it to the Third Peak! Time for some summit shots. Here's another shot of Kailua and Kaneohe.

A look up the southern part of the windward coast. You can just make out some of the islands located off Makapu'u.
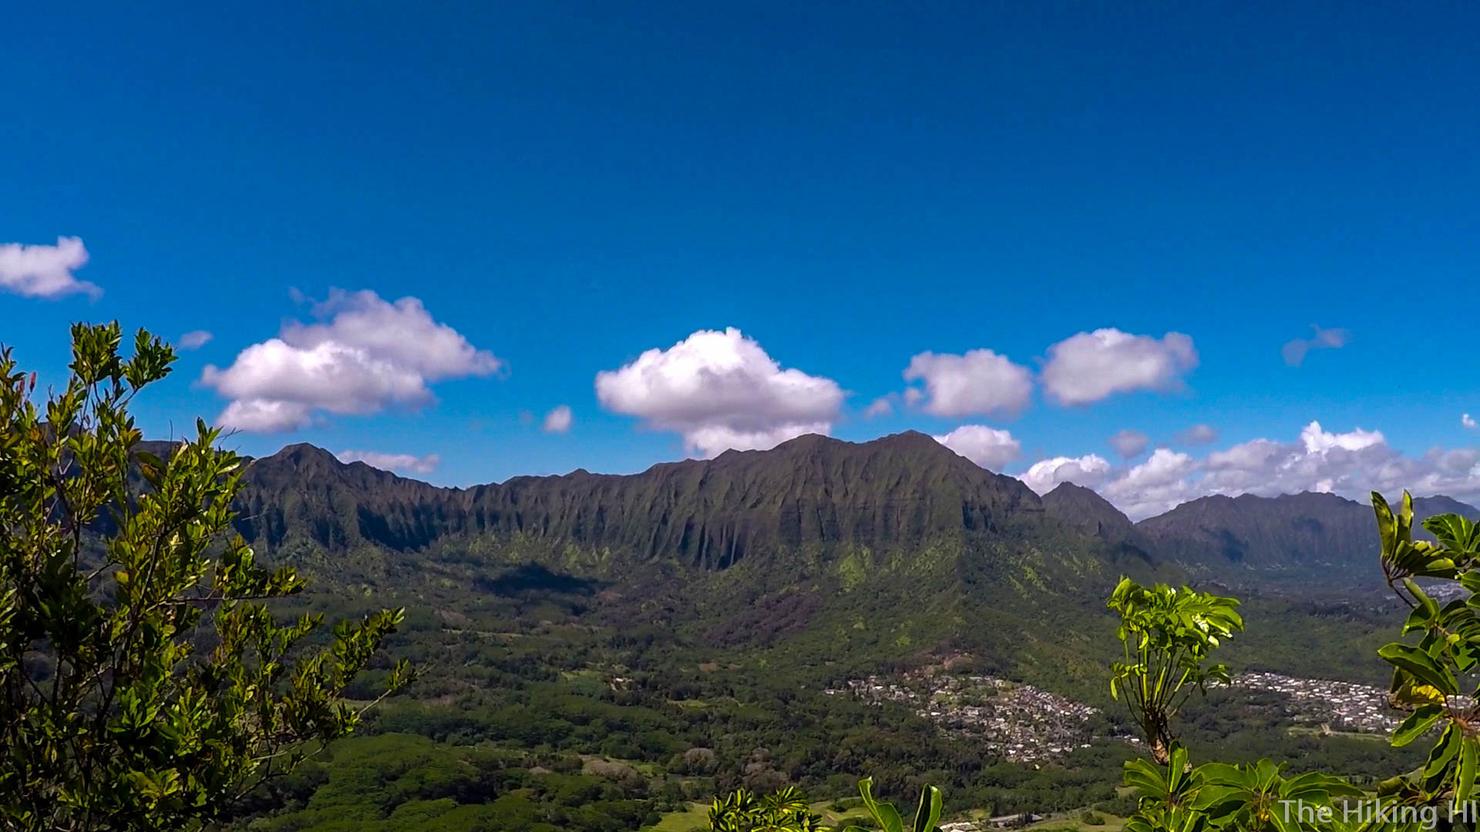
And one last shot of the lush green Ko'olau Range.
And of course, a shot of what we've accomplished! This really is one of my favorite hikes on the entire island because of the amazing views as well as the adrenaline filled climbing. Whether you make it all the way to the Third Peak or don't even summit the first, I highly recommend this hike. Simply getting out there, taking in the views, and making the experience your own is what really counts!
Here's my video of this popular, yet dangerous hike!
Have you tried this amazing hike? Share your story below!
- Summit Post's information about his hike